Tuesday, December 11, 2018

Last Minute Holiday Card Week 2018 Card #2 | No Mess Glitter

Hi friends!  Today I am sharing card #2 in my Holiday Card week for 2018 and this card comes together super quick with the help of Concord and 9th!!  And, this card is full of glitter sparkle and shine. Luckily - this is the best kind of glitter - no mess glitter!! 

If you love the look of glitter - then this card is for you!!  I used the Merry and Bright Die from Concord and 9th and I die cut it using silver card stock from Simon Says Stamp.  I also used the Crimson Red to for my background!  

The wonderful part of this card is that it took me less than 10 minutes to create!  


For the inside of the card, I used the Very Merry Sentiments set also from Concord and 9th.  To see how quickly my card came together, you can watch the video tutorial here.

Thank you all for stopping by!  I will be back tomorrow with Card #3!

Kari


Monday, December 10, 2018

Last Minute Holiday Card Week 2018 Card #1 featuring Newton's Nook

Hi friends!  Today I am kicking off my Holiday Card Week for 2018 - Usually I do a full series, but this year I have been limited on time to dedicate to a full series, so I thought instead, I would do a week full of holiday card inspiration. 

I am using the newest set from Newton's Nook called Winter Birds and I love it so so much!  That cardinal has my heart for sure!


This set was a must-have for me, and I couldn't wait to ink it up and get to coloring in that beautiful cardinal!!  

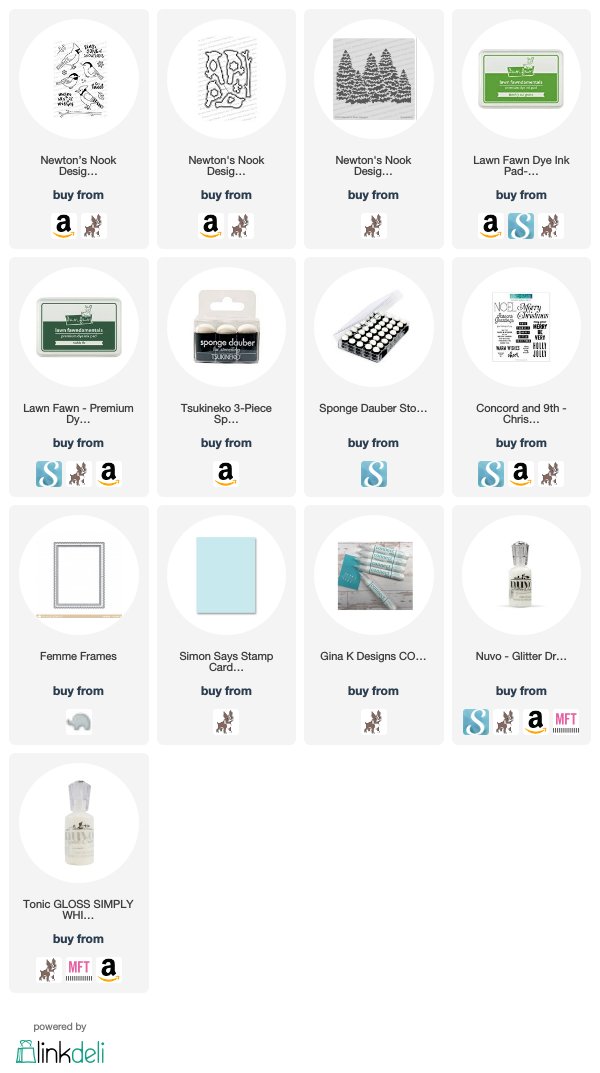
I started out by inking up a white die cut oval piece that I had laying on my craft desk from a previous project.  I used some tumbled glass distress oxide ink to add some color just around the edges.  Next, I took the branch from the set, and stamped that down directly onto my oval piece.  I colored it in with my Copic markers.  I also stamped the cardinal onto a piece of white scrap card stock and also colored it in with my Copic markers.  My favorite red combo is R29, R39 and R59.  And, I think it really brings that cardinal to life!! Once I finished coloring in the cardinal, I die cut it using the matching die.  I moved on to creating the rest of my card, by taking a piece of Sea Glass card stock from Simon Says Stamp, and die cutting it with the scallop frame from the Femme Frames set from Mama Elephant.  I, then used the EverGreens Stencil from Newton's Nook, and used two inks from Lawn Fawn, Freshly Cut Grass, and Noble Fir, and blended the two colors together to create some dimension on the trees.  I used a small ink dauber to do this.  I think added some Glossy White Nuvo Drops and added some to the bottom of that panel to create the look of snow, and then I added some White Blizzard Nuvo Glitter drops to add a bit on the trees for some shine.  Once that was dry, I added my sentiment with some black ink, and then I added my elements onto my sea glass card base which is 4.25 x 5.5 inches.  I added some foam to the back of both my cardinal and the entire oval piece for dimension.  
I then added my panels with liquid adhesive,  and stamped a sentiment on the inside from Concord and 9th from their set Very Merry Sentiments.  


I love how this card turned out and I know who will be giving this one too!!  I do have a video tutorial on this card and the rest of my cards this week, so I hope you will be able to check them out!!
See you all for the next card!


Saturday, November 24, 2018

3 CARDS 1 STAMP SET

Hi and welcome!  Today I wanted to share 3 cards that I created using just 1 stamp set.  I love the new one from Mama Elephant called Sending Hugs!  I feel it will quickly become a staple for me sending those everyday cards to friends and family!


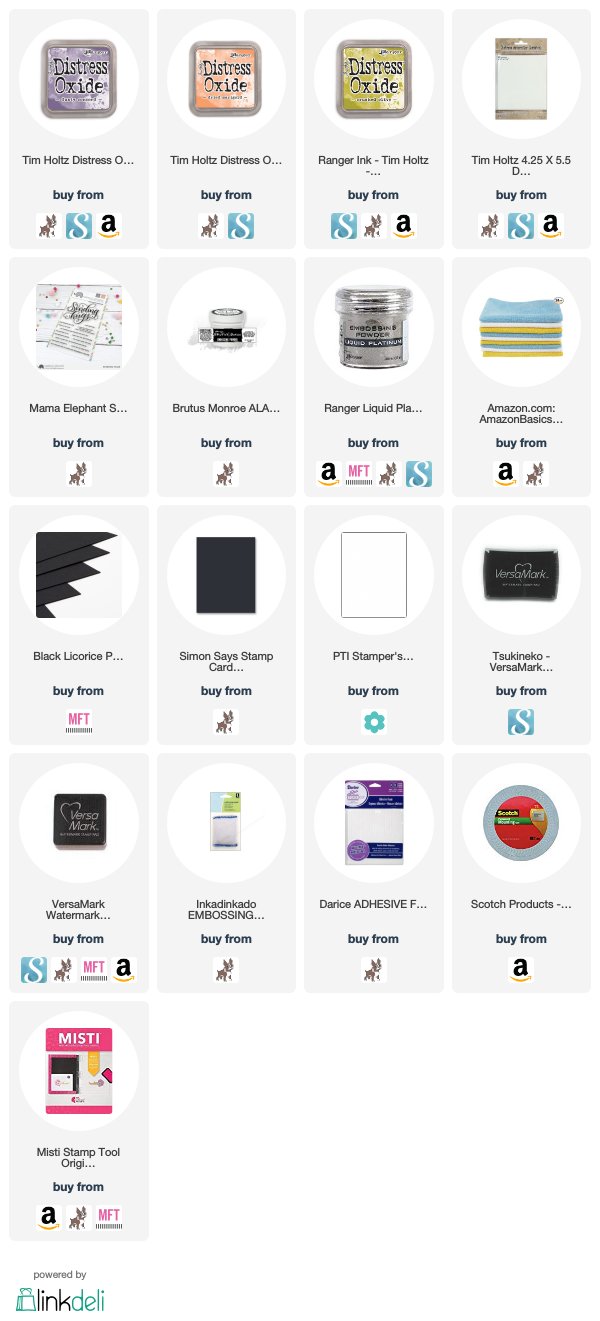
I used one of my favorite techniques, embossed resist with Distress Ink ( or Oxide Inks ).  I also created these cards in an assembly line style to make the process a bit faster.  I started out by prepping my distress watercolor card stock panels with my anti static powder bag.  Of course I used my MISTI stamping tool to stamp down my Sending Hugs sentiment as it is a bigger stamp.  Once I had all three panels stamp, I covered them with either white embossing powder or I also used Ranger's Liquid Platinum for something a bit different.  

Once I melted all of the embossing powder with my heat tool, I started the inking with my Distress Oxide inks.  I used Crushed Olive, Dried Marigold, and Dusty Concord.  

Once all of the panels were inked, I used my spritz water bottle, and added some water droplets to add a bit of texture to the backgrounds.  I used my heat tool to heat set them once again, to make sure they were dry.  I then created sub sentiments on black card stock, and also white heat embossed each sentiment.  I cut the sentiments down with my paper trimmer and scissors and added foam adhesive to each, and adhered them to my panels.  

Then, for each card, I added one more sentiment on the inside.


I used my acrylic block and stamped each sentiment with black versafine onyx black ink


I love making cards like this.  It is good to make some of these up and have on hand for when the occasion calls for it, and this stamp set from Mama Elephant does the job with one set!!  You can also see how these cards came together in my video tutorial here
Thanks for stopping by!!


Saturday, November 17, 2018

MFT GIVEAWAY | Video Tutorial

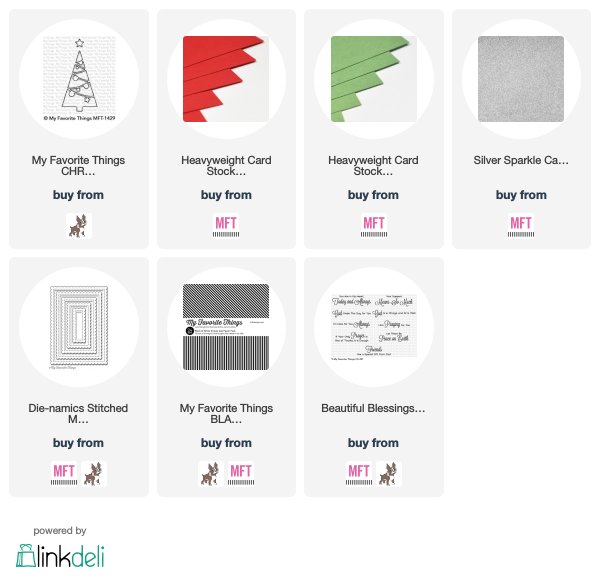
Hi Friends!  I recently posted a new video on my Youtube Channel showcasing the new Christmas Tree Window die-namics from  My Favorite Things.  The exciting part of the video is that I am also sharing that the video is sponsored by MFT and they are helping me giveaway a $25.00 gift certificate to their shop.  All you need to do is be a subscriber of my channel and also their channel, and leave a comment on the video!


All the details of the giveaway is over at the video description box, so be sure to head there for your chance to enter!!  I also share how quickly this card came together with very few supplies, and it showcases this window die beautifully with the silver sparkle card stock, which is one of my favorites!!


I also use one of the sentiments from the Beautiful Blessings sentiment set also new this month on this inside of the card.  

Thank you all for stopping by and be sure to get entered!  Thank you again MFT for having me as a guest this month and also sponsoring a video on my channel!!  I am truly honored!!

Kari


Tuesday, November 13, 2018

MFT and Friends Guest Designer

Hi all!!  Today is an exciting one on my blog and for me personally as a cardmaker!  I have the pleasure and honor of being a Guest Designer for My Favorite Things this month!!  Today is release day for the November 2018 release, and it is a awesome one - like they all are!  I am happy to be among these talented designers, and play with these awesome products!


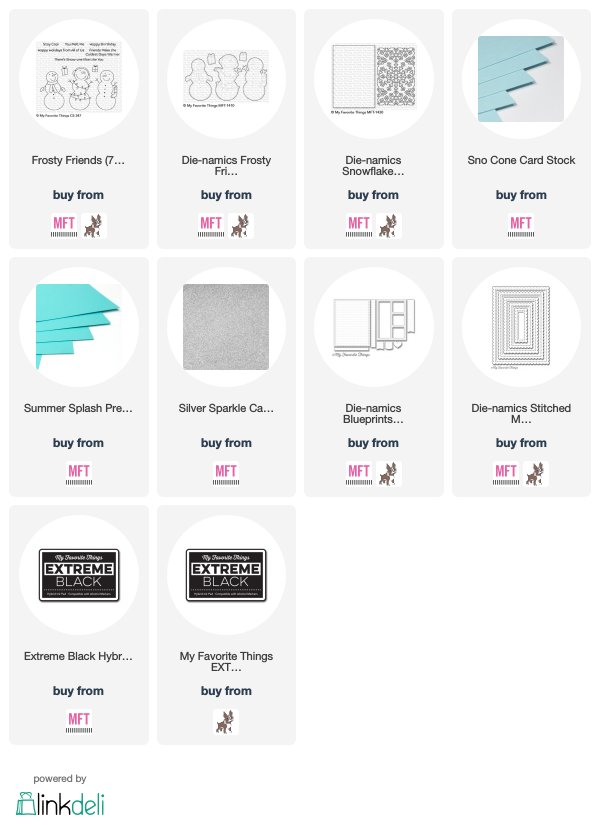
For my card today, I am using the new stamp set Frosty Friends, and the Snowflake Window Die.  I started out by die cutting my pieces that I would be using on my card, and the Snowflake Window is die cut from some Sno Cone Card Stock.  I also die cut a piece of Silver Sparkle card stock from one of the Stitched Mini Scallop Rectangle dies, and a piece of white card stock using the largest scalloped rectangle from the Blueprints 27 die set.  The banner piece also comes from Blueprints 27!  Such a all around versatile die set!  I set those pieces aside as well as my Summer Splash card base, and I worked on my snowman.  I like images this as they are super easy to add color!

I stamped my snowman in Extreme Black ink, and used my Copic Markers to add a bit of color.  I used BG10 to add some shadow around the left side of his body and blended it out with my Colorless Blender. I used YR09 and YR18 for his nose, RV17 and RV19 for his scarf and gloves, R20 for a little rosy cheek and a small amount of C2 around the scarf where it lays on his body to create a bit of shadow.


I assembled all of my elements together with liquid adhesive and added foam adhesive to add dimension to my snowman.  For my sentiment, I stamped it using the same black extreme ink, and adhered it to my card with foam adhesive as well.  To finish my card off, I used my white gel pen, and added some white polka dots to my snowman's scarf for a bit of interest!  

I love these images so much, so whimsical and fun!!  Thank you so much to My Favorite Things for having me this month as a guest designer!  Truly an honor!  Stay tuned, as I will be partnering with MFT for a giveaway on my YouTube Channel!

For now - be sure to head over to MFT and check out the entire November Release!!


Wednesday, October 31, 2018

My Entry to the Lawn Fawnatics Challenge : Bling It Out

Hi Friends! I wanted to share with you my entry for the latest Lawn Fawnatics Challenge, Bling It Out!  I am sneaking in on this challenge on the few days that are left of it, but I wanted to share my take on it.


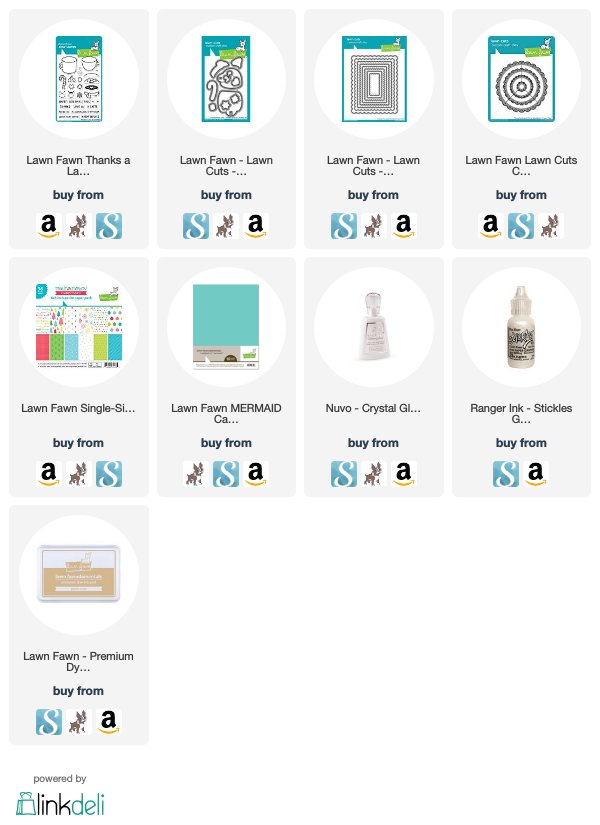
I chose to use the stamp set Thanks a Latte, and the adorable cup images that you can customize any way you'd like. I colored in my cups with my Copic Markers, and one candy cane.  I also added a heart to one mug, and a snowflake to the other.  I love Reds and Teals together and I thought this would be a great combo on this card.  I die cut a Fancy Scallop circle from silver glitter card stock, and also die cut a scallop rectangle from white card stock, and used one of the papers from Really Rainbow Christmas.  Before adhering my patterned paper to my white scallop rectangle, I heat embossed my sentiment Warm Wishes from the same stamp set.  Once I had everything put together and adhered onto my Mermaid card base, I added some Star Dust stickles to the centers of my mugs and the candy cane and added some shine using some Nuvo Crystal Glaze.  


This marks one of the first holiday cards I've made this year, and I loved how this one turned out!!  

See you soon!
Kari


Saturday, September 8, 2018

Hello There!!

Hi friends!!  Has it really been since April since my last blog post????  Gosh, I had no idea! My apologizes for the major neglect towards posting on my blog.  To be honest, I am actually glad I took the break from my blog as I was in a rut and didn't enjoy blogging as much as I enjoy posting Youtube videos and posting on Instagram and because of that, my blog took a back seat.  I am here today to say sorry to those that actually read my blog, and I hope to get back into blogging again.  It wasn't my intention to go MIA for so long on here, but it happened.  I am around, and doing fine, but life has had its major ups and downs these past few months.  The biggest I would say is the lost of our sweet Katie ( our Russian Blue cat ) - she was so special to our hearts, and it was tough and still is knowing she is no longer with us, but with loss comes new additions to love.  We now have Gracie ( another Russian Blue) and we still have our Daisy ( Calico Manx ) at least for the moment.  She is getting old and she has her own health issues.  Left to Right - Katie ( RIP sweet girl ) - Daisy ( 18) and bottom Gracie 6 mths old the 15th!


Other things have occurred, but as I have mentioned, I am very active on Instagram and I post videos to my YT channel at least once a week.  So, if you'd like to follow me there - you can find me under kwcarddesign, or Kari Webster. 

This is me literally just popping in to say hello, and my blog is still active.  I just gotta get back into the swing of things and make myself post again here! 

Hope you all are well, and hope life is treating you kind!!  I will be back soon with new card projects!!

Kari


Friday, April 6, 2018

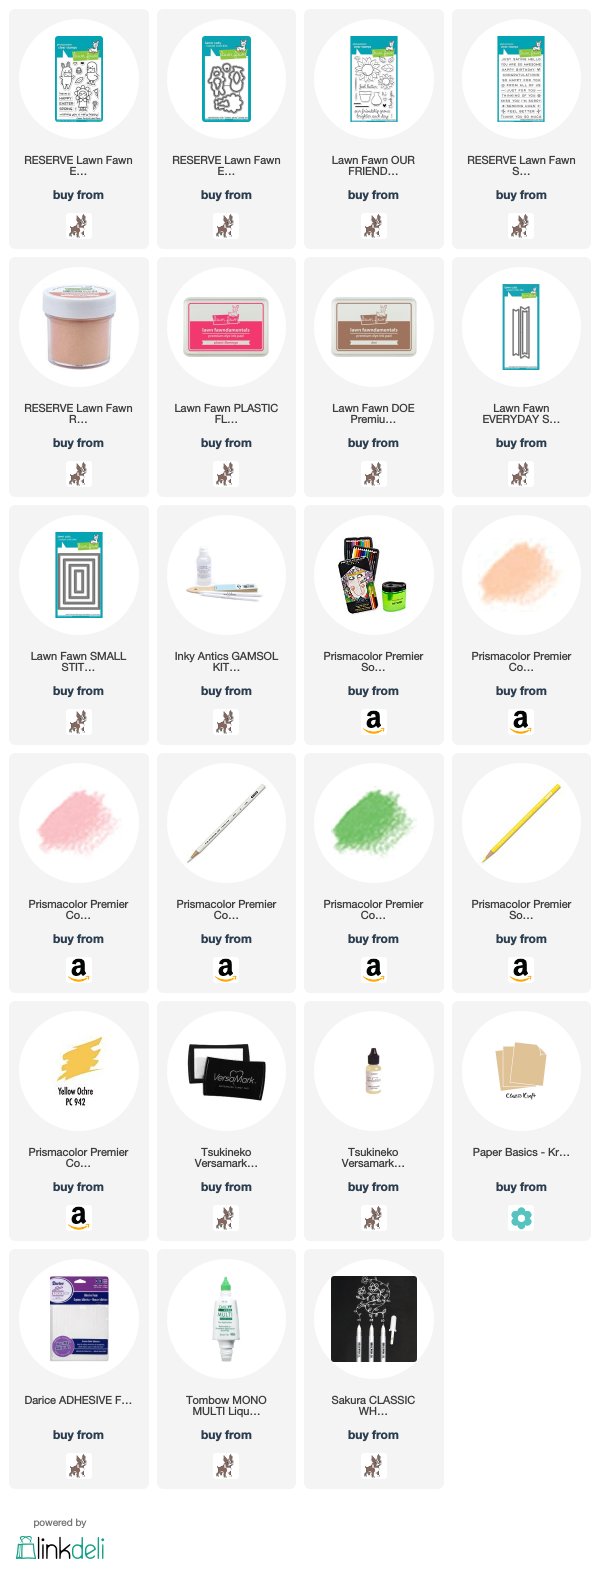
Lawn Fawn Day 5 with Christy Gets Crafty Collab!

Hi friends and welcome to Day 5 and my final day of  Lawn Fawn Week!!  I can't believe it has gone by already!  Today I have a special collab with Christy Gets Crafty ( Christy Reuling ) - she is one of my best friends and crafty friends and I am I so happy she decided to do this with me!  I will have her video linked below if you would also like to check it out!  

For today's card - I wanted to do something a little different for me.  I wanted to achieve two things on my card - a monochromatic look, and I wanted to get out my colored pencils.  I haven't used them in LONG time!


For our collab - the theme was to use a new set along with an older set from LF.  I used Our Friendship Grows as my old set ( it is one of my all time favs ) and Easter Party for my new set.  I started out by creating my background onto a piece of kraft card stock.  I stamped in Versamark the flowers from Our Friendship Grows, and I heat embossed them with Rose Gold Embossing Powder from LF.  Then, I wanted to add some white highlights.  I started out using my white gel pen, but then I pulled out my white colored pencil, and that is when I made the decision to color in my girl with the pencils too!


I love how she turned out, and I got the itch to play with my colored pencils more!!  Sometime I'd like to invest in some of the Faber Castell PolyChromos pencils too.  Once I was happy with my colored image, I die cut it out with the matching die, and also a white piece of cardstock using one of the Everyday Banners, and I stamped out my sentiment from Simply Sentiments.  I added my girl to my banner with liquid adhesive, and added some foam adhesive all over the back of this entire piece.  I die cut my background with one of the Stitched Rectangle Stackables, and then I adhere my main panel to to another piece of kraft card stock.
For the inside, I stamped out the largest flower from Our Friendship Grows in Doe ink, and another sentiment from Simply Sentiments in Plastic Flamingo ink.


Well - that's it!!  This is a wrap on Lawn Fawn Week.  I still have the giveaways going on - so if you havent' checked out that video - I encourage you to.  Thank you so much again for Christy to join me for this collab!!  

Video Tutorial - https://youtu.be/zvIs7CqrXqA

Christy's Video - https://www.youtube.com/watch?v=2ehnYW7MvhE&feature=youtu.be


Thursday, April 5, 2018

Lawn Fawn Day 4 - Giveaway!

Hi Friends! Welcome to Day 4 of Lawn Fawn Week!  Today is about GIVEAWAYS!  YAY!  I thought it would be fun to be able to do a couple of giveaways, so in order to find out the details, and what is up for grabs - I invite you to watch today's video!!  


Video Link - https://youtu.be/4hK72EkR9iE


I hope you have enjoyed this week so far!  Come back tomorrow for my last day for Lawn Fawn week as I will have a special guest!  See you then!

Kari

Wednesday, April 4, 2018

Lawn Fawn Week Day 3

Hi friends!  Welcome to Day 3 of Lawn Fawn Week!!  Hopefully you are not too tired of me yet!  :)

Today I am sharing a tutorial using Sweet Friends.  I mentioned in yesterday's video that I had some technical difficulties which caused me to have to refilm and remake the card for Day 2.  Welp - it also has happened for Day 3 as well, but it is alright.  If anything, I have learned from this experience not to panic (too much) and I was able to still get a video tutorial up for all of you.


I went ahead and created a different card though than the original card I made for the first video, but I used the same supplies, but added a few extra.  I will still share the original card I made with you too.  I wanted to ink up this cute yogurt or "froyo" cup 4 times, and color it in with four color combinations.  Once I stamped, colored, and die cut my images, I die cut 4 small squares using one of the stitched square stackables dies with the Gotta Have Gingham papers to match each froyo cup.

Before adding any of my pieces to this card base, I stamped out a custom sentiment using Owen's ABC's and stamped it out with Lawn Fawn ink.  I created a faint pencil line for a guide, and then once I stamped it down, I was able to simply erase that line.

I then added the die cut elements to the card front panel which is a piece of white card stock that I die cut using the largest of the Large Stitched Rectangle Stackables dies.  I used my liquid adhesive to do this quickly and easily.

For the inside, I stamped out some sprinkles, and then added my additional sentiment.


Super cute, and perfect for a sweet friend!!  

For my original card, I made a Pivot Pop Up Card - I like both, and I hated that I lost all of my video footage, but I still was able to create a card and video tutorial.


That's is from me today!  Be sure to come back tomorrow, as I will be talking about the GIVEAWAYS and how you can enter to win!  See you then!!


Tuesday, April 3, 2018

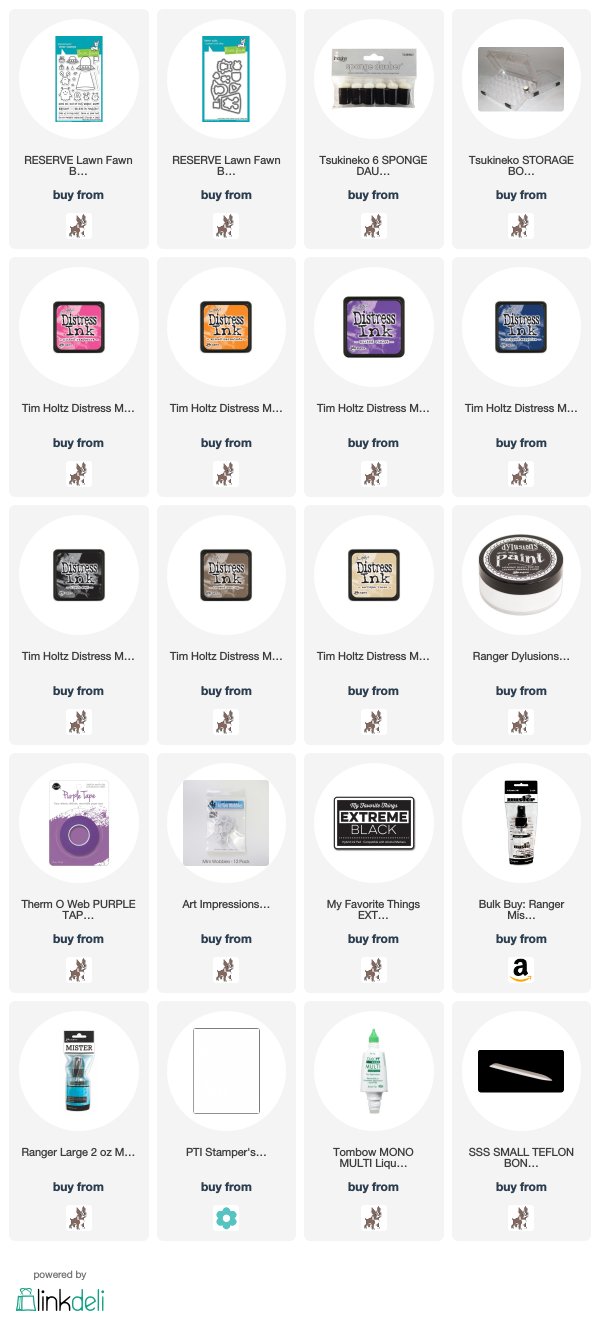
Lawn Fawn Week Day 2

Hello, and welcome back to Day 2 of  my Lawn Fawn week!!  If you didn't catch Day 1, I encourage you to see the previous post as it explains why I decided to do this on my blog and YouTube Channel.

Today, We are headed into outer space with Beam Me Up!


I wanted to create a fun card using this set, but in a different way from other cards that I have personally seen through out the web and Instagram.  I decided to create a masked off galaxy background, and also create it directly onto my card base.  I know - pretty brave on my part as it could all go wrong quickly.  Luckily I have some very good masking tape - The "purple" tape, and it allowed me to do this in an effortless way!

I started off by doing just that - masking off a section of my white card base with that purple tape, and then I took vibrant colors of Distress Inks ( all colors listed/linked below) and took a finger dauber, and messily added the colors in circle groups within my masked area.  Once I had the color down, I added chipped sapphire and black soot to create the darkness of my galaxy.  Next, I spritzed on some water, and let it create some faded stars to the look, and I dabbed it up with my microfiber cloth.  Then, I moved on to adding my white paint splatters for the more visible stars.  This is so much fun to do, and I must say VERY addicting!!  It really brings to life a galaxy background!

Next, I created my "ground" or "planet" with more Distress inks, and made it look very distressed.  Once I was happy with this look, I set both aside to completely dry - because after all this was all done on just white card stock!  I then moved on to stamping my images I wanted to use from Beam Me Up.  I colored them in with my Copic Markers, and once complete, I die cut them out with the matching dies.

I added my party hat to the smallest alien, and then added him to his spaceship.  Once my card base was dry, I removed my masks, and revealed nice crisp edges!  So satisfying!!  I also cut down to size my planet to fit with my masked scene.  I added my other alien image and the present with liquid glue. And, for the spaceship, the fun element - an action wobbler!!  To see this in action - you can watch the video tutorial!! 
And the final step, was to add my sentiment on the inside that reads Have An Out Of This World Birthday!

Video Tutorial - https://youtu.be/7Y8S8HN7c9U

Thank you for joining me today!  Be sure to come back tomorrow for Day 3! See you then!

Monday, April 2, 2018

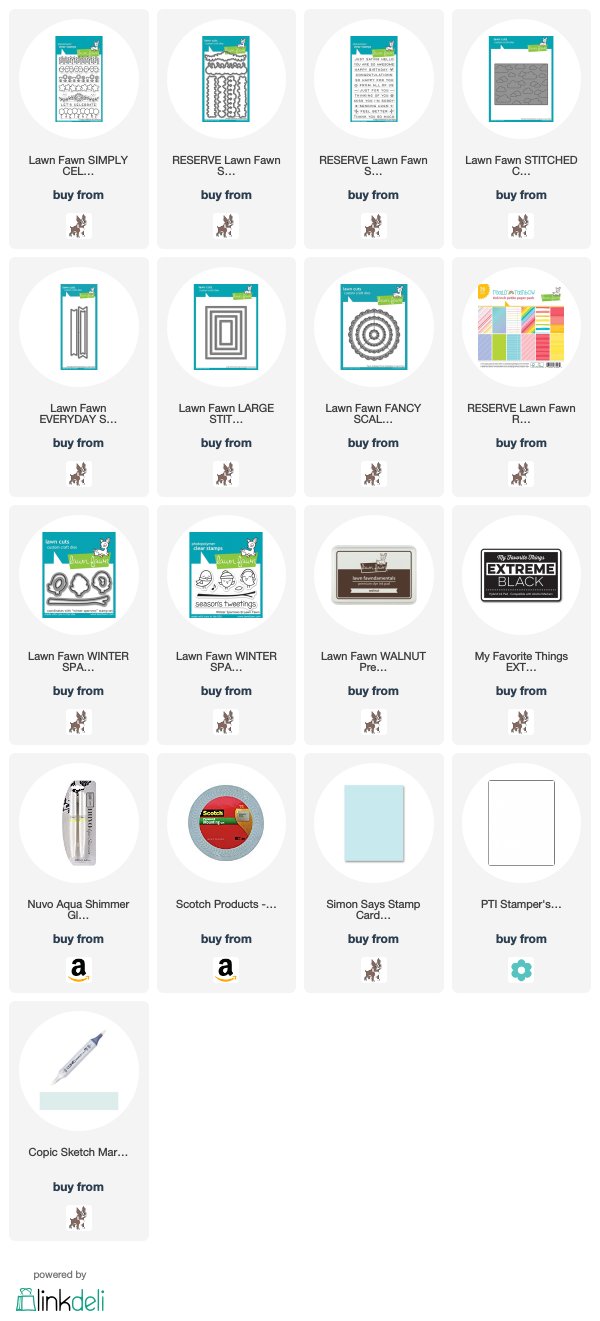
Lawn Fawn Week Day 1

Hi friends!!  Welcome to a special series that I have put together to highlight one of my favorite stamp companies, Lawn Fawn!  I have been planning this idea for little over a month now, and today is the kick off of this fun week over at my blog and Youtube Channel.  I will have a video tutorial every day and even a collab with a special friend, and some fun prizes to giveaway too!!

First card I am showcasing features Simply Celebrate and the Really Rainbow 6x6 paper pad.  I thought these two would be a great fit for Day 1!


I started out by taking one of the papers from Really Rainbow and die cutting it down using the largest of the Large Stitched Rectangle Stackables.  I also die cut a piece of white card stock using the Stitched Cloud Backdrop:Landscape Die, and then taking that and die cutting that piece using the largest Fancy Scallop Circles Die.  I wanted to add a little blue to the background of my sky, so I simply used my BG10 Copic Marker, and filled in that area.  I stamped out the branch from Season's Tweetings, and using its die to cut it out, and I also stamped out the bird "lineup" from Simply Celebrate and used my Copics to color these birdies in rainbow colors of course.  

I did trim off three of the birds on the end to have five of the birds on the front of the card, and the other three will be on the inside.  I stamped out my sentiment from Simply Sentiments onto a die cut banner from the Everyday Banners die set and I adhered it to my circle panel with liquid adhesive, and pop up the entire piece with foam adhesive.  I added the branch, and the birds also with liquid adhesive.  For the inside, I stamped another sentiment from Simply Sentiments and added my other birds to the right hand corner to finish it off.  If you'd like to check out the video tutorial, I have it linked for you.  All the supplies will be linked below as well!  Be sure to keep returning this week, especially for Day 4, as I will be doing my giveaway video!  See you then!
Kari

Video Tutorial - https://youtu.be/zZOopm7eKl4


Friday, March 23, 2018

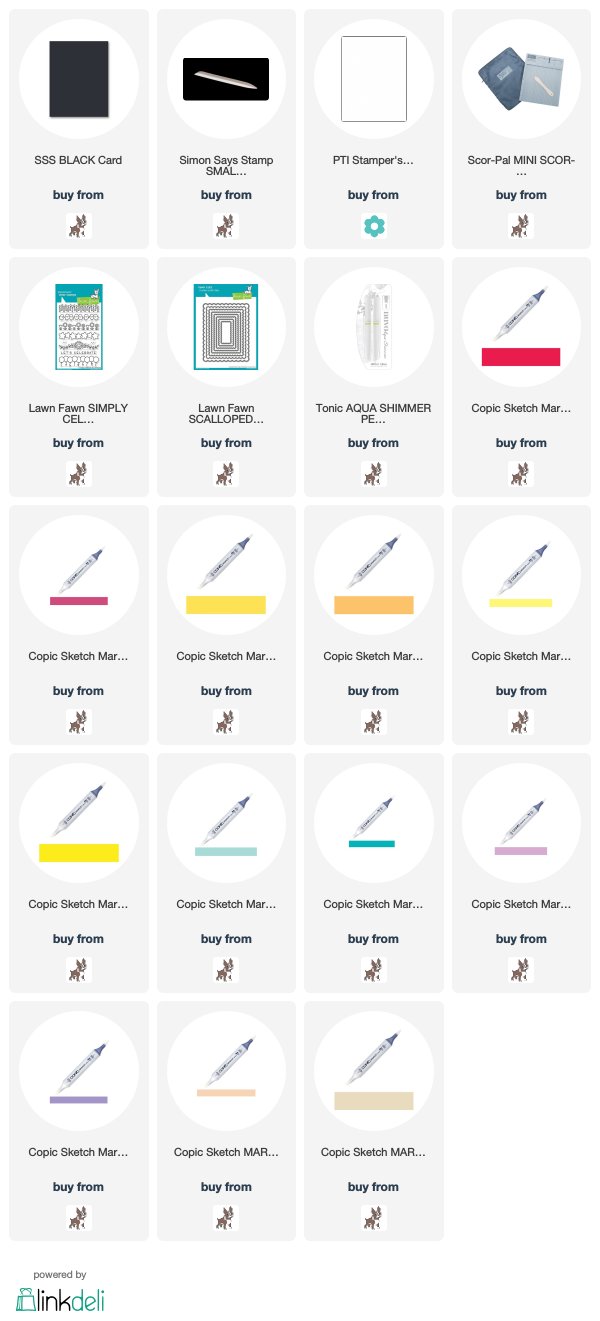
Lawn Fawnatics #25 Color Inspiration Challenge

Hi friends!! I am back with another entry for the latest Lawn Fawnatics Challenge, and it is my favorite!  RAINBOW!  I was excited to play!


I wanted to create a simple in design card, but feature that rainbow goodness!  So, I stamped out down my white card stock panel the flower border image from Simply Celebrate.  Once I stamped them in Copic friendly black ink, I colored them in with my Copic Markers.  

Once they were colored in, I added the Let's Celebrate sentiment which is from the same stamp set.  I die cut my main panel down using the Scalloped Rectangle Stackables dies, and then mounted it onto a black A2 card base popped up with foam tape.  

For some final touches, I added some shimmer pen, and some white pen accents to really make the flowers pop.  Simple, but colorful!  My favorite!

Thanks for stopping by!
Kari