Sunday, December 17, 2017

Holiday Card Series Wrap Up ( and apology)

Hi friends!  Today I have my final card to share for my Holiday Card Series!  OK- so that brings me to my apology.  I have failed at getting posts up for every card during this series, and that wasn't my intention.  I was so focused on getting them created, filmed, edited and uploaded to Youtube, that I clearly neglected my blog readers ( how ever many there are ) too.  My sincere apology for that.  I will be transparent with you that by the time I had the video all ready to go, I was too lazy to write up the blog post for them too!!

Well - what I am going to do is insert a link to the playlist, and you can pick and choose to see what ever card tutorial from the series.  I also have a photo to share with ALL of the cards so you can see those as well if you are not interested in watching the video.  I know some just like to look at the photo of the card to get the inspiration!  And, that is what I strive to do - give inspiration.

So - before I get to all that - I will share individually with you the 12th card in this series!

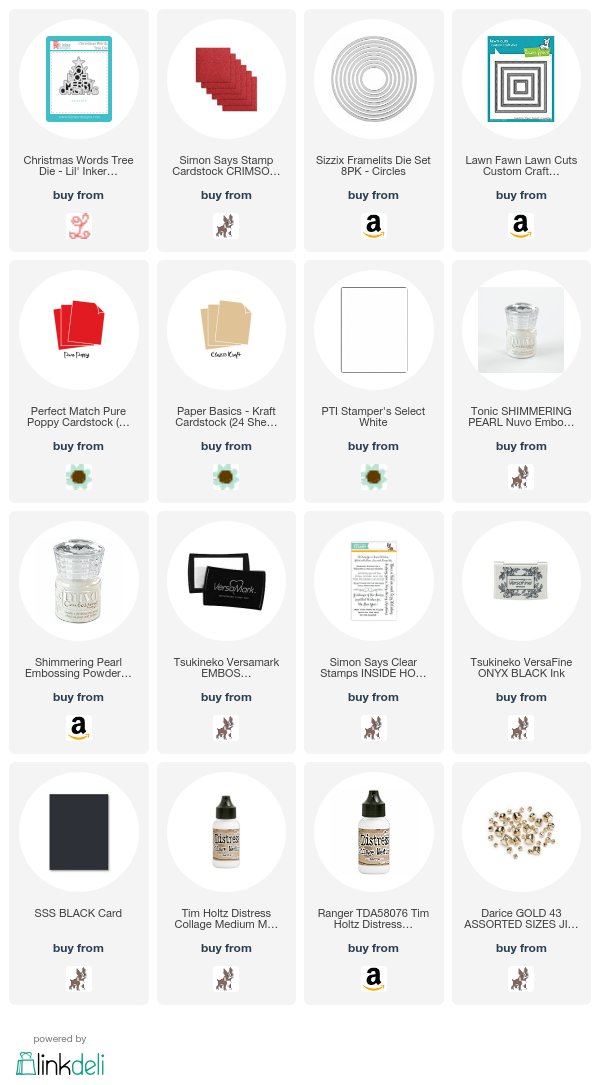
For my focal point, I used the Lil Inker Design Christmas Word Tree Die, and I love it!  I have several ideas on how to use this die, but this is what I zeroed in on today.  I, of course chose traditional colors, but I bumped up the look with glitter paper and glitter embossing powder to give extra shimmer and shine.

I wanted the die cut to stand out, so I cut it out twice with white card stock and once with black, and adhered them together with Distress Collage Medium ( new to me adhesive).  

For the inside I die cut a piece of Pure Poppy Card stock with my circle die from sizzix and stamped my sentiment from the SSS Inside Holiday Greetings with Versafine Black ink.

For all of the supplies for this card - they will linked below in case you are interested.  


Here is the LINK to the entire playlist of all 12 videos if interested!

And, here is a look at all of the cards created for this series! 


Thank you for watching and commenting on the videos and reading the posts ( when I posted ) and again I am so sorry for slacking on the posts.  I hope to do better next year!

Saturday, November 18, 2017

Holiday Card Series 2017 Card 7 | Scene Building | Copic Coloring

Hi all!  I am back with Card 7 in my Holiday Card Series!  For today's card, I am using the adorable Christmas Pageant stamp set from Neat and Tangled! These are such cute kids!  I love them so much!


I started this card by stamping and coloring in these cute kids with Copic Makers.  All the colors I used I listed below!  There's a lot!!  Once I was done coloring them, I used the dies that coordinate to cut them out!!  I just love coordinating dies!! Makes my crafty life simpler.

I wanted to create a scene that these kids were actually on a stage.  I found some different pattern papers in my collection that I thought would do the trick!  I also used the In the Meadow die set from Papertrey Ink to create a curtain a valance!!

I had a lot of the scene built, and thought I would work on the sentiment before adding the kids to my card. I stamped and embossed the first half of the sentiment, and then stamped the rest on the inside


After adding the kids to the scene, I added some Wink of Stella to the Star, ornaments on the tree, and the bigger ornament to give extra shine!!  This card was a fun one to put together!!  All supplies are listed below as well as the video tutorial!
I'll be back with Card 8 very soon!!  


Holiday Card Series 2017 Card #6 | Ombre' Inking ( and fixing mistakes )

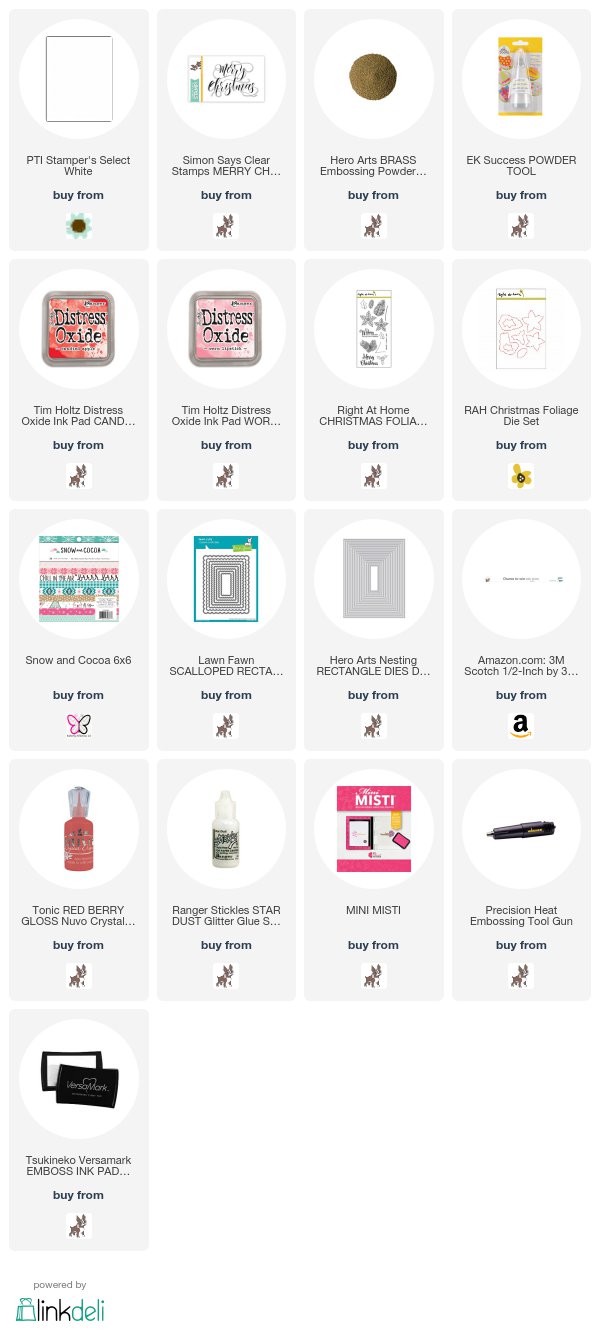
Hi Friends!!  I hope you had a nice week!!  I am sharing with you Card #6 in my Holiday Card Series.  I wanted to use this big scripty Merry Christmas from Simon Says Stamp.  I also wanted to do one of my favorite techniques, embossed resist.

I started my card by prepping my white card stock with my anti static powder tool, and stamped the Merry Christmas with Versa Mark ink, and then coated the sentiment with Hero Arts Brass Embossing Powder.  I used my heat tool to set the powder and until melted.  

I then started inking up my background with Worn Lipstick and Festive Berries Distress Oxide inks.  I knew in the back of my mind that I would lose a lot of the embossed shine on my sentiment because of the inking, but I went ahead and continued with the inking. Once I was happy with my result, I thought I would re-emboss the sentiment.  I tried to speed up the drying process of the inked background, but I didn't prepare it good enough as I thought I had.  I restamped the sentiment as before and applied more embossing powder, and as I thought, some of the powder stuck to my background.  I took a dry brush, and tried brushing away most that I could, and then heat set it.  There was some powder that I couldn't get off, but it was alright. I think it turned out just fine :)


I wanted to add a bit more around my sentiment, so I stamped, colored and die cut the holly cluster from the Christmas Foliage set from Right at Home, and popped it up with foam adhesive.  I matted my inked piece of with piece of patterned paper from the Snow and Cocoa 6x6 pad, and die cut it with a Scallop Rectangle frame from Lawn Fawn.  Once I added my entire panel to my card base, I added some Nuvo Crystal Drops to my berries, and some Star Dust Stickles to the leaves for extra shine.
If you are interested in the video - it is below with the supplies I used!  Thanks for stopping by!!
I'll be back with Card 7 soon!

Kari


Sunday, November 12, 2017

Holiday Card Series 2017 | Card #5

Hi Friends!  I am sharing today with you Card #5 in my HCS - I know, I have skipped  Cards 2-4, but you can easily see those cards and their videos by visiting my Youtube Channel here.  And, frankly I've forgotten to write up a blog post for those cards as well, and I wanted to catch up quickly, so I though this would be the quickest way.

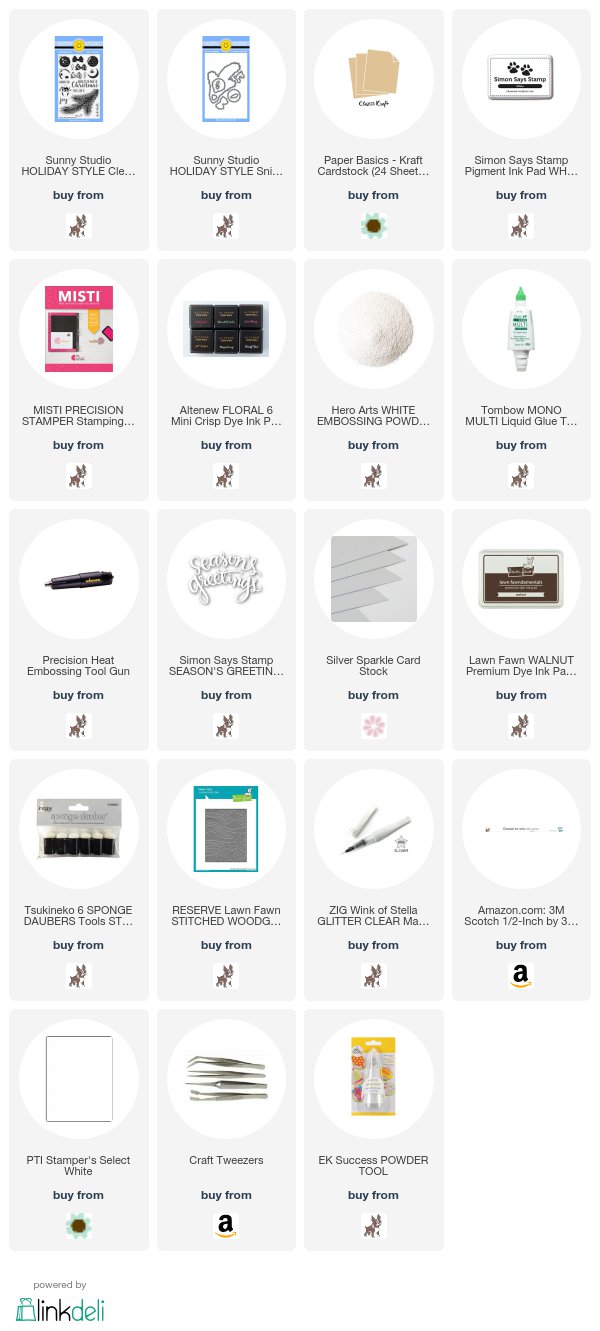
Today's card showcases the popular Holiday Style set from Sunny Studio released last year.  I wanted to get it back out today since I didn't get to use it much last year and it is just a fantastic set!!


I also love the look of Kraft and white!  Such a classic look!  And, I love the added pop of color with the red ornament!  

This ornament is so easy to stamp!  I know some have a hard time with layered stamping, but this set is a very easy one to line up!  

I heat embossed the white branches with white pigment ink from Simon and white embossing powder from Hero Arts.  And, then I used the coordinating die to die cut them out.  On the background, I used the Lawn Fawn Stitched Wood Grain die to give some extra texture.

I thought the edges of my Kraft card stock panel could use "something" so I took a sponge dauber and inked all around with Walnut ink from Lawn Fawn and that really gave it that finished look.  For the ornament I used the Floral ink cube set from Altnew and I used the Coral Berry and Ruby Red to stamp the layered images of the ornament.  

For the sentiment I used the Season's Greetings die from Simon, and die cut some kraft and silver sparkle card stock and stacked them one on top of another to create a dimensional layered sentiment and it really helps for it to pop off of the kraft.

I have both the video and the supply list below.  Thanks for stopping by today, and I will be back soon with Card #6!


Thursday, November 2, 2017

Holiday Card Series 2017 Card 1

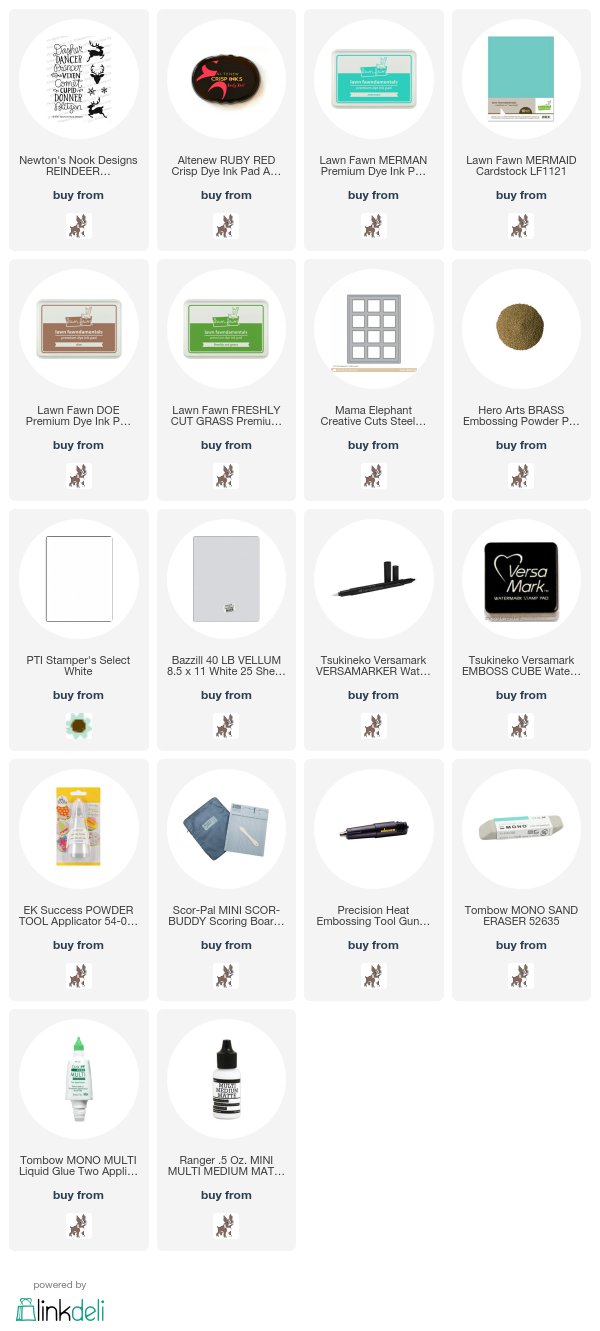
Hi friends!  I am starting my Holiday Card Series for 2017 and wanted to share my first card with you.  I am using the Reindeer Roll Call stamp set from Newton's Nook.  I think this set is a great one for doing quick cards for the holidays when you need them.


I started out by die cutting a piece of white card stock with the Mama Elephant Grid Die - this is one of my favorites recently.  Then, I stamped all three deer images in alternating colors of ink onto each square.  It is a very traditional looking card with these colors.

To bump up things, I decided to stamp the main image of the reindeer names in Versa Mark ink and then coated it in my favorite Brass embossing powder from Hero Arts.  I wanted the edges to have that same look of embossing powder, so I took my Versa MarkER and went along the edges then just dunked the vellum piece into the powder, and heat to set.  This will serve two purposes - to give that finished look, but to also have a disguise if you will for my adhesive so it won't be visible once adhered to the card.

To finish up my card, I stamped a sentiment on the inside (unfortunately this is discontinued).


All supplies used are listed/linked below as well as the video tutorial - see you soon for card #2!


Sunday, October 22, 2017

So Thankful For You

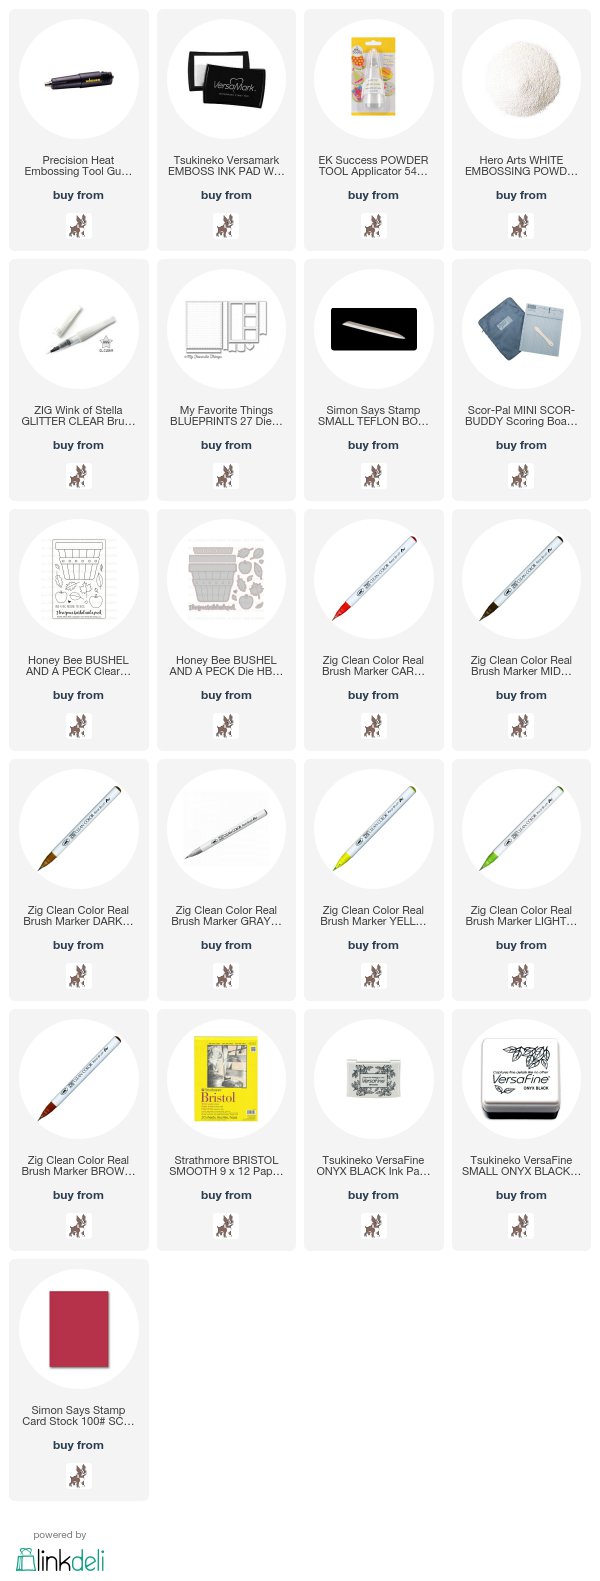
Hi friends!!  Today, I am sharing this card with you that I created using the Honey Bee Stamps Bushel and a Peck stamp set!  I adore this set!  I don't know what it is about baskets, and apples, but it just seems so classic and a representation of fall to me.  And, I love how these images are big enough to hold their on for a focal point on a card!


I stamped these images down onto a piece of Bristol Smooth Card Stock.  This paper pairs well with the Zig Clean Real Brush Markers.  I used a combination of using the Zigs on their own with no water, and some areas using a detail water brush.  I was going for a real rustic look to my basic.  Like the basic had been in the elements outside :)  

I also wanted to do a combination of red and green apples.  The green really adds a nice pop of color, since the basket has a lot of warm tones to it.  


Once I was happy with the coloring, I used the coordinating dies to cut out all the images, and I strategically placed my images, and added them either using liquid glue, or giving them a bit of dimension with foam tape.  As you can see, I used my beloved Blue Prints 27 dies from MFT to place all my images onto.  It is the perfect combination of scallop and stitching to this card panel!


To finish up my card I added my sentiment which comes from an older Lawn Fawn set So Thankful, and added my main panel to an A2 sized card base with is School House Red from Simon Says Stamp. I also added some shimmer with my clear wink of stella pen.  

Thank you for taking the time out of your day to visit me!  I will be back soon with another project!

Kari


Sunday, October 15, 2017

Watercolor on Dark Card Stock | Gansai Tambi Watercolors

Hi friends!  Today I am sharing this card with you that was a complete experiment on my part!  I wanted to create a floral card, but I wanted to do it on dark card stock, and I wanted to the flowers to really pop.  So, I knew I had my Gansai Tambi watercolors and also knowing that these are the more pigmented watercolor I own.
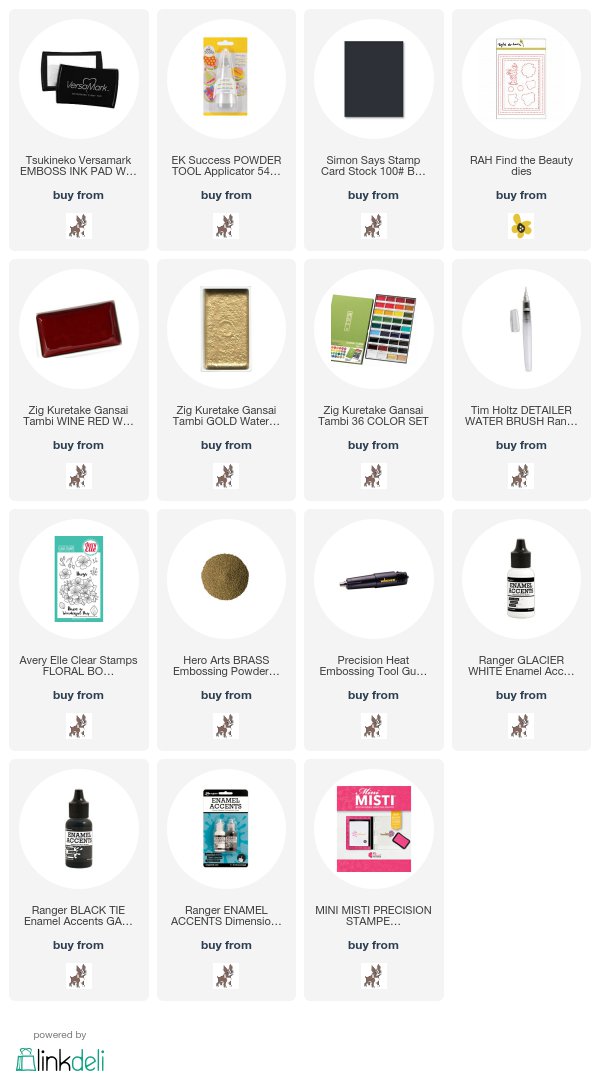
I started out by die cutting a piece black card stock from SSS and the Right at Home stitched rectangle die.  I put my black piece into my MISTI and  prepped my black card stock piece with my anti static powder tool, and then inked up my stamp with VersaMark ink.  I then coated the image with Hero Arts Brass Embossing Powder.  This is one of my favorite metallic powders I own.  I heat set the powder with my heat tool, and then just rubbed my hands to get rid of any residual powder left behind.   I also heat embossed my sentiment at the same time.

I chose two colors from my Gansai Tambi water color palette, and got to work on my Rose Gold inspired flowers.  I knew that the overall look was going to be metallic, but I wanted to have the look of the red/pink in it too to create the look of a rosy gold.  It took a few layers to achieve the look I wanted, but in the end, it turned out the way I hoped.  I also added some green to the leaves as well.

Once the piece was completely dry, I added back in some final accents to the flowers with my black enamel accents from Ranger, and also the white to the buds around the flowers.  I really think this helped the overall look of the flowers.
All there was left to do was add this to a black card base, and the card is complete.  I also have a video tutorial if you'd like to check it out!!  All the supplies used are listed/linked below :)  Have a great rest of your weekend!


Saturday, September 23, 2017

Bitty Bears Birthday Shaker | MFT | Copic Coloring

Has it really been since July since I have blogged??!!  Gosh!!  Well, for those that read my blog - my apologies!

To make up for it, today I am sharing a birthday shaker card featuring the Bitty Bears set from My Favorite Things.  This set is way too cute, and so happy I have it in my collection.  And, the best part is you can create multiple cards with it for different occasions!!

To start, I stamped out the images I wanted to use with my card onto a piece of smooth white card stock ( my favorite is the PTI Stampers Select White) and I used Lawn Fawn Jet Black ink.  Then, I colored in my bears with Copic Markers using E43, E44 and E13 for the body. For the present, balloon and cupcake, I used R39, RV25, RV29, V05, V06 and V09.  Once colored, I used the coordinating dies to die cut them out.  I set them aside, and worked on the background of my card.

I inked up a piece of white card stock using Picked Raspberry, Candied Apple and Wilted Violet Distress Oxide inks.  I love doing ink blending with these inks!  So much easier than traditional distress inks.  Once I was happy with my result, I used my Distress Sprayer to get some water droplets and the distressed look.

Then, I worked on the shaker portion of my card by die cutting a piece of white card stock with the Grid Background die from Mama Elephant.  I went ahead and stamped out my sentiments from the same Bitty Bears set directly onto my Grid die cut panel.  These sentiments fit perfectly!!  Then, I cut down two strips of acetate and adhered the strips on the back of the panel on the ends, and left the middle without acetate.  I added a bunch of foam adhesive, and then added some seed beads in each of the squares on the ends.  I carefully removed the paper backs of the foam adhesive, and added my ink blended panel, and viola!  I have my shaker!

All there was left to do was to add my bears in the middle and I also used foam tape to do this.  To complete the card, I added this whole shaker panel to an A2 Pure Poppy card base..and shake...shake...shake!
So fun!!  I also have a video tutorial if you wanted to see how this one came together!!

I hope not to be absent from my blog this long again!  Thank you all for taking time out of your day to visit me!


Monday, July 10, 2017

You Are JAWsome! ( Duh-nuh)

Hi my friends!!  Today, I am excited to share my design team project for the Butterfly Reflections, Ink  blog as this card was headed in a totally different direction than how it first started!!

I'd love for you to check out the card and all of its creative stages, and read how I ended up creating this JAWsome scene

Here's a sneaky peek!!


Catch you on the flip side :)
Kari

Saturday, July 8, 2017

Combining Distress Inks with Distress Oxide

Hi friends!
Today I wanted share how I used both Distress Inks and Distress Oxide inks together!  It was a layering day as my inks were layered, my stencils, and my die cuts - HAHA!
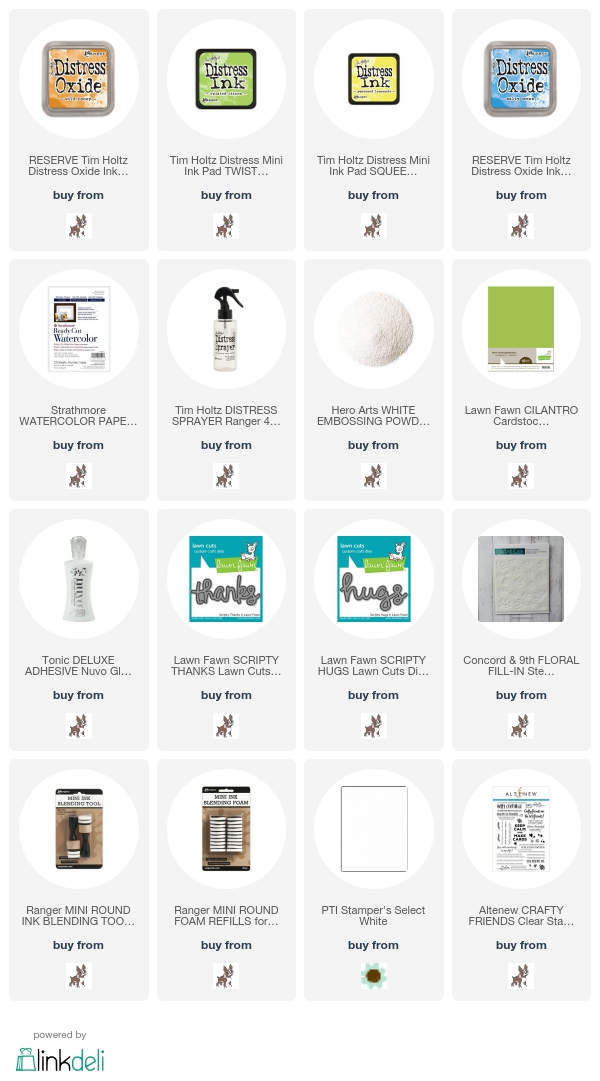
I started out by using a piece of Ready Cut Strathmore watercolor paper, and used the direct to paper technique with my Squeezed Lemonade Distress Ink cube, and covered the entire piece of watercolor paper.  Then, I took out my Fill In Floral Stencils from Concord and 9th, and used the Wild Honey Distress Oxide ink and applied the first layer of flowers.  Then, to add detail to the flowers, I used the second stencil with Twisted Citron Distress Ink.  Very bright, very summer appropriate!
I did the same thing with the blue card which was Salty Ocean Distress Ink, and Oxide ink with the Twisted Citron Distress Ink.  The only stamping I did was the stamping of my sub sentiment from the Crafty Friends stamp set from Altenew.  I also wanted to add a little sparkle and shine, so I die cut both the Scripty Hugs and Scripty Thanks dies from Lawn Fawn from Silver Sparkle card stock from MFT and layered it onto of a white die cut.
Love how they both turned out!  I never get tired of playing with these inks, and you will see more from me in the next coming weeks for sure!!  Have a great rest of the weekend!!

Kari


Monday, June 26, 2017

Flamingo Floatie

Happy Monday friends!!  I know its been a pattern  - but I wanted to share with you that I am over at the Butterfly Reflections Ink Blog featuring the adorable stamp set from Neat and Tangled called Flamingo Floatie!!

Here's a sneak of what you can see over at BRI!


Hope you will join me over there and get additional details on how I put this one together!!

Kari

Saturday, June 24, 2017

Faux No Line Coloring

Hi friends!  Today I am sharing a card showing how to achieve the look of the No Line Coloring technique.  I recently got inspired by Amy R ( Prairie Paper and Ink) when she showed in one of her recent videos the Barely Beige Ink from Simon Says Stamp, and how when you stamp down an image, what ever color you use with your coloring medium, the lines of the stamped image will take on that color!  It is a very cool effect!!

I used a Clearly Besotted set that sadly I can not find online to link, it may be retired, but I love these rose images, and thought this would be a great set to try this look with.

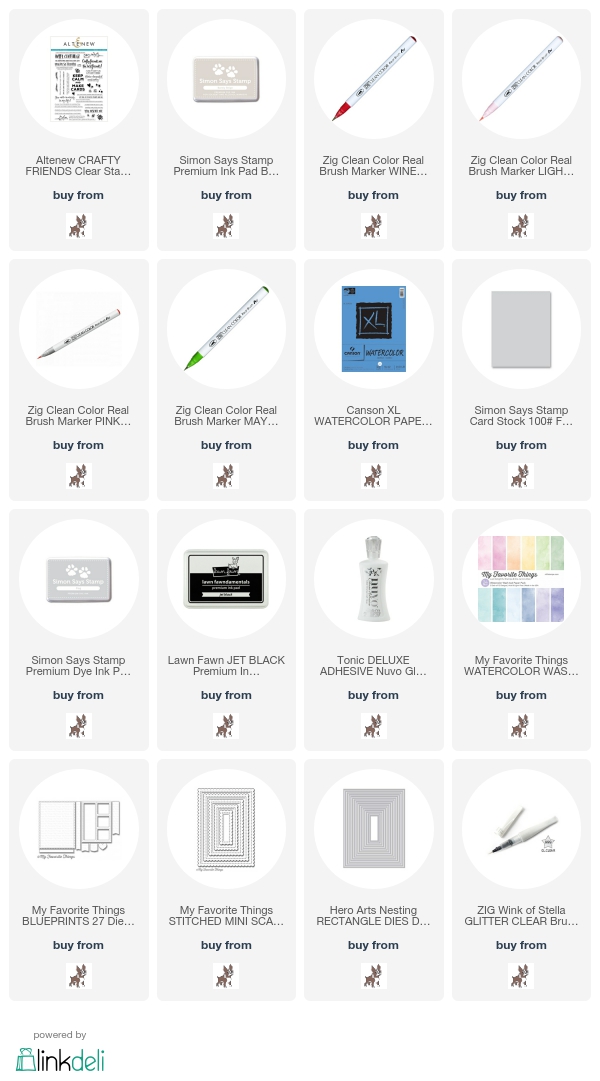
I stamped my image down onto a piece of Canson XL Watercolor paper, and then die cut it with one of the Mini Scalloped Rectangle frames.  I stamped this main image using the Barely Beige Ink from SSS, and used my Zig Clean Color Real Brush Markers to do my coloring.  This is a unique look and different from any thing I've done before, but I think I like it!
Once I was completely done with my coloring, I set the panel aside to dry.  I did the rest of my die cutting, and die cut a piece of the Watercolor wash 6x6 papers from MFT, as well as a piece of Fog Card stock from SSS.  My card base is also Fog card stock.  This is a great neutral, and a great alternative to white.  
I went on and stamped out my sentiment from the Craft Friends stamp set from Altenew using the Lawn Fawn Jet Black ink.  I adhered everything onto my card base using either foam tape, or the Tonic Nuvo Glue (which I am testing out).  For final touches, I added some shimmer with the Clear Wink of Stella pen, and finished the inside by stamping the stamp rose image with Fog ink, and stamping another sentiment from the Altenew set.  
Overall, I think it turned out good, but I will continue to practice and see where my journey takes me with the No Line coloring technique.

Thanks for stopping by today!  All the supplies used are listed/linked below and the video is above if interested! Take care!

-Kari


Monday, June 12, 2017

Stretching Your Stamps!

Friends! Hi and welcome!  I am here to share a sneak peek into a card I created for the BRI Blog today, and I share how I stretched my stamps just a little bit further to create a fun extra element!!  Can you guess what it is??


To find out, head on over!!  See you there!
Kari

Saturday, June 10, 2017

5000 Youtube Subscriber Giveaway!

Hi Friends!  I am quickly popping in to share that I have a giveaway going on over at my Youtube Channel celebrating the milestone of hitting 5000 subscribers!  So if you are not subscribed, I encourage you to check out my channel!!  All the details about the giveaway and how to enter are there!


You have until June 30th!!  Good luck!!
Kari

Monday, June 5, 2017

Hello friends,
It is Monday once again, which means you can find me over at the Butterfly Reflections, Ink blog, and I am showing you how I put together this card featuring the Avery Elle Floral Bouquet stamp set!

This one is a beauty, and I was happy to be able to create with it today!  I'd love for you all to join me over there, and see all the details.  I usually have a video tutorial with my blog post, but today there isn't one, but I promise one is coming VERY soon to my youtube channel  * wink*

See you over at BRI :)
Kari

Monday, May 29, 2017

Hi Friends!  Happy Memorial Day!  Today I am over at the Butterfly Reflections Ink Blog featuring two one layer cards! Here's a sneak peek!  I love the look of the simplicity of a one layer card when it has a rainbow look!

I'd love for you to check it out, and of course I have a video tutorial on these cards, and you can check that out. Link to all products used as well as the video are over at the BRI blog!  

See you there!


Saturday, May 20, 2017

Pawsome Day | Lawn Fawnatics Challenge #5

Hi friends!  Hope your weekend is off to a relaxing start!  Today I am sharing with you my entry for the latest Lawn Fawnatics Challenge.  This challenge they are featuring a Mood Board with images to get your creative juices flowing!  Of course, what stood out to me is the kitties!!

So, I decided to create my card around that.  I also saw pretty flowers, so I thought it would be cute to have the leaning kitty in the Meow You Doin' stamp set smell the flowers!


To create my flowers, I die cut the set of flowers from the Wonderful Window die set, first from green card stock, and then again in white.  I colored the die cut flowers in white with my Copic Markers, and then carefully adhered the flowers to the sets of green die cuts to make it look like it was cut that way all along.  This is a little tedious, but worth it in the end.  I sat those aside, and worked on my kitty.  I stamped him onto a piece of white card stock with Jet Black ink from Lawn Fawn, and also colored him with my Copic Markers.  The fun thing about coloring kitty cats is you have a lot of freedom!!  I die cut him with the coordinating die.  I also die cut the sun from white card stock that I simply colored with Copic Markers, and also die cut a grassy border.  For my white panel, I die cut using the Stitched Journaling card die - an old favorite, and I inked it up with my newest obsession, the Cloud Stencil from MFT with Tumbled Glass Distress Ink.
I thought the Perfectly Plaid Rainbow papers fit my card perfectly, and it helped frame my card design.  I die cut them from the Stitched Rectangles from Lawn Fawn to have a finished edge.  For my sentiment, I die cut a white card stock banner, and stamped the 'Wishing you a Pawsome Day' with Jet Black ink.  To finish off my card once everything was adhered into place, I added some shimmer with my Wink of Stella pen onto the sun and the flowers :)

I think this card came out cute, and I am happy to add it to the gallery!!  

Thanks for stopping by today!
Kari