Friday, April 6, 2018

Lawn Fawn Day 5 with Christy Gets Crafty Collab!

Hi friends and welcome to Day 5 and my final day of  Lawn Fawn Week!!  I can't believe it has gone by already!  Today I have a special collab with Christy Gets Crafty ( Christy Reuling ) - she is one of my best friends and crafty friends and I am I so happy she decided to do this with me!  I will have her video linked below if you would also like to check it out!  

For today's card - I wanted to do something a little different for me.  I wanted to achieve two things on my card - a monochromatic look, and I wanted to get out my colored pencils.  I haven't used them in LONG time!


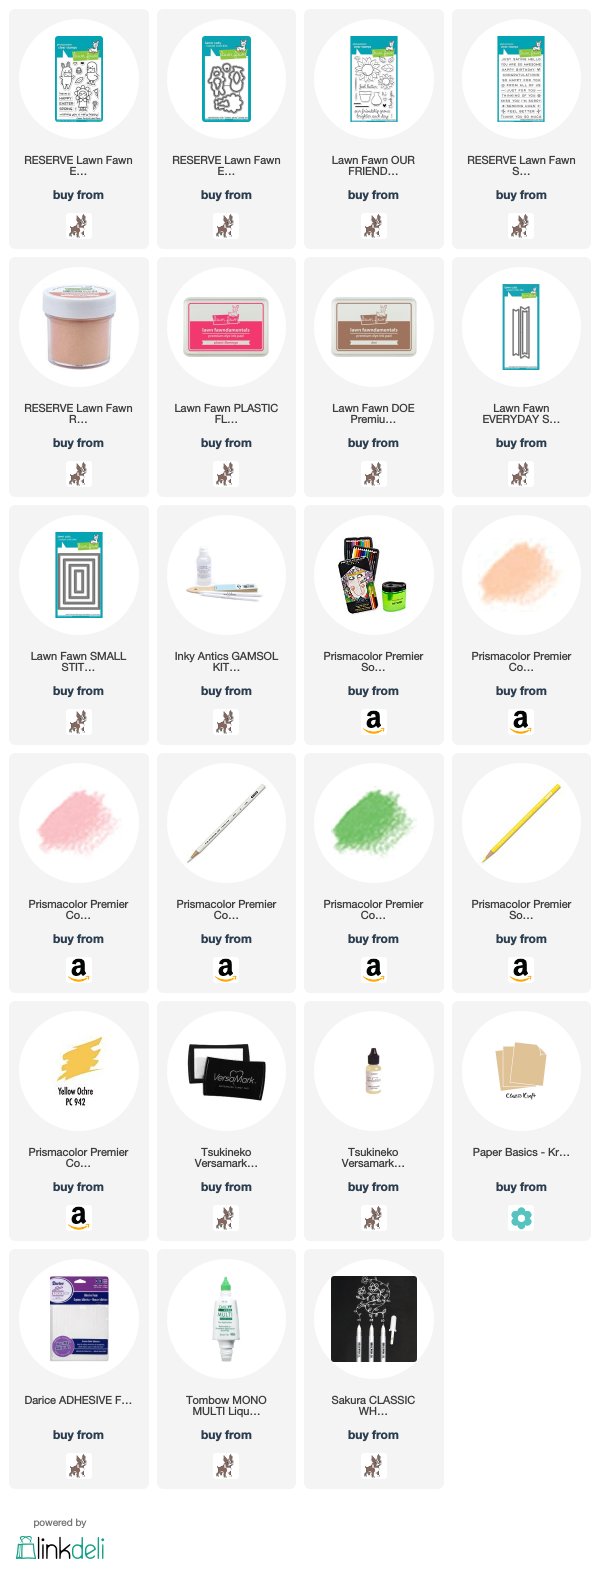
For our collab - the theme was to use a new set along with an older set from LF.  I used Our Friendship Grows as my old set ( it is one of my all time favs ) and Easter Party for my new set.  I started out by creating my background onto a piece of kraft card stock.  I stamped in Versamark the flowers from Our Friendship Grows, and I heat embossed them with Rose Gold Embossing Powder from LF.  Then, I wanted to add some white highlights.  I started out using my white gel pen, but then I pulled out my white colored pencil, and that is when I made the decision to color in my girl with the pencils too!


I love how she turned out, and I got the itch to play with my colored pencils more!!  Sometime I'd like to invest in some of the Faber Castell PolyChromos pencils too.  Once I was happy with my colored image, I die cut it out with the matching die, and also a white piece of cardstock using one of the Everyday Banners, and I stamped out my sentiment from Simply Sentiments.  I added my girl to my banner with liquid adhesive, and added some foam adhesive all over the back of this entire piece.  I die cut my background with one of the Stitched Rectangle Stackables, and then I adhere my main panel to to another piece of kraft card stock.
For the inside, I stamped out the largest flower from Our Friendship Grows in Doe ink, and another sentiment from Simply Sentiments in Plastic Flamingo ink.


Well - that's it!!  This is a wrap on Lawn Fawn Week.  I still have the giveaways going on - so if you havent' checked out that video - I encourage you to.  Thank you so much again for Christy to join me for this collab!!  

Video Tutorial - https://youtu.be/zvIs7CqrXqA

Christy's Video - https://www.youtube.com/watch?v=2ehnYW7MvhE&feature=youtu.be


Thursday, April 5, 2018

Lawn Fawn Day 4 - Giveaway!

Hi Friends! Welcome to Day 4 of Lawn Fawn Week!  Today is about GIVEAWAYS!  YAY!  I thought it would be fun to be able to do a couple of giveaways, so in order to find out the details, and what is up for grabs - I invite you to watch today's video!!  


Video Link - https://youtu.be/4hK72EkR9iE


I hope you have enjoyed this week so far!  Come back tomorrow for my last day for Lawn Fawn week as I will have a special guest!  See you then!

Kari

Wednesday, April 4, 2018

Lawn Fawn Week Day 3

Hi friends!  Welcome to Day 3 of Lawn Fawn Week!!  Hopefully you are not too tired of me yet!  :)

Today I am sharing a tutorial using Sweet Friends.  I mentioned in yesterday's video that I had some technical difficulties which caused me to have to refilm and remake the card for Day 2.  Welp - it also has happened for Day 3 as well, but it is alright.  If anything, I have learned from this experience not to panic (too much) and I was able to still get a video tutorial up for all of you.


I went ahead and created a different card though than the original card I made for the first video, but I used the same supplies, but added a few extra.  I will still share the original card I made with you too.  I wanted to ink up this cute yogurt or "froyo" cup 4 times, and color it in with four color combinations.  Once I stamped, colored, and die cut my images, I die cut 4 small squares using one of the stitched square stackables dies with the Gotta Have Gingham papers to match each froyo cup.

Before adding any of my pieces to this card base, I stamped out a custom sentiment using Owen's ABC's and stamped it out with Lawn Fawn ink.  I created a faint pencil line for a guide, and then once I stamped it down, I was able to simply erase that line.

I then added the die cut elements to the card front panel which is a piece of white card stock that I die cut using the largest of the Large Stitched Rectangle Stackables dies.  I used my liquid adhesive to do this quickly and easily.

For the inside, I stamped out some sprinkles, and then added my additional sentiment.


Super cute, and perfect for a sweet friend!!  

For my original card, I made a Pivot Pop Up Card - I like both, and I hated that I lost all of my video footage, but I still was able to create a card and video tutorial.


That's is from me today!  Be sure to come back tomorrow, as I will be talking about the GIVEAWAYS and how you can enter to win!  See you then!!


Tuesday, April 3, 2018

Lawn Fawn Week Day 2

Hello, and welcome back to Day 2 of  my Lawn Fawn week!!  If you didn't catch Day 1, I encourage you to see the previous post as it explains why I decided to do this on my blog and YouTube Channel.

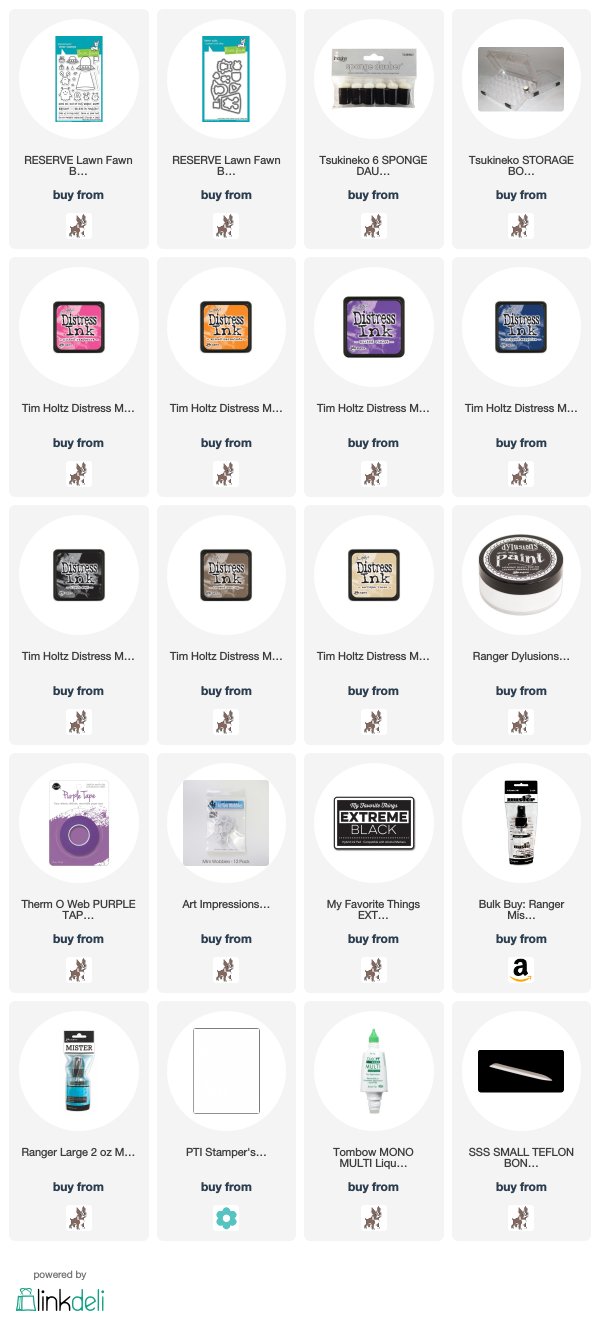
Today, We are headed into outer space with Beam Me Up!


I wanted to create a fun card using this set, but in a different way from other cards that I have personally seen through out the web and Instagram.  I decided to create a masked off galaxy background, and also create it directly onto my card base.  I know - pretty brave on my part as it could all go wrong quickly.  Luckily I have some very good masking tape - The "purple" tape, and it allowed me to do this in an effortless way!

I started off by doing just that - masking off a section of my white card base with that purple tape, and then I took vibrant colors of Distress Inks ( all colors listed/linked below) and took a finger dauber, and messily added the colors in circle groups within my masked area.  Once I had the color down, I added chipped sapphire and black soot to create the darkness of my galaxy.  Next, I spritzed on some water, and let it create some faded stars to the look, and I dabbed it up with my microfiber cloth.  Then, I moved on to adding my white paint splatters for the more visible stars.  This is so much fun to do, and I must say VERY addicting!!  It really brings to life a galaxy background!

Next, I created my "ground" or "planet" with more Distress inks, and made it look very distressed.  Once I was happy with this look, I set both aside to completely dry - because after all this was all done on just white card stock!  I then moved on to stamping my images I wanted to use from Beam Me Up.  I colored them in with my Copic Markers, and once complete, I die cut them out with the matching dies.

I added my party hat to the smallest alien, and then added him to his spaceship.  Once my card base was dry, I removed my masks, and revealed nice crisp edges!  So satisfying!!  I also cut down to size my planet to fit with my masked scene.  I added my other alien image and the present with liquid glue. And, for the spaceship, the fun element - an action wobbler!!  To see this in action - you can watch the video tutorial!! 
And the final step, was to add my sentiment on the inside that reads Have An Out Of This World Birthday!

Video Tutorial - https://youtu.be/7Y8S8HN7c9U

Thank you for joining me today!  Be sure to come back tomorrow for Day 3! See you then!


Monday, April 2, 2018

Lawn Fawn Week Day 1

Hi friends!!  Welcome to a special series that I have put together to highlight one of my favorite stamp companies, Lawn Fawn!  I have been planning this idea for little over a month now, and today is the kick off of this fun week over at my blog and Youtube Channel.  I will have a video tutorial every day and even a collab with a special friend, and some fun prizes to giveaway too!!

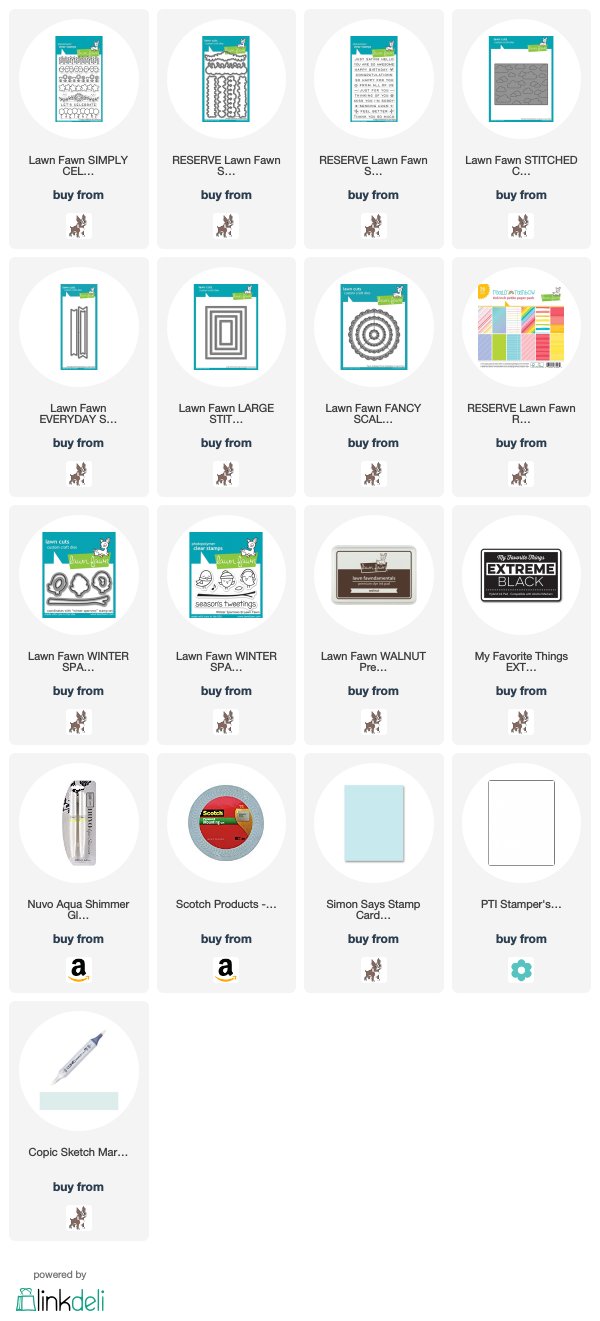
First card I am showcasing features Simply Celebrate and the Really Rainbow 6x6 paper pad.  I thought these two would be a great fit for Day 1!


I started out by taking one of the papers from Really Rainbow and die cutting it down using the largest of the Large Stitched Rectangle Stackables.  I also die cut a piece of white card stock using the Stitched Cloud Backdrop:Landscape Die, and then taking that and die cutting that piece using the largest Fancy Scallop Circles Die.  I wanted to add a little blue to the background of my sky, so I simply used my BG10 Copic Marker, and filled in that area.  I stamped out the branch from Season's Tweetings, and using its die to cut it out, and I also stamped out the bird "lineup" from Simply Celebrate and used my Copics to color these birdies in rainbow colors of course.  

I did trim off three of the birds on the end to have five of the birds on the front of the card, and the other three will be on the inside.  I stamped out my sentiment from Simply Sentiments onto a die cut banner from the Everyday Banners die set and I adhered it to my circle panel with liquid adhesive, and pop up the entire piece with foam adhesive.  I added the branch, and the birds also with liquid adhesive.  For the inside, I stamped another sentiment from Simply Sentiments and added my other birds to the right hand corner to finish it off.  If you'd like to check out the video tutorial, I have it linked for you.  All the supplies will be linked below as well!  Be sure to keep returning this week, especially for Day 4, as I will be doing my giveaway video!  See you then!
Kari

Video Tutorial - https://youtu.be/zZOopm7eKl4