Friday, March 23, 2018

Lawn Fawnatics #25 Color Inspiration Challenge

Hi friends!! I am back with another entry for the latest Lawn Fawnatics Challenge, and it is my favorite!  RAINBOW!  I was excited to play!


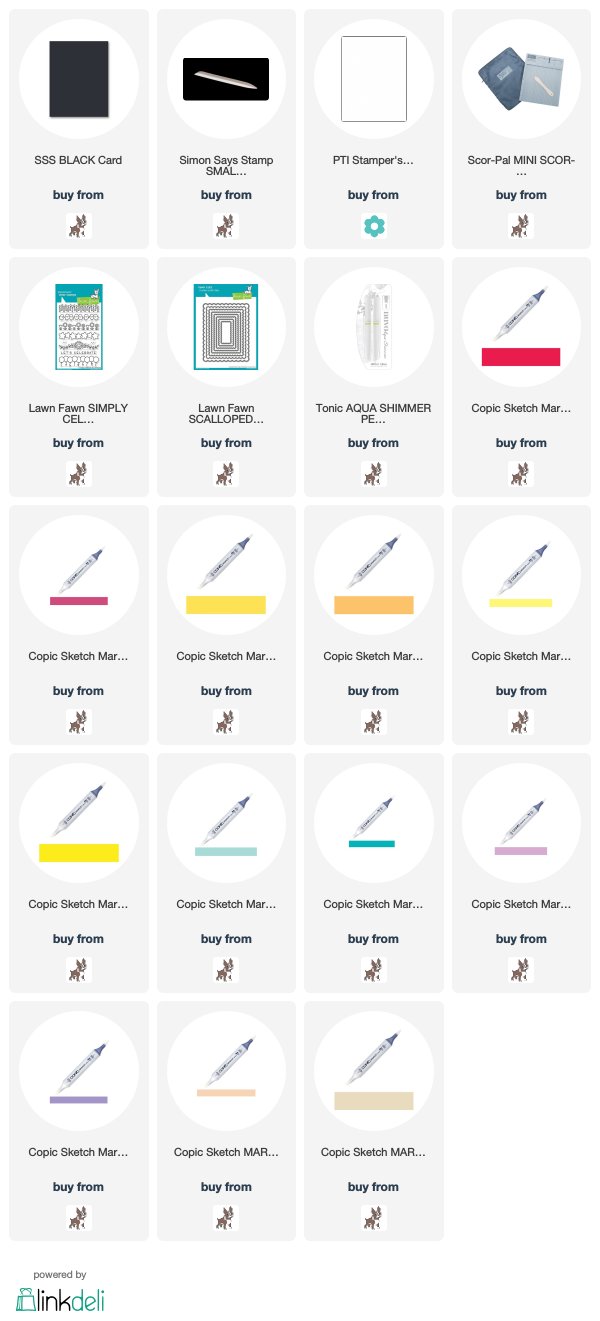
I wanted to create a simple in design card, but feature that rainbow goodness!  So, I stamped out down my white card stock panel the flower border image from Simply Celebrate.  Once I stamped them in Copic friendly black ink, I colored them in with my Copic Markers.  

Once they were colored in, I added the Let's Celebrate sentiment which is from the same stamp set.  I die cut my main panel down using the Scalloped Rectangle Stackables dies, and then mounted it onto a black A2 card base popped up with foam tape.  

For some final touches, I added some shimmer pen, and some white pen accents to really make the flowers pop.  Simple, but colorful!  My favorite!

Thanks for stopping by!
Kari


Sunday, March 11, 2018

Lawn Fawnatics Challenge #24 Fun With Dies

Hi friends!!  Today I am sharing with you my entry for the latest Lawn Fawnatics Challenge Fun with Dies.  I decided to play with the new Pivot Pop-up Die!  So unique, and LF always makes it easy to create these fun interactive cards with their dies!

I won't lie - it took me 2 1/2 hours to create this card, mostly because I didn't know what direction I wanted to go in. But, once I figured it out, there was no stopping me in creating this card.  I don't make really in depth cards like this one very often.  Simply because my crafting time on the weekends is limited, and I want to make the most from my time, but I wanted to see how far I could get with this particular card.

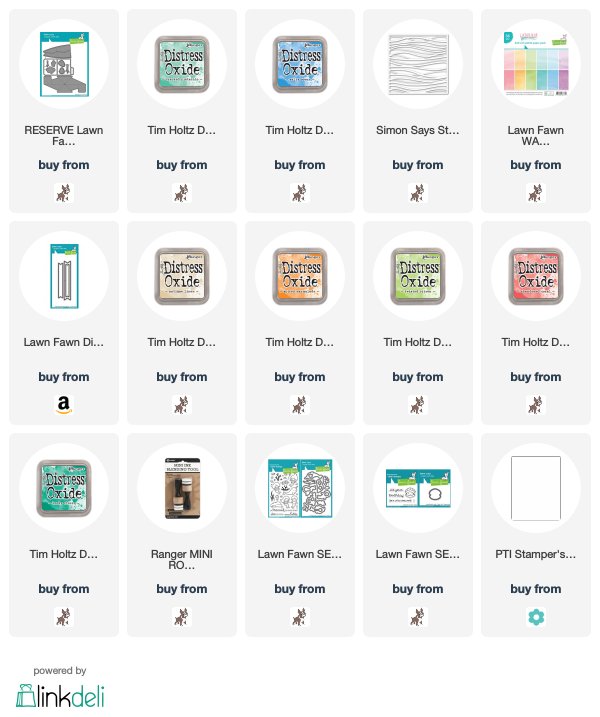
I first did A LOT of ink blending with Salty Ocean and Cracked Pistachio Distress Oxide Inks.  Once I was complete with it, I took a stencil that created the look and the illusion of waves of water.  It really adds that texture this card needed.

Then, I stamped out some images from Mermaid for You and Year Six stamp sets, and colored them in with my Copic Markers.  Once colored, I die cut them out with the matching dies, and then I die cut my Pivot Pop Up pieces.  I assembled the main pieces of the pop up, and before I assembled anything, I did all the stamping I needed to do in order to make the process a bit easier.


Next, I put together the pop up mechanism, and put into place, and then I added all my scene building die cuts.  


I actually worked on the front of the card last, because I didn't know what I wanted to do for it, but in the end, I kept it simple as the star of the show is on the inside. 

I do love how it turned out, and it will be a fun birthday card to give a friend for sure!!

Thank you for stopping by today!


Sunday, March 4, 2018

Lawn Fawnatics Challenge #23 - New Technique

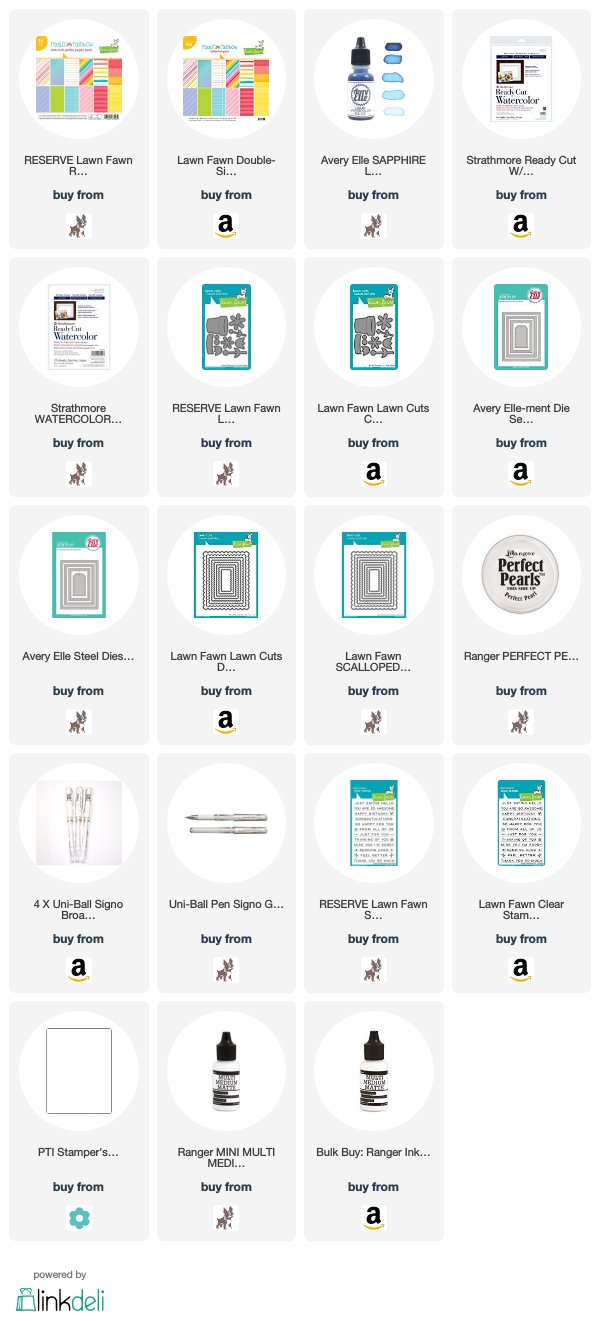
Hi friends!! I am popping in today to share with you my entry for the latest Lawn Fawnatics Challenge which is to try a new technique you've never tried before - I have two that I incorporated onto my card.  I tried creating a watercolor wash ombre' background and adding shimmer splatter with Perfect Pearls.  Two seem to be easy, but it isn't usually my go to look and I actually love the way this card turned out!


I started out my card by taking a piece of watercolor paper and used some liquid watercolors and I created a purple into light purple ombre background.  Once my background was dry, I took some Perfect Pearls pigment powder in Perfect Pearl, and added a bit of water and created a small puddle of liquid shimmer and did a light splatter over the background.  And, once you hold up the card, you will see the shimmer catch the light.  It is very pretty.  

Next, I cut down my background using the Lawn Fawn Scalloped Rectangles die, and used the next to largest one in the set.  I, then chose some rainbow patterned paper from the new Really Rainbow 6x6 and created a scalloped pierced frame with an Avery Elle die set I have.  Next, I die cut some watercolor scraps I had in my stash, and used the Little Flowers die set, and created my pot of flowers, and the rainbow frame was the inspiration for bringing all of the colors together.  To create a grounding for my pot of flowers, I took a scrap piece of green cardstock, and added that to the back of my frame.  For my sentiment, I stamped the Sending Hugs sentiment from the new Simply Sentiments stamp set and stamped it out using LF Jet Black Ink.  Once I had all of my elements together, I used liquid adhesive to adhere them to my card, and for a final touch, I added white highlights to the pot, the flowers, and a faux stitched edge to the green "grounding" piece, and added it to a A2 size white card base.


Super Cheery and happy!!  Hope it brings a smile to your face today!!  

See you soon!
Kari