Showing posts with label Distress Oxide Inks. Show all posts

Wednesday, May 22, 2019

MFT Sketch Challenge #438 - Guest Designer

Hi Friends!  I am over the moon excited to be the Guest Designer for May 2019 for the Weekly Sketch Challenge for My Favorite Things! This is my last week to design for the sketch challenge and I have had so much fun and enjoyment designing for MFT! 

For this week's sketch #438 - I used the sketch as a starting point for my design, but used it in a bit of a different way.


I wanted to use the new Watermelon Slice Die-namics on my card as my focal point.  So - I started off my creating my own colored card stock for my watermelons by using white card stock blending on some Distress Oxide Ink colors in Festive Berries and Abandoned Coral for the main part of the watermelon and for the rine Mowed Lawn and Twisted Citron.  I love the various color that the ink gives.  


After I die cut my watermelon pieces out, I adhered them together with liquid glue and added a bit of shimmer to them but flicking the shimmer on with my brush shimmer pen instead of traditionally brushing it on.  I did fully go over the seeds however :)  

I set aside my watermelon pieces and worked on the rest of my panel by taking a piece of white card stock and one of the Stitched Scallop Basic Edges Die-namics and created a banner edge to my white card stock piece.  I wanted something to contrast my watermelon pieces and the white card stock piece, so I added a piece of the Black and White Stripes 6x6 paper to my card base and adhered my white card stock piece with foam adhesive to pop it up off the card.  

Before adding my watermelon pieces, I added a soft yellow background by blending on Mustard Seed Distress Oxide ink in a circular motion. I then added on my watermelon.  For the sentiment I stamped out one of the sentiments from the new Sweet Sentiments stamp set in black ink and die cut it out with one of the new Skinny Strips Die-namics and added it to my card and my card is complete!


I hope you are able to join in and create with the new sketch!!  Thank you once again to the MFT gang for inviting me to design this month!  I've thoroughly enjoyed it and it has been a highlight in my crafty journey to this point!! Have a great rest of the week!

Kari


Saturday, November 24, 2018

3 CARDS 1 STAMP SET

Hi and welcome!  Today I wanted to share 3 cards that I created using just 1 stamp set.  I love the new one from Mama Elephant called Sending Hugs!  I feel it will quickly become a staple for me sending those everyday cards to friends and family!


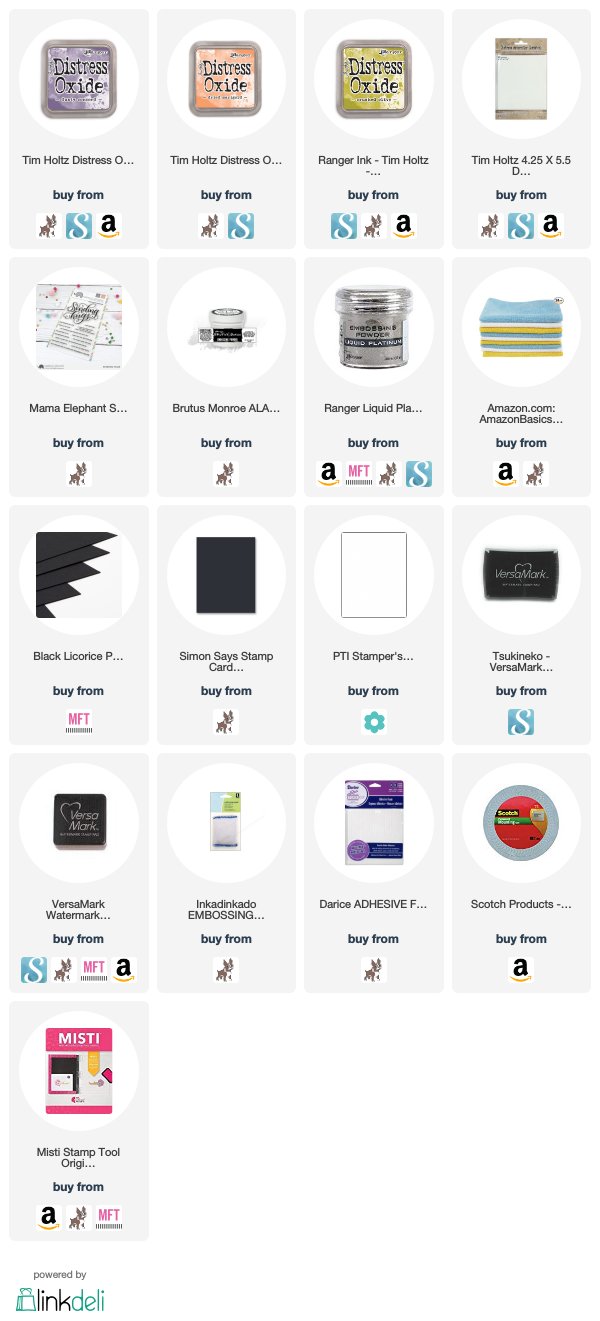
I used one of my favorite techniques, embossed resist with Distress Ink ( or Oxide Inks ).  I also created these cards in an assembly line style to make the process a bit faster.  I started out by prepping my distress watercolor card stock panels with my anti static powder bag.  Of course I used my MISTI stamping tool to stamp down my Sending Hugs sentiment as it is a bigger stamp.  Once I had all three panels stamp, I covered them with either white embossing powder or I also used Ranger's Liquid Platinum for something a bit different.  

Once I melted all of the embossing powder with my heat tool, I started the inking with my Distress Oxide inks.  I used Crushed Olive, Dried Marigold, and Dusty Concord.  

Once all of the panels were inked, I used my spritz water bottle, and added some water droplets to add a bit of texture to the backgrounds.  I used my heat tool to heat set them once again, to make sure they were dry.  I then created sub sentiments on black card stock, and also white heat embossed each sentiment.  I cut the sentiments down with my paper trimmer and scissors and added foam adhesive to each, and adhered them to my panels.  

Then, for each card, I added one more sentiment on the inside.


I used my acrylic block and stamped each sentiment with black versafine onyx black ink


I love making cards like this.  It is good to make some of these up and have on hand for when the occasion calls for it, and this stamp set from Mama Elephant does the job with one set!!  You can also see how these cards came together in my video tutorial here
Thanks for stopping by!!


Sunday, March 11, 2018

Lawn Fawnatics Challenge #24 Fun With Dies

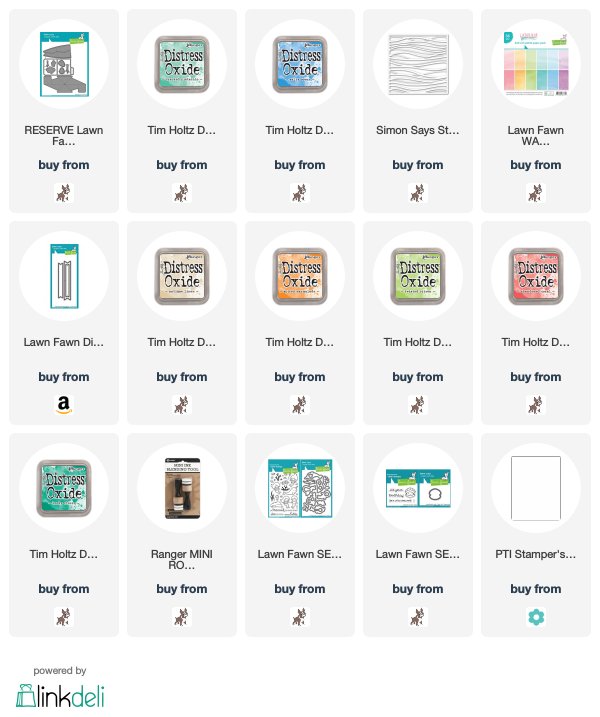
Hi friends!!  Today I am sharing with you my entry for the latest Lawn Fawnatics Challenge Fun with Dies.  I decided to play with the new Pivot Pop-up Die!  So unique, and LF always makes it easy to create these fun interactive cards with their dies!

I won't lie - it took me 2 1/2 hours to create this card, mostly because I didn't know what direction I wanted to go in. But, once I figured it out, there was no stopping me in creating this card.  I don't make really in depth cards like this one very often.  Simply because my crafting time on the weekends is limited, and I want to make the most from my time, but I wanted to see how far I could get with this particular card.

I first did A LOT of ink blending with Salty Ocean and Cracked Pistachio Distress Oxide Inks.  Once I was complete with it, I took a stencil that created the look and the illusion of waves of water.  It really adds that texture this card needed.

Then, I stamped out some images from Mermaid for You and Year Six stamp sets, and colored them in with my Copic Markers.  Once colored, I die cut them out with the matching dies, and then I die cut my Pivot Pop Up pieces.  I assembled the main pieces of the pop up, and before I assembled anything, I did all the stamping I needed to do in order to make the process a bit easier.


Next, I put together the pop up mechanism, and put into place, and then I added all my scene building die cuts.  


I actually worked on the front of the card last, because I didn't know what I wanted to do for it, but in the end, I kept it simple as the star of the show is on the inside. 

I do love how it turned out, and it will be a fun birthday card to give a friend for sure!!

Thank you for stopping by today!


Saturday, November 18, 2017

Holiday Card Series 2017 Card #6 | Ombre' Inking ( and fixing mistakes )

Hi Friends!!  I hope you had a nice week!!  I am sharing with you Card #6 in my Holiday Card Series.  I wanted to use this big scripty Merry Christmas from Simon Says Stamp.  I also wanted to do one of my favorite techniques, embossed resist.

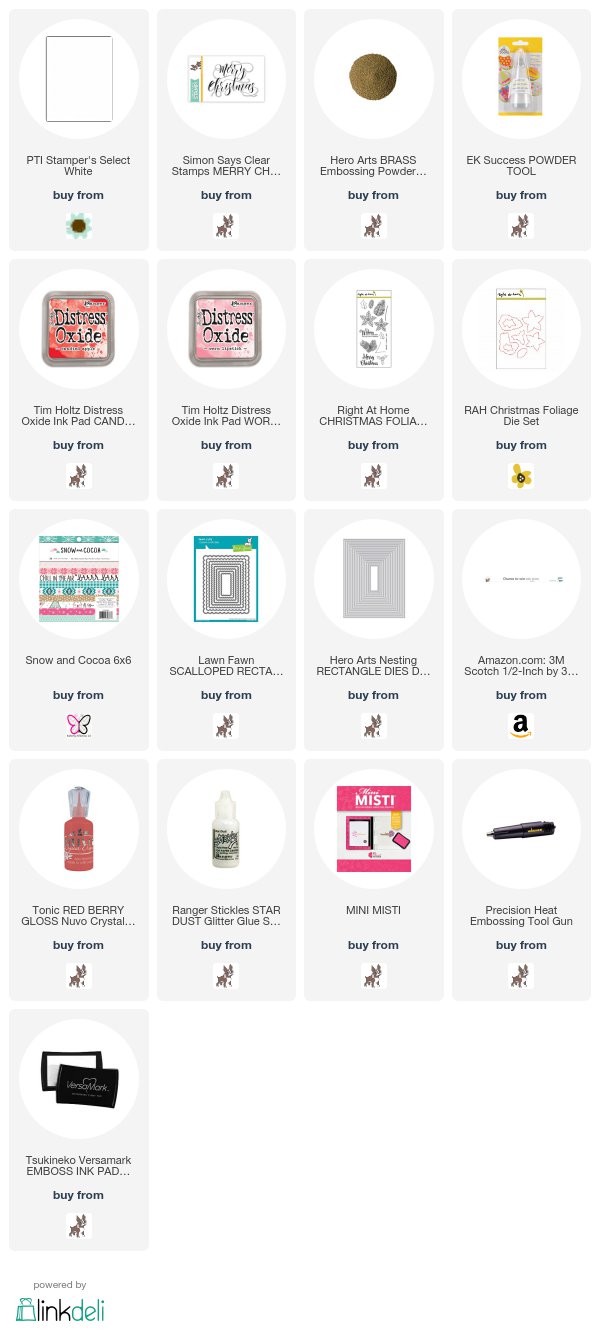
I started my card by prepping my white card stock with my anti static powder tool, and stamped the Merry Christmas with Versa Mark ink, and then coated the sentiment with Hero Arts Brass Embossing Powder.  I used my heat tool to set the powder and until melted.  

I then started inking up my background with Worn Lipstick and Festive Berries Distress Oxide inks.  I knew in the back of my mind that I would lose a lot of the embossed shine on my sentiment because of the inking, but I went ahead and continued with the inking. Once I was happy with my result, I thought I would re-emboss the sentiment.  I tried to speed up the drying process of the inked background, but I didn't prepare it good enough as I thought I had.  I restamped the sentiment as before and applied more embossing powder, and as I thought, some of the powder stuck to my background.  I took a dry brush, and tried brushing away most that I could, and then heat set it.  There was some powder that I couldn't get off, but it was alright. I think it turned out just fine :)


I wanted to add a bit more around my sentiment, so I stamped, colored and die cut the holly cluster from the Christmas Foliage set from Right at Home, and popped it up with foam adhesive.  I matted my inked piece of with piece of patterned paper from the Snow and Cocoa 6x6 pad, and die cut it with a Scallop Rectangle frame from Lawn Fawn.  Once I added my entire panel to my card base, I added some Nuvo Crystal Drops to my berries, and some Star Dust Stickles to the leaves for extra shine.
If you are interested in the video - it is below with the supplies I used!  Thanks for stopping by!!
I'll be back with Card 7 soon!

Kari


Saturday, September 23, 2017

Bitty Bears Birthday Shaker | MFT | Copic Coloring

Has it really been since July since I have blogged??!!  Gosh!!  Well, for those that read my blog - my apologies!

To make up for it, today I am sharing a birthday shaker card featuring the Bitty Bears set from My Favorite Things.  This set is way too cute, and so happy I have it in my collection.  And, the best part is you can create multiple cards with it for different occasions!!

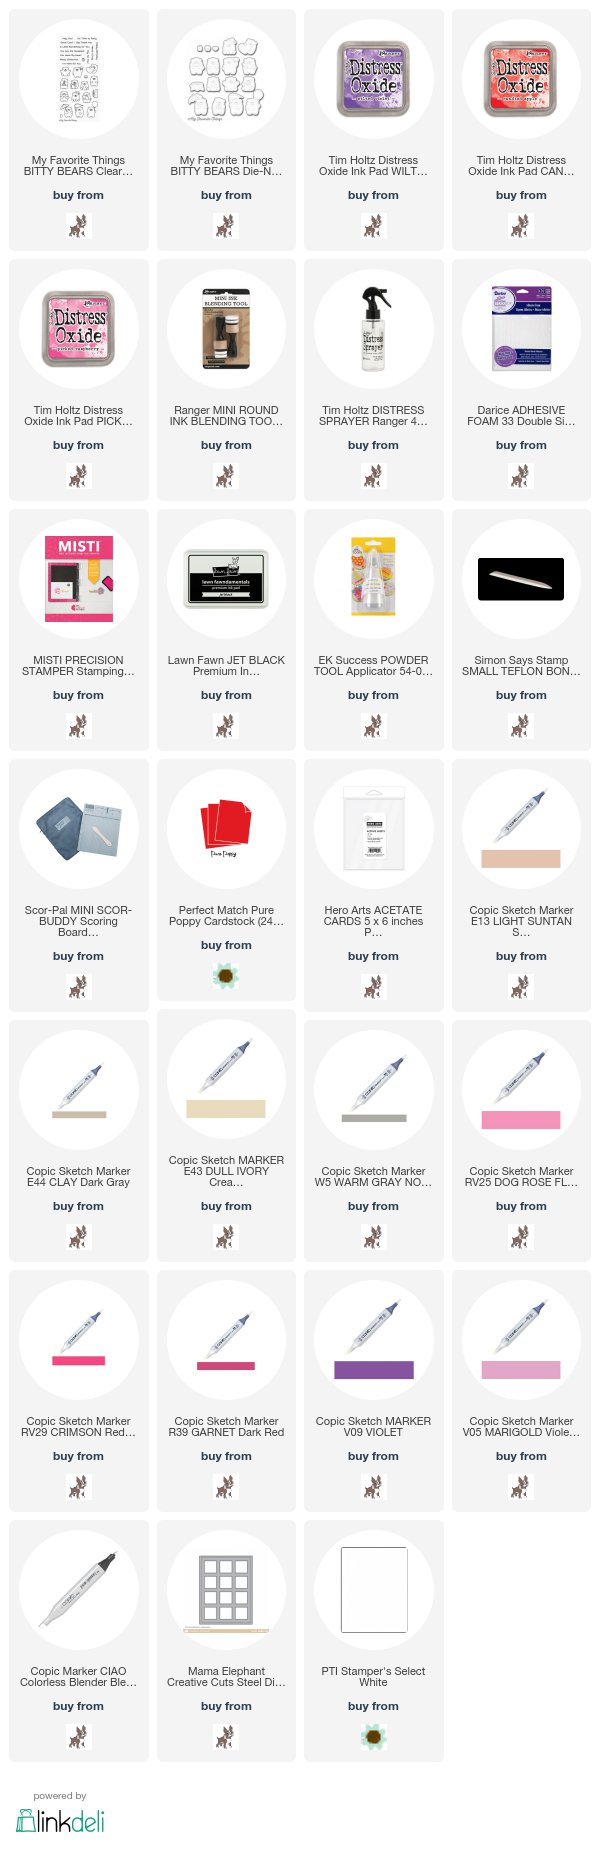
To start, I stamped out the images I wanted to use with my card onto a piece of smooth white card stock ( my favorite is the PTI Stampers Select White) and I used Lawn Fawn Jet Black ink.  Then, I colored in my bears with Copic Markers using E43, E44 and E13 for the body. For the present, balloon and cupcake, I used R39, RV25, RV29, V05, V06 and V09.  Once colored, I used the coordinating dies to die cut them out.  I set them aside, and worked on the background of my card.

I inked up a piece of white card stock using Picked Raspberry, Candied Apple and Wilted Violet Distress Oxide inks.  I love doing ink blending with these inks!  So much easier than traditional distress inks.  Once I was happy with my result, I used my Distress Sprayer to get some water droplets and the distressed look.

Then, I worked on the shaker portion of my card by die cutting a piece of white card stock with the Grid Background die from Mama Elephant.  I went ahead and stamped out my sentiments from the same Bitty Bears set directly onto my Grid die cut panel.  These sentiments fit perfectly!!  Then, I cut down two strips of acetate and adhered the strips on the back of the panel on the ends, and left the middle without acetate.  I added a bunch of foam adhesive, and then added some seed beads in each of the squares on the ends.  I carefully removed the paper backs of the foam adhesive, and added my ink blended panel, and viola!  I have my shaker!

All there was left to do was to add my bears in the middle and I also used foam tape to do this.  To complete the card, I added this whole shaker panel to an A2 Pure Poppy card base..and shake...shake...shake!
So fun!!  I also have a video tutorial if you wanted to see how this one came together!!

I hope not to be absent from my blog this long again!  Thank you all for taking time out of your day to visit me!


Saturday, July 8, 2017

Combining Distress Inks with Distress Oxide

Hi friends!
Today I wanted share how I used both Distress Inks and Distress Oxide inks together!  It was a layering day as my inks were layered, my stencils, and my die cuts - HAHA!
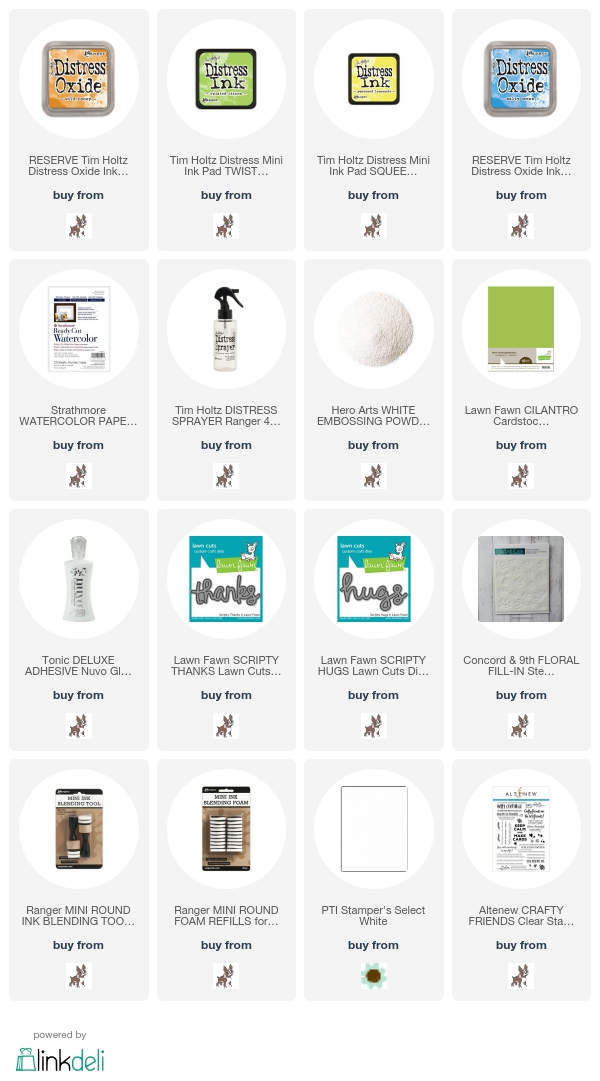
I started out by using a piece of Ready Cut Strathmore watercolor paper, and used the direct to paper technique with my Squeezed Lemonade Distress Ink cube, and covered the entire piece of watercolor paper.  Then, I took out my Fill In Floral Stencils from Concord and 9th, and used the Wild Honey Distress Oxide ink and applied the first layer of flowers.  Then, to add detail to the flowers, I used the second stencil with Twisted Citron Distress Ink.  Very bright, very summer appropriate!
I did the same thing with the blue card which was Salty Ocean Distress Ink, and Oxide ink with the Twisted Citron Distress Ink.  The only stamping I did was the stamping of my sub sentiment from the Crafty Friends stamp set from Altenew.  I also wanted to add a little sparkle and shine, so I die cut both the Scripty Hugs and Scripty Thanks dies from Lawn Fawn from Silver Sparkle card stock from MFT and layered it onto of a white die cut.
Love how they both turned out!  I never get tired of playing with these inks, and you will see more from me in the next coming weeks for sure!!  Have a great rest of the weekend!!

Kari


Sunday, February 26, 2017

NEW: Distress Oxide Inks

Welcome back friends!!  Today I wanted to share with you the NEW Distress Oxide inks, and the experiences that I have had with them so far.  Even though I have only had them for a day, I am already in love with these new inks, and the possibilities they hold!

I won't go into a whole lot of detail on the cards or the process here on my blog, as I really tell you a lot of my thoughts and explain the process of the cards in the video tutorial below!!

If you would like the short and sweet version though - in my opinion, these are a MUST HAVE!  Easy and fun to play with, and the technique possibilities  are endless!!


I created the card above in the video, but I also created this card below yesterday while playing, and I entered this card into the latest SSS Flickr Challenge: Anything Goes!

All the supplies used for all the cards in the video and shown here are listed/linked below!