Showing posts with label emboss resist. Show all posts

Saturday, November 24, 2018

3 CARDS 1 STAMP SET

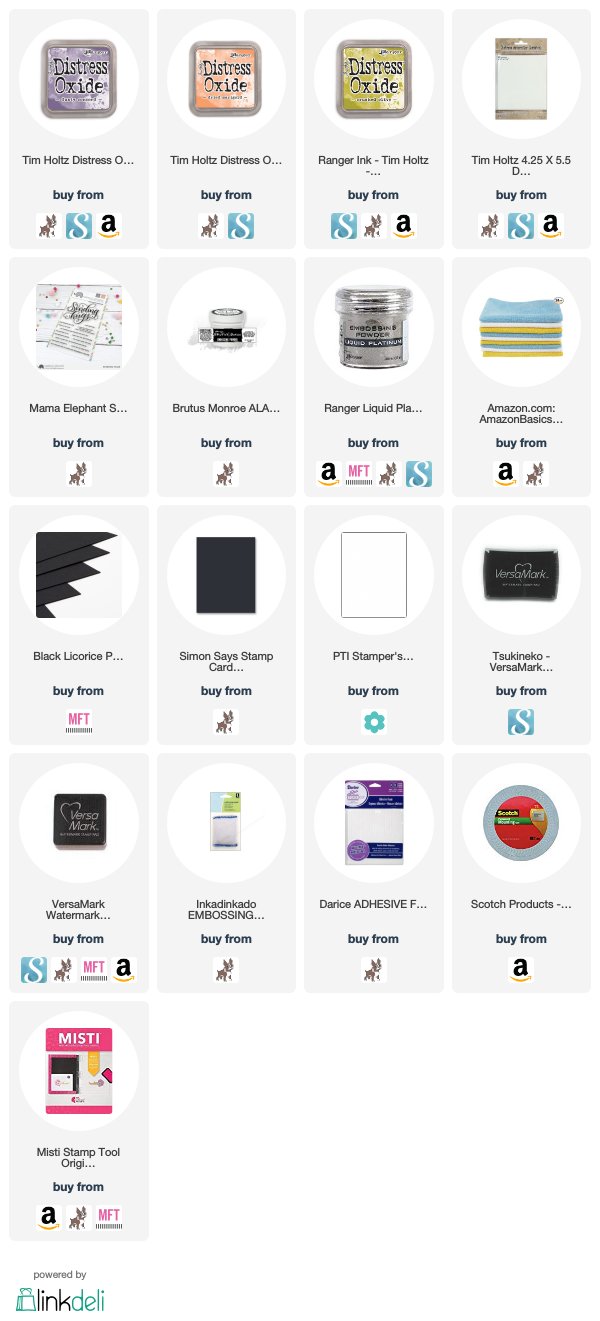
Hi and welcome!  Today I wanted to share 3 cards that I created using just 1 stamp set.  I love the new one from Mama Elephant called Sending Hugs!  I feel it will quickly become a staple for me sending those everyday cards to friends and family!


I used one of my favorite techniques, embossed resist with Distress Ink ( or Oxide Inks ).  I also created these cards in an assembly line style to make the process a bit faster.  I started out by prepping my distress watercolor card stock panels with my anti static powder bag.  Of course I used my MISTI stamping tool to stamp down my Sending Hugs sentiment as it is a bigger stamp.  Once I had all three panels stamp, I covered them with either white embossing powder or I also used Ranger's Liquid Platinum for something a bit different.  

Once I melted all of the embossing powder with my heat tool, I started the inking with my Distress Oxide inks.  I used Crushed Olive, Dried Marigold, and Dusty Concord.  

Once all of the panels were inked, I used my spritz water bottle, and added some water droplets to add a bit of texture to the backgrounds.  I used my heat tool to heat set them once again, to make sure they were dry.  I then created sub sentiments on black card stock, and also white heat embossed each sentiment.  I cut the sentiments down with my paper trimmer and scissors and added foam adhesive to each, and adhered them to my panels.  

Then, for each card, I added one more sentiment on the inside.


I used my acrylic block and stamped each sentiment with black versafine onyx black ink


I love making cards like this.  It is good to make some of these up and have on hand for when the occasion calls for it, and this stamp set from Mama Elephant does the job with one set!!  You can also see how these cards came together in my video tutorial here
Thanks for stopping by!!


Saturday, November 18, 2017

Holiday Card Series 2017 Card #6 | Ombre' Inking ( and fixing mistakes )

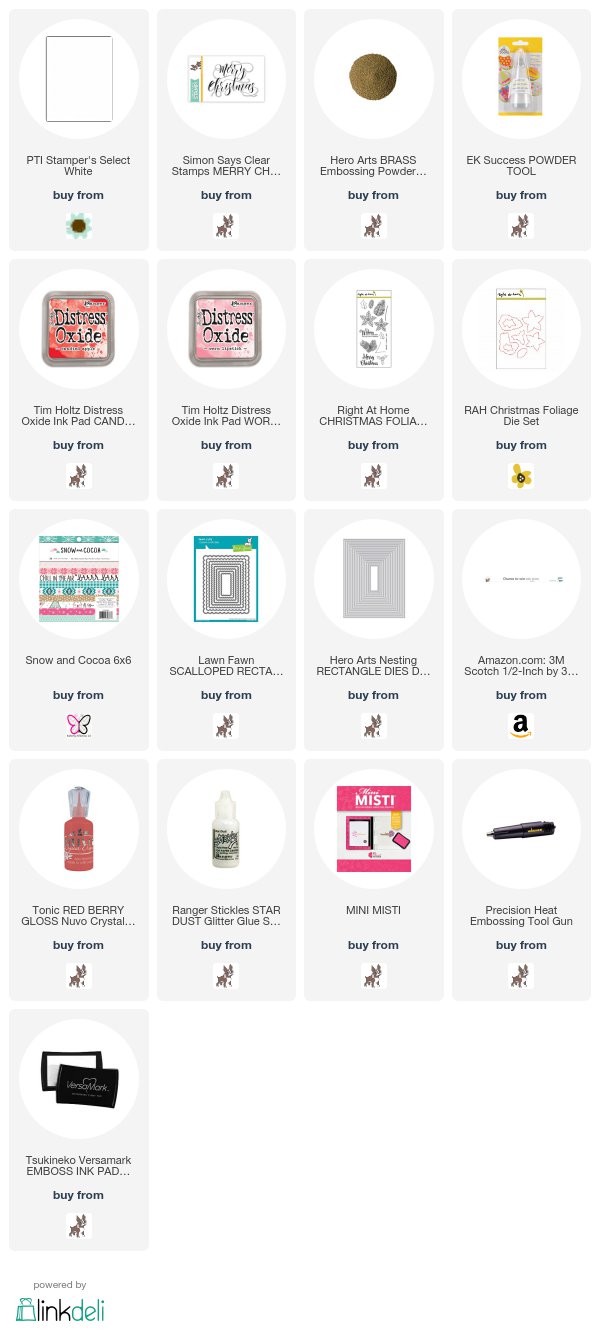
Hi Friends!!  I hope you had a nice week!!  I am sharing with you Card #6 in my Holiday Card Series.  I wanted to use this big scripty Merry Christmas from Simon Says Stamp.  I also wanted to do one of my favorite techniques, embossed resist.

I started my card by prepping my white card stock with my anti static powder tool, and stamped the Merry Christmas with Versa Mark ink, and then coated the sentiment with Hero Arts Brass Embossing Powder.  I used my heat tool to set the powder and until melted.  

I then started inking up my background with Worn Lipstick and Festive Berries Distress Oxide inks.  I knew in the back of my mind that I would lose a lot of the embossed shine on my sentiment because of the inking, but I went ahead and continued with the inking. Once I was happy with my result, I thought I would re-emboss the sentiment.  I tried to speed up the drying process of the inked background, but I didn't prepare it good enough as I thought I had.  I restamped the sentiment as before and applied more embossing powder, and as I thought, some of the powder stuck to my background.  I took a dry brush, and tried brushing away most that I could, and then heat set it.  There was some powder that I couldn't get off, but it was alright. I think it turned out just fine :)


I wanted to add a bit more around my sentiment, so I stamped, colored and die cut the holly cluster from the Christmas Foliage set from Right at Home, and popped it up with foam adhesive.  I matted my inked piece of with piece of patterned paper from the Snow and Cocoa 6x6 pad, and die cut it with a Scallop Rectangle frame from Lawn Fawn.  Once I added my entire panel to my card base, I added some Nuvo Crystal Drops to my berries, and some Star Dust Stickles to the leaves for extra shine.
If you are interested in the video - it is below with the supplies I used!  Thanks for stopping by!!
I'll be back with Card 7 soon!

Kari


Monday, June 5, 2017

Hello friends,
It is Monday once again, which means you can find me over at the Butterfly Reflections, Ink blog, and I am showing you how I put together this card featuring the Avery Elle Floral Bouquet stamp set!

This one is a beauty, and I was happy to be able to create with it today!  I'd love for you all to join me over there, and see all the details.  I usually have a video tutorial with my blog post, but today there isn't one, but I promise one is coming VERY soon to my youtube channel  * wink*

See you over at BRI :)
Kari

Monday, April 24, 2017

Stamped Embossed Resist | Concord and 9th

Hi Friends!  Today, I wanted to share with you a technique I am calling Stamp Embossed Resist.  I recently purchased some new products from Concord and 9th, and I thought it would be fun to use the solid heart image from Heart Smile, and combine it with the sentiment heart image, from Cuddles and Hugs.


I made three cards using this technique, and I wanted to share how all three came together.  As always I do have a video tutorial to share, and any of the products I've used are listed/linked below!


First, I have the more "complex" card of the three.  With all of these hearts that you see, I started out by embossing the sentiment heart - two in gold embossing powder, and this one is WOW Red Apple.  I love the look of this red powder! And, it embosses wonderfully!  I didn't line up my stamp as well as I should have as you will see in the video, so I die cut this heart using the Heart Strings Die from Concord and 9th.  For the white card base, I wanted a bit of something extra, so I took my scoring board, and created three scored lines about 1/8" each apart on the top and bottom framing in the heart.

The die cut pieces were left in the die intentionally, and it helped me adhere these small pieces onto my card base.  I added two more complimentary sentiments from Cuddles and Hugs and I stamped and embossed these sentiments giving a nice contrast with the heart design, and white card base.


For the next two cards, I went a bit more simple, and I die cut this heart panel with a Right At Home Stitched Rectangle Frame ( one of my favorites), and this created a nice panel to adhere to some patten papers from Lawn Fawn's Perfectly Plaid Rainbow.  I also added an additional sentiment to finish off this card design.


For the third and final card, I used some pattern papers from Concord and 9th, and I die cut that using a scallop rectangle from Lawn Fawn, and stamped the large HUGS greetings from Cuddles and Hugs - using my MISTI stamping tool.  I added some foam adhesive to the die cut heart, and added this to my black card base.  

I have the video below for more depth into how these cards came together!  Have a great week!


Monday, November 21, 2016

Holiday Card Series 2016 | Card #7 | KWCardDesign

Happy Monday! I have another card for you in my Holiday Card Series!  Today I am playing with elements from the My Favorite Things Card Kit called Snowflake Sparkle.  The kit is sold out, but good thing that the products are available for individual purchase!! YAY!

So I started out prepping my white card stock panel for embossing that I die cut from an Avery Elle frame die called Finished Frames, and I picked out a few of the snow flake images from the Simply Snowflakes set from the kit.


Each time I stamped, I covered them with silver embossing powder so it was easier to see where my images were.  Then, I heat to set them with my heat tool.  Then, I added my sentiment from the Mama Elephant set, Winter Wonderland.  I stamped it with Cornflower ink, and then onto Versa Mark ink.  This is an easy task as I used my MISTI stamping tool to do this!  A wonderful tool to have!!


Then, I embossed my sentiment in clear embossing powder.  I wanted to add a bit of color around my snow flakes, so I used the same cornflower ink and my ink blending tool and used a light hand to add the color to the background.  Once I was happy with that result, I added some foam tape to the back, and adhered it to my top fold A2 size white card base.


For a final embellishment, I added a few Pretty Pink Posh clear droplets to the middle of 3 snowflakes :)

Thank you stopping in today!  See you right back here for card #8!