Showing posts with label blue prints 27. Show all posts

Wednesday, May 15, 2019

MFT Sketch Challenge #437 | Guest Designer

Hi Friends!  I am over the moon excited to be the Guest Designer for May 2019 for the Weekly Sketch Challenge for My Favorite Things!  Every Wednesday during the month of May, I will be sharing with you my take of each sketch.

For this week's new sketch #437 - I went very colorful and thought having the different sized circle elements would be awesome in a rainbow theme!


I used the new Sweet Besties stamp set and matching Die-namics for my card.  I loved the whimsical look to these girls, and thought they would pair nicely with my rainbow circles in the background.  I colored my images with Copic markers.  For the circles, I took some of my favorite colors of distress inks to do my rainbow circles that I created using my own DIY stencil made from acetate.  I just simply die cut some circles using different sizes of circle dies, and added my colors in a rainbow pattern and overlapping my colors to get a good blend.  


Once I was happy with the inked panel, I die cut my main panel with my favorite Blueprints 27 scalloped frame.   I created my sentiment from the same Besties stamp set and used the new skinny strips die-namics to die cut my sentiment.  It creates a perfect sized sentiment and it doesn't take up too much space on your card design.  After adding my besties to my card by popping them up with foam adhesive onto my white A2 sized card base, my card is complete!!  Another fun sketch to stretch our creativity!!  Hope you are able to play along!!  Once again, thank you to the MFT team for having me guest design this month!!

Kari


Wednesday, May 1, 2019

MFT Guest Designer : Sketch Challenge #435

Hi Friends!  I am over the moon excited to be the Guest Designer for May 2019 for the Weekly Sketch Challenge for My Favorite Things!  Every Wednesday during the month of May, I will be sharing with you my take of each sketch.

For this week's new sketch #435, I really wanted to focus on the three circle element on the card.  That is where my eye drew me in!  So - I pulled out one of my favorite MFT sets Bitty Bears, and decided to create what could be a celebratory card of any kind!


I stamped out my images onto white card stock and colored them in with my Copic Markers.  Then, I used the Bitty Bears Die-Namics to cut them out.  For what I will call the "split layer" portion of the sketch, I used my favorite Blueprints 27 Die-namics and die cut a piece of Black Licorice card stock, and then I used the longest banner die for the blueprints die-namics set, and used it as a guide to die cut the upper center portion of my black layer.  It took the guesswork out of measuring, and created the perfect sized gap for this particular layer.  All I need to do was start adhering to my white card base. Before adhering though, I white heat embossed the "It's Time To Party" sentiment from the same Bitty Bears stamp set.  

I adhered my black layer, and then I added some foam tape to the back of my bears to give them some dimension, and help pop them up on the card.  For a final touch, I added a bit of white gel pen detail to the bears cheeks, the cupcake, balloon and present, followed by a bit of black glaze pen to darken up the bears eyes :)


Super simple design, but so so fun and happy!!  I look forward to bringing you a new post every Wednesday this month!  Thank you to the MFT team for inviting me to Guest Design!  

Kari

Tuesday, November 13, 2018

MFT and Friends Guest Designer

Hi all!!  Today is an exciting one on my blog and for me personally as a cardmaker!  I have the pleasure and honor of being a Guest Designer for My Favorite Things this month!!  Today is release day for the November 2018 release, and it is a awesome one - like they all are!  I am happy to be among these talented designers, and play with these awesome products!


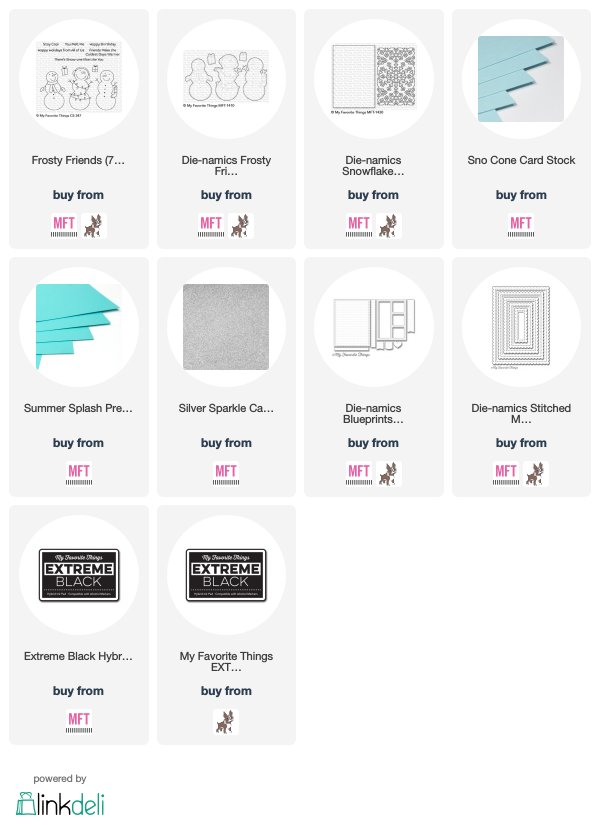
For my card today, I am using the new stamp set Frosty Friends, and the Snowflake Window Die.  I started out by die cutting my pieces that I would be using on my card, and the Snowflake Window is die cut from some Sno Cone Card Stock.  I also die cut a piece of Silver Sparkle card stock from one of the Stitched Mini Scallop Rectangle dies, and a piece of white card stock using the largest scalloped rectangle from the Blueprints 27 die set.  The banner piece also comes from Blueprints 27!  Such a all around versatile die set!  I set those pieces aside as well as my Summer Splash card base, and I worked on my snowman.  I like images this as they are super easy to add color!

I stamped my snowman in Extreme Black ink, and used my Copic Markers to add a bit of color.  I used BG10 to add some shadow around the left side of his body and blended it out with my Colorless Blender. I used YR09 and YR18 for his nose, RV17 and RV19 for his scarf and gloves, R20 for a little rosy cheek and a small amount of C2 around the scarf where it lays on his body to create a bit of shadow.


I assembled all of my elements together with liquid adhesive and added foam adhesive to add dimension to my snowman.  For my sentiment, I stamped it using the same black extreme ink, and adhered it to my card with foam adhesive as well.  To finish my card off, I used my white gel pen, and added some white polka dots to my snowman's scarf for a bit of interest!  

I love these images so much, so whimsical and fun!!  Thank you so much to My Favorite Things for having me this month as a guest designer!  Truly an honor!  Stay tuned, as I will be partnering with MFT for a giveaway on my YouTube Channel!

For now - be sure to head over to MFT and check out the entire November Release!!


Sunday, October 22, 2017

So Thankful For You

Hi friends!!  Today, I am sharing this card with you that I created using the Honey Bee Stamps Bushel and a Peck stamp set!  I adore this set!  I don't know what it is about baskets, and apples, but it just seems so classic and a representation of fall to me.  And, I love how these images are big enough to hold their on for a focal point on a card!


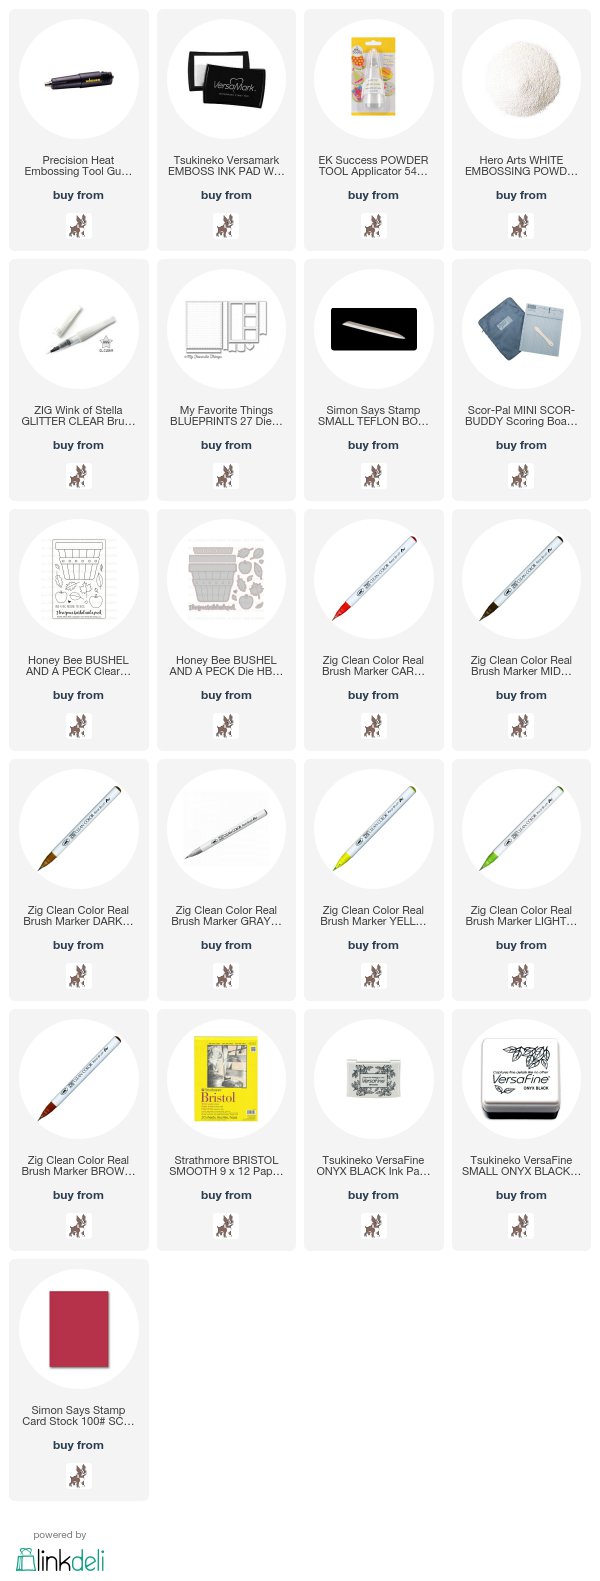
I stamped these images down onto a piece of Bristol Smooth Card Stock.  This paper pairs well with the Zig Clean Real Brush Markers.  I used a combination of using the Zigs on their own with no water, and some areas using a detail water brush.  I was going for a real rustic look to my basic.  Like the basic had been in the elements outside :)  

I also wanted to do a combination of red and green apples.  The green really adds a nice pop of color, since the basket has a lot of warm tones to it.  


Once I was happy with the coloring, I used the coordinating dies to cut out all the images, and I strategically placed my images, and added them either using liquid glue, or giving them a bit of dimension with foam tape.  As you can see, I used my beloved Blue Prints 27 dies from MFT to place all my images onto.  It is the perfect combination of scallop and stitching to this card panel!


To finish up my card I added my sentiment which comes from an older Lawn Fawn set So Thankful, and added my main panel to an A2 sized card base with is School House Red from Simon Says Stamp. I also added some shimmer with my clear wink of stella pen.  

Thank you for taking the time out of your day to visit me!  I will be back soon with another project!

Kari