Showing posts with label Distress Ink. Show all posts

Tuesday, April 3, 2018

Lawn Fawn Week Day 2

Hello, and welcome back to Day 2 of  my Lawn Fawn week!!  If you didn't catch Day 1, I encourage you to see the previous post as it explains why I decided to do this on my blog and YouTube Channel.

Today, We are headed into outer space with Beam Me Up!


I wanted to create a fun card using this set, but in a different way from other cards that I have personally seen through out the web and Instagram.  I decided to create a masked off galaxy background, and also create it directly onto my card base.  I know - pretty brave on my part as it could all go wrong quickly.  Luckily I have some very good masking tape - The "purple" tape, and it allowed me to do this in an effortless way!

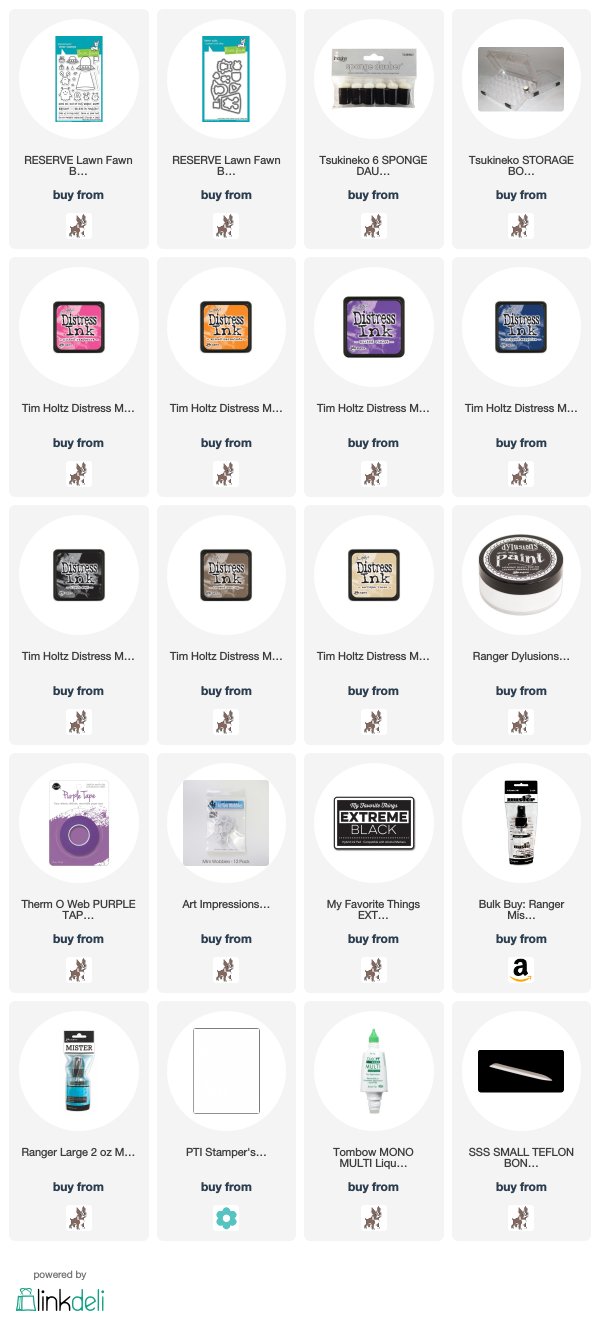
I started off by doing just that - masking off a section of my white card base with that purple tape, and then I took vibrant colors of Distress Inks ( all colors listed/linked below) and took a finger dauber, and messily added the colors in circle groups within my masked area.  Once I had the color down, I added chipped sapphire and black soot to create the darkness of my galaxy.  Next, I spritzed on some water, and let it create some faded stars to the look, and I dabbed it up with my microfiber cloth.  Then, I moved on to adding my white paint splatters for the more visible stars.  This is so much fun to do, and I must say VERY addicting!!  It really brings to life a galaxy background!

Next, I created my "ground" or "planet" with more Distress inks, and made it look very distressed.  Once I was happy with this look, I set both aside to completely dry - because after all this was all done on just white card stock!  I then moved on to stamping my images I wanted to use from Beam Me Up.  I colored them in with my Copic Markers, and once complete, I die cut them out with the matching dies.

I added my party hat to the smallest alien, and then added him to his spaceship.  Once my card base was dry, I removed my masks, and revealed nice crisp edges!  So satisfying!!  I also cut down to size my planet to fit with my masked scene.  I added my other alien image and the present with liquid glue. And, for the spaceship, the fun element - an action wobbler!!  To see this in action - you can watch the video tutorial!! 
And the final step, was to add my sentiment on the inside that reads Have An Out Of This World Birthday!

Video Tutorial - https://youtu.be/7Y8S8HN7c9U

Thank you for joining me today!  Be sure to come back tomorrow for Day 3! See you then!

Saturday, July 8, 2017

Combining Distress Inks with Distress Oxide

Hi friends!
Today I wanted share how I used both Distress Inks and Distress Oxide inks together!  It was a layering day as my inks were layered, my stencils, and my die cuts - HAHA!
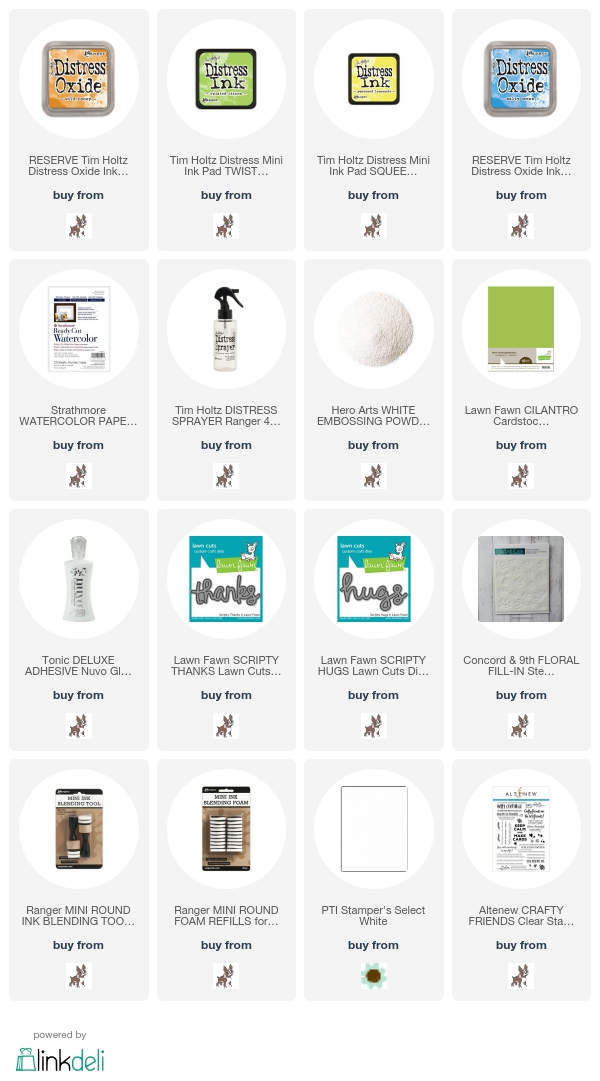
I started out by using a piece of Ready Cut Strathmore watercolor paper, and used the direct to paper technique with my Squeezed Lemonade Distress Ink cube, and covered the entire piece of watercolor paper.  Then, I took out my Fill In Floral Stencils from Concord and 9th, and used the Wild Honey Distress Oxide ink and applied the first layer of flowers.  Then, to add detail to the flowers, I used the second stencil with Twisted Citron Distress Ink.  Very bright, very summer appropriate!
I did the same thing with the blue card which was Salty Ocean Distress Ink, and Oxide ink with the Twisted Citron Distress Ink.  The only stamping I did was the stamping of my sub sentiment from the Crafty Friends stamp set from Altenew.  I also wanted to add a little sparkle and shine, so I die cut both the Scripty Hugs and Scripty Thanks dies from Lawn Fawn from Silver Sparkle card stock from MFT and layered it onto of a white die cut.
Love how they both turned out!  I never get tired of playing with these inks, and you will see more from me in the next coming weeks for sure!!  Have a great rest of the weekend!!

Kari


Saturday, April 9, 2016

Creating a Galaxy Background featuring Mama Elephant

Happy Saturday!!  Hope your weekend is off to a great start! Today, I am playing with galaxy backgrounds and space bears :)

I wanted to create another galaxy background since I had so much fun creating the first few I've done in the past.  I also wanted to ink up the adorable stamp set from Mama Elephant called Space Bears.  It is from their release I believe in Feb 2016 - so unique!!

I had in mind to create another galaxy background since it is so fitting for these bears.  This card coming together was a bit of a struggle, but thankfully the power of editing looks like it came together so smoothly :)


I started by creating a mask out of some typing paper and an oval frame die, and applied removable adhesive on the back and adhered it to the bottom of my water color card stock.  I, then took my Distress Ink colors Picked Raspberry, Mustard Seed, Salty Ocean and black soot, and created the galaxy background.  You don't have to be so "prefect" when creating these backgrounds!  That is the fun part!!  I then took my Distress Sprayer and added some water droplets for an additional effect, and then applied some white Dylusions Spray in White Linen to a inexpensive toothbrush and took my fingers and pulled back the bristles and the paint even splatters on the background to create "stars".  SO. MUCH. FUN.

I set that panel aside to dry, and worked on stamping and coloring my bears.  I did basic Copic coloring as that is really what I know to do.  Once I was done coloring my bears and the flag, I die cut them out with the coordinating dies.  I then worked on the "crater" ground.  I removed my mask and applied the other part of the typing paper I used to created that mask, and inked on Tea Dye and Walnut Stain Distress inks.  

I also stamped the element from the stamp set to give the ground some texture.  Once I was finished there, I worked on the sentiment by embossing it with white embossing powder onto a piece of black card stock.  I adhered all of my elements, and my Space Bear scene was complete, and I added it to a white A2 sized card base.


As always the video tutorial and supplies used are below!!  Thanks for stopping by! See you soon!

Kari


Sunday, March 6, 2016

SSS Wednesday Challenge: Touchy Feely

Hey everyone!  Thought I would share with you a fun and simple card I made for the latest SSS Wednesday Challenge!

It has been a hot minute since I've participated in a challenge, but thought this one would be fun!


I wanted to play with my new to me set Tree Hugs from Concord and 9th!  This is such a unique set, and playing with it just once, I can see how you can get addicted to it, and also how you could create some fun masculine cards too!  

I created my card using my favorite white card stock and took the tree image ( that is half of the tree) and stamped it using some Walnut ink from Lawn Fawn.  What is fun about this stamp is you can make your tree as skinny or as wide as you'd like.  I was going for a one-layer card, but yet clean and simple.  I stamped the heart from the set with Lobster ink from Lawn Fawn, and then carefully colored the heart with a R29 Copic Marker.  I, then masked off the sides of my card front getting it close to the edge of the tree, and then I took a little Antique Linen Distress Ink, and added some shading to the tree.


I wanted to add felt to my card ( as it tied into this week's challenge) - but I didn't have any red felt. So, I cut down a piece of white that I had, and took that same R29 Copic and colored my felt.  Once it was dry, I die cut a heart using a Lawn Fawn heart die, as well as die cutting the inside of my stamped heart.  


I stamped the sentiment using the words Love and Hugs from the same stamp set in Lobster ink.  Love this red!  I adhered my felt heart to the inside of my card with some Multi Medium Matte,  and for a final touch added some Wink of Stella to the stamped heart!

Such a fun and different look - one I usually don't do.  

Hope you enjoyed!

-Kari


Saturday, January 23, 2016

Bright and Colorful Distressed Background featuring SSS I See You Stamp Set

Hi ! I am alive!! HAHA! Sorry for being MIA on my blog!!  I was getting over sickness, and also was in a creative slump - and it always happens to me after the holidays!  It is hard for me to get going again creatively!!  Hopefully this will be the end of it for now anyway!!  Today I am sharing the colorful distress inked background, and featuring the stamp set from Simon Says Stamp called I See You!  They re-released the stamp set with its coordinating dies, and so I had to have it!!


All the supplies used are listed below!!  Thank you for taking the time to visit today!!  
Enjoy the video tutorial!!