Hi friends! Today I am sharing card #2 in my Holiday Card week for 2018 and this card comes together super quick with the help of Concord and 9th!! And, this card is full of glitter sparkle and shine. Luckily - this is the best kind of glitter - no mess glitter!!
If you love the look of glitter - then this card is for you!! I used the Merry and Bright Die from Concord and 9th and I die cut it using silver card stock from Simon Says Stamp. I also used the Crimson Red to for my background!
The wonderful part of this card is that it took me less than 10 minutes to create!
For the inside of the card, I used the Very Merry Sentiments set also from Concord and 9th. To see how quickly my card came together, you can watch the video tutorial here.
Thank you all for stopping by! I will be back tomorrow with Card #3!
Hi friends!
Today I wanted share how I used both Distress Inks and Distress Oxide inks together! It was a layering day as my inks were layered, my stencils, and my die cuts - HAHA!
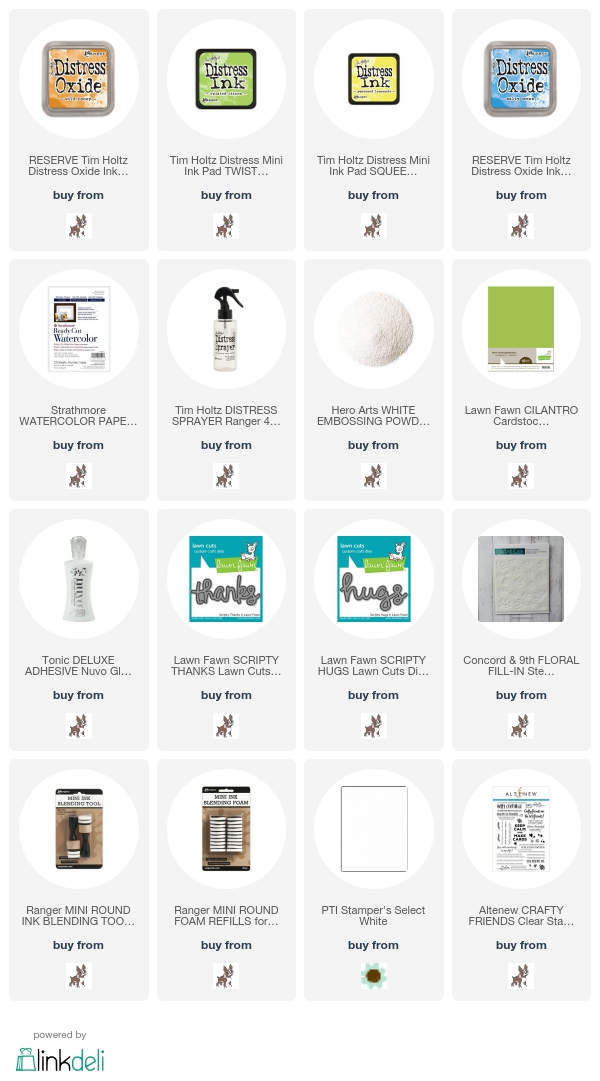
I started out by using a piece of Ready Cut Strathmore watercolor paper, and used the direct to paper technique with my Squeezed Lemonade Distress Ink cube, and covered the entire piece of watercolor paper. Then, I took out my Fill In Floral Stencils from Concord and 9th, and used the Wild Honey Distress Oxide ink and applied the first layer of flowers. Then, to add detail to the flowers, I used the second stencil with Twisted Citron Distress Ink. Very bright, very summer appropriate!
I did the same thing with the blue card which was Salty Ocean Distress Ink, and Oxide ink with the Twisted Citron Distress Ink. The only stamping I did was the stamping of my sub sentiment from the Crafty Friends stamp set from Altenew. I also wanted to add a little sparkle and shine, so I die cut both the Scripty Hugs and Scripty Thanks dies from Lawn Fawn from Silver Sparkle card stock from MFT and layered it onto of a white die cut.
Love how they both turned out! I never get tired of playing with these inks, and you will see more from me in the next coming weeks for sure!! Have a great rest of the weekend!!
Kari
Monday, May 29, 2017
Hi Friends! Happy Memorial Day! Today I am over at the Butterfly Reflections Ink Blog featuring two one layer cards! Here's a sneak peek! I love the look of the simplicity of a one layer card when it has a rainbow look!
I'd love for you to check it out, and of course I have a video tutorial on these cards, and you can check that out. Link to all products used as well as the video are over at the BRI blog!
Hi Friends! Today, I wanted to share with you a technique I am calling Stamp Embossed Resist. I recently purchased some new products from Concord and 9th, and I thought it would be fun to use the solid heart image from Heart Smile, and combine it with the sentiment heart image, from Cuddles and Hugs.
I made three cards using this technique, and I wanted to share how all three came together. As always I do have a video tutorial to share, and any of the products I've used are listed/linked below!
First, I have the more "complex" card of the three. With all of these hearts that you see, I started out by embossing the sentiment heart - two in gold embossing powder, and this one is WOW Red Apple. I love the look of this red powder! And, it embosses wonderfully! I didn't line up my stamp as well as I should have as you will see in the video, so I die cut this heart using the Heart Strings Die from Concord and 9th. For the white card base, I wanted a bit of something extra, so I took my scoring board, and created three scored lines about 1/8" each apart on the top and bottom framing in the heart.
The die cut pieces were left in the die intentionally, and it helped me adhere these small pieces onto my card base. I added two more complimentary sentiments from Cuddles and Hugs and I stamped and embossed these sentiments giving a nice contrast with the heart design, and white card base.
For the next two cards, I went a bit more simple, and I die cut this heart panel with a Right At Home Stitched Rectangle Frame ( one of my favorites), and this created a nice panel to adhere to some patten papers from Lawn Fawn's Perfectly Plaid Rainbow. I also added an additional sentiment to finish off this card design.
For the third and final card, I used some pattern papers from Concord and 9th, and I die cut that using a scallop rectangle from Lawn Fawn, and stamped the large HUGS greetings from Cuddles and Hugs - using my MISTI stamping tool. I added some foam adhesive to the die cut heart, and added this to my black card base.
I have the video below for more depth into how these cards came together! Have a great week!
Today I wanted to share with you two cards you can create quick and easy using one stamp set for Valentine's Day for any of your friends. You also don't have to give these as Valentine's Day Cards, but anytime of the year!
I used the Heart Smile stamp set from Concord and 9th. Their products have been some of my favorites. They actually came out of the blue for me. I knew they of course existed in the stamping industry, but since I've purchased some of their products, I've really been drawn to their stuff! They have unique stamps and dies, and I love that about them!
I used my MISTI stamping tool to stamp the large solid heart, and I used two ink colors from Simon Says Stamp, Sunkist, and Rosie Cheeks! I love these two pastel like colors!
For this first card, I used the Rosie Cheeks color, and stamped it a few times getting a good saturated in color image. I am stamping on my favorite white card stock, PTI stampers select white. Once, I finished with this one, I moved onto the Sunkist color, and did the same. I die cut both panels using the stitched frame from the Femme Frames die set from Mama Elephant.
I wanted to heat emboss my sentiments, so I used my powder tool first to prep the area of the heart, and then I stamped my sentiments and embossed in two embossing powders on each card, Gold and Liquid Platinum from Ranger. I also added the arrow element to the Sunkist heart to added a bit more interest.
I backed the main panels with some PTI Hawaiian Shores card stock, and used the other die in the Femme Frames set to die cut the card stock.
For the inside I stamped some sentiments from the Fun and Flirty stamp set from Paper Smooches, and added a heart to tie everything together.
For a final touch, I decided to add some shimmer with my Wink of Stella pen to the Rosie Cheeks heart and that completes both cards!
You can see all supplies used and the video tutorial below! Thanks for stopping in today! See you soon!