Showing posts with label birthday cards. Show all posts

Tuesday, April 3, 2018

Lawn Fawn Week Day 2

Hello, and welcome back to Day 2 of  my Lawn Fawn week!!  If you didn't catch Day 1, I encourage you to see the previous post as it explains why I decided to do this on my blog and YouTube Channel.

Today, We are headed into outer space with Beam Me Up!


I wanted to create a fun card using this set, but in a different way from other cards that I have personally seen through out the web and Instagram.  I decided to create a masked off galaxy background, and also create it directly onto my card base.  I know - pretty brave on my part as it could all go wrong quickly.  Luckily I have some very good masking tape - The "purple" tape, and it allowed me to do this in an effortless way!

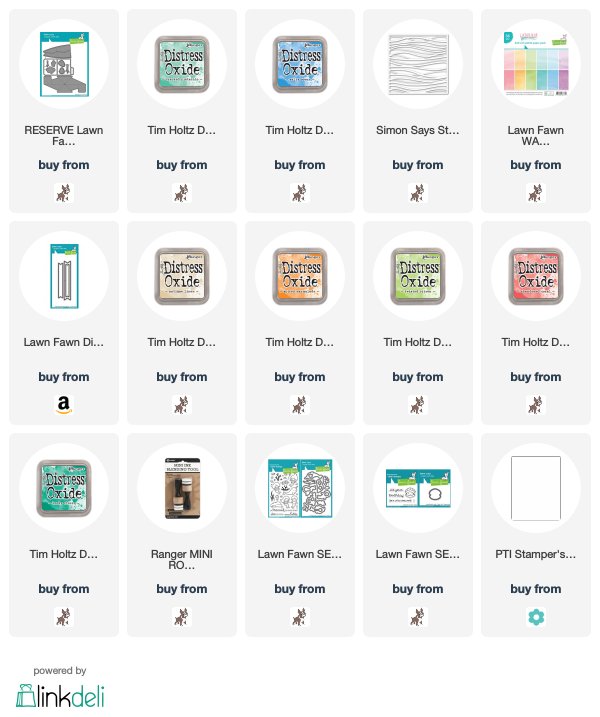
I started off by doing just that - masking off a section of my white card base with that purple tape, and then I took vibrant colors of Distress Inks ( all colors listed/linked below) and took a finger dauber, and messily added the colors in circle groups within my masked area.  Once I had the color down, I added chipped sapphire and black soot to create the darkness of my galaxy.  Next, I spritzed on some water, and let it create some faded stars to the look, and I dabbed it up with my microfiber cloth.  Then, I moved on to adding my white paint splatters for the more visible stars.  This is so much fun to do, and I must say VERY addicting!!  It really brings to life a galaxy background!

Next, I created my "ground" or "planet" with more Distress inks, and made it look very distressed.  Once I was happy with this look, I set both aside to completely dry - because after all this was all done on just white card stock!  I then moved on to stamping my images I wanted to use from Beam Me Up.  I colored them in with my Copic Markers, and once complete, I die cut them out with the matching dies.

I added my party hat to the smallest alien, and then added him to his spaceship.  Once my card base was dry, I removed my masks, and revealed nice crisp edges!  So satisfying!!  I also cut down to size my planet to fit with my masked scene.  I added my other alien image and the present with liquid glue. And, for the spaceship, the fun element - an action wobbler!!  To see this in action - you can watch the video tutorial!! 
And the final step, was to add my sentiment on the inside that reads Have An Out Of This World Birthday!

Video Tutorial - https://youtu.be/7Y8S8HN7c9U

Thank you for joining me today!  Be sure to come back tomorrow for Day 3! See you then!

Sunday, March 11, 2018

Lawn Fawnatics Challenge #24 Fun With Dies

Hi friends!!  Today I am sharing with you my entry for the latest Lawn Fawnatics Challenge Fun with Dies.  I decided to play with the new Pivot Pop-up Die!  So unique, and LF always makes it easy to create these fun interactive cards with their dies!

I won't lie - it took me 2 1/2 hours to create this card, mostly because I didn't know what direction I wanted to go in. But, once I figured it out, there was no stopping me in creating this card.  I don't make really in depth cards like this one very often.  Simply because my crafting time on the weekends is limited, and I want to make the most from my time, but I wanted to see how far I could get with this particular card.

I first did A LOT of ink blending with Salty Ocean and Cracked Pistachio Distress Oxide Inks.  Once I was complete with it, I took a stencil that created the look and the illusion of waves of water.  It really adds that texture this card needed.

Then, I stamped out some images from Mermaid for You and Year Six stamp sets, and colored them in with my Copic Markers.  Once colored, I die cut them out with the matching dies, and then I die cut my Pivot Pop Up pieces.  I assembled the main pieces of the pop up, and before I assembled anything, I did all the stamping I needed to do in order to make the process a bit easier.


Next, I put together the pop up mechanism, and put into place, and then I added all my scene building die cuts.  


I actually worked on the front of the card last, because I didn't know what I wanted to do for it, but in the end, I kept it simple as the star of the show is on the inside. 

I do love how it turned out, and it will be a fun birthday card to give a friend for sure!!

Thank you for stopping by today!


Saturday, September 23, 2017

Bitty Bears Birthday Shaker | MFT | Copic Coloring

Has it really been since July since I have blogged??!!  Gosh!!  Well, for those that read my blog - my apologies!

To make up for it, today I am sharing a birthday shaker card featuring the Bitty Bears set from My Favorite Things.  This set is way too cute, and so happy I have it in my collection.  And, the best part is you can create multiple cards with it for different occasions!!

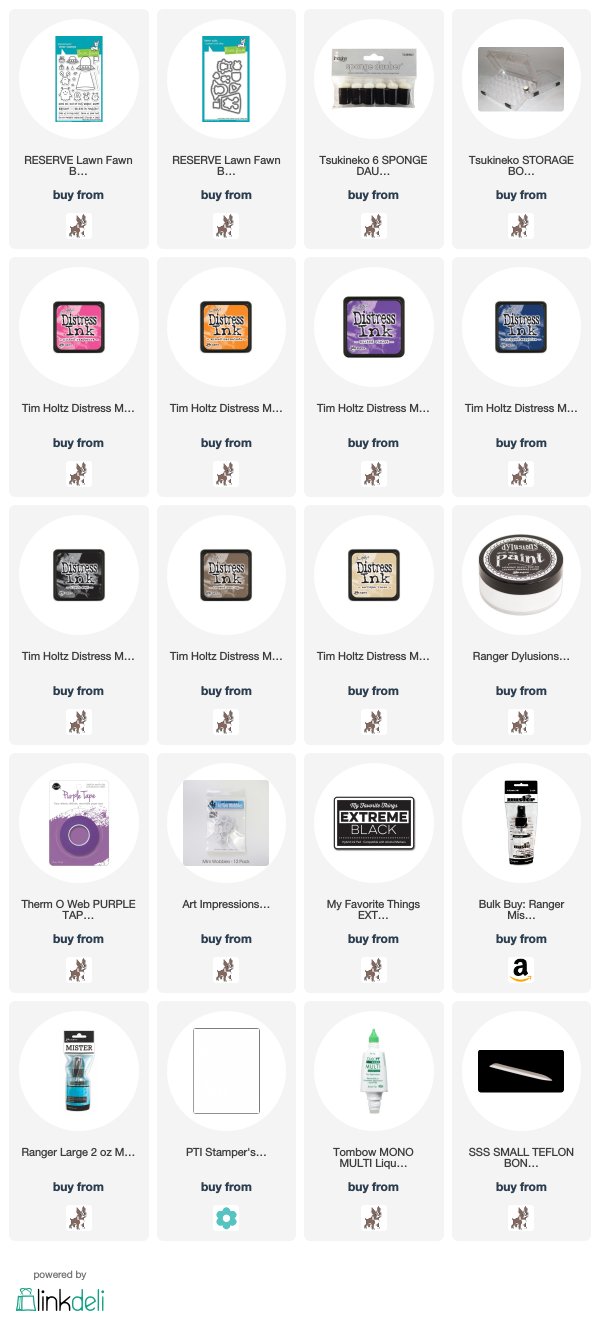
To start, I stamped out the images I wanted to use with my card onto a piece of smooth white card stock ( my favorite is the PTI Stampers Select White) and I used Lawn Fawn Jet Black ink.  Then, I colored in my bears with Copic Markers using E43, E44 and E13 for the body. For the present, balloon and cupcake, I used R39, RV25, RV29, V05, V06 and V09.  Once colored, I used the coordinating dies to die cut them out.  I set them aside, and worked on the background of my card.

I inked up a piece of white card stock using Picked Raspberry, Candied Apple and Wilted Violet Distress Oxide inks.  I love doing ink blending with these inks!  So much easier than traditional distress inks.  Once I was happy with my result, I used my Distress Sprayer to get some water droplets and the distressed look.

Then, I worked on the shaker portion of my card by die cutting a piece of white card stock with the Grid Background die from Mama Elephant.  I went ahead and stamped out my sentiments from the same Bitty Bears set directly onto my Grid die cut panel.  These sentiments fit perfectly!!  Then, I cut down two strips of acetate and adhered the strips on the back of the panel on the ends, and left the middle without acetate.  I added a bunch of foam adhesive, and then added some seed beads in each of the squares on the ends.  I carefully removed the paper backs of the foam adhesive, and added my ink blended panel, and viola!  I have my shaker!

All there was left to do was to add my bears in the middle and I also used foam tape to do this.  To complete the card, I added this whole shaker panel to an A2 Pure Poppy card base..and shake...shake...shake!
So fun!!  I also have a video tutorial if you wanted to see how this one came together!!

I hope not to be absent from my blog this long again!  Thank you all for taking time out of your day to visit me!


Tuesday, March 21, 2017

Happy Birthday!! - Lawnfawnatics Challenge Blog!

Hi Friends!!

Today I am sharing with you my entry for the first challenge of the Lawn Fawnatics Challenge Blog!
When creating my card, it brought back such a familiar and fun feeling of why I started making cards!  For the joy of just CREATING!  I have been a die hard fan of Lawn Fawn's since the very beginning, and I've entered into many challenges of the old Lawnscaping Challenge Blog and was even apart of the FB team for that Challenge blog!

So - it is SO FUN to see that they've breathed new life into this new challenge blog and for all of us that have a love affair with Lawn Fawn products, this is the perfect place to show off our how much we love them!

For my card - I wanted to make a bold statement!  I wanted to show how much I am happy they are celebrating another birthday, and what better way to do that than to combine a bunch of Lawn Fawn sets!

I used a total of 7 sets for this card!!!  YES - 7!!  I think one is discontinued, but I couldn't help to use all of these to create my little scene!


Lawn Fawn is known for their critter sets, but they have a lot of birdie images, and I thought it would be fun to create a row of birdies holding little flags to spell out 'Birthday'  using Harold's ABC's. The small bird images are from Elphie Selfie, and the bigger birds are from Love Letters.  I colored my birds various ways with Copic Markers.  I also stamped, colored and die cut a banner from Bannerific ( one of their very first sets) and spelled out 'HAPPY' with Sally's ABC's.  I wanted to fly my banner high so I thought the plane from Bon Voyage was perfect!  It is one of my very favorites!


For the inside, I wanted it to be as fun as it was on the outside, so I stamped, colored and die cut the adorable elephant from Elphie Selfie, and he is holding up a sweet birthday cake!


I love how this card came together!!  Happy Birthday to Lawn Fawn!!

Thanks for stopping by today!!

Kari


Saturday, March 4, 2017

Soft Ink Blended Backgrounds using a $2.00 Make-Up Brush!!

Hi crafty friends!  Today I wanted to share a great idea ( which is not my own ) as an alternative to the stencil brushes out on the market.  If you'd thought about purchasing the new Clarity Stencil Brushes or the Inky Duster brushes and I know there are others as well, then you know they can be a bit pricey!  And, I am sure they are worth the money.  

Most of us have more than one use for one brush as we use several inks at a time in our projects.  So, today, my friend Laurie showed on your YouTube channel and Instagram about this $2.00 Make-up brush that can be picked up in several different places such as Wal-Mart, Target, online at Amazon, the ELF website, etc.

I've always loved the look of those soft backgrounds, but I am guilty of having a heavy hand most of the time with my ink blending tools.  So, when I saw this idea from Laurie, I had to give it a try for myself!!  
It works beautifully, and the brush is super easy to clean to move to different colors in one sitting! 

I can achieve these soft backgrounds really easy, and if I wanted heavier concentrated color, I could achieve that too, but it would take a bit longer.  I would use my normal ink blending tool at that point!

I wanted to show you this wonderful idea, and I also wanted to share the full card making process.  I die cut a piece of black card stock from the Simon Says Stamp Clustered Leaves die ( one of my current favorites) and my sentiments come from the Celebrate set from Neat and Tangled


I have the video tutorial as well as the supply list below if you were wondering what I used!  Thank you all for stopping by today!!  See you soon!


Sunday, September 4, 2016

5 Minute Card Challenge??!!??!! ( No editing )

Happy Sunday!!  I wanted to share a card with you I made and thought it would be a fun video for my YouTube Channel.  I challenged myself to make a card in 5 minutes!  I know, crazy?!  I am sure it could be done, but the route I took wasn't successful in accomplishing that feat!  HA!

It is quite alright though!!  It is not like I was saving the world in 5 minutes!!  :)


I did like the overall look of the card and decided to make another one, but of course not being pressured by the time clock, and enter this card into the Simon Says Stamp Flickr Challenge.  Both cards turned out fine I think, but I do love the deeper red and the added purple to my second card as well as the dimensional die cuts :)


I have the video below if you'd like to get a little chuckle at my expense!