Showing posts with label Avery Elle. Show all posts

Sunday, October 15, 2017

Watercolor on Dark Card Stock | Gansai Tambi Watercolors

Hi friends!  Today I am sharing this card with you that was a complete experiment on my part!  I wanted to create a floral card, but I wanted to do it on dark card stock, and I wanted to the flowers to really pop.  So, I knew I had my Gansai Tambi watercolors and also knowing that these are the more pigmented watercolor I own.
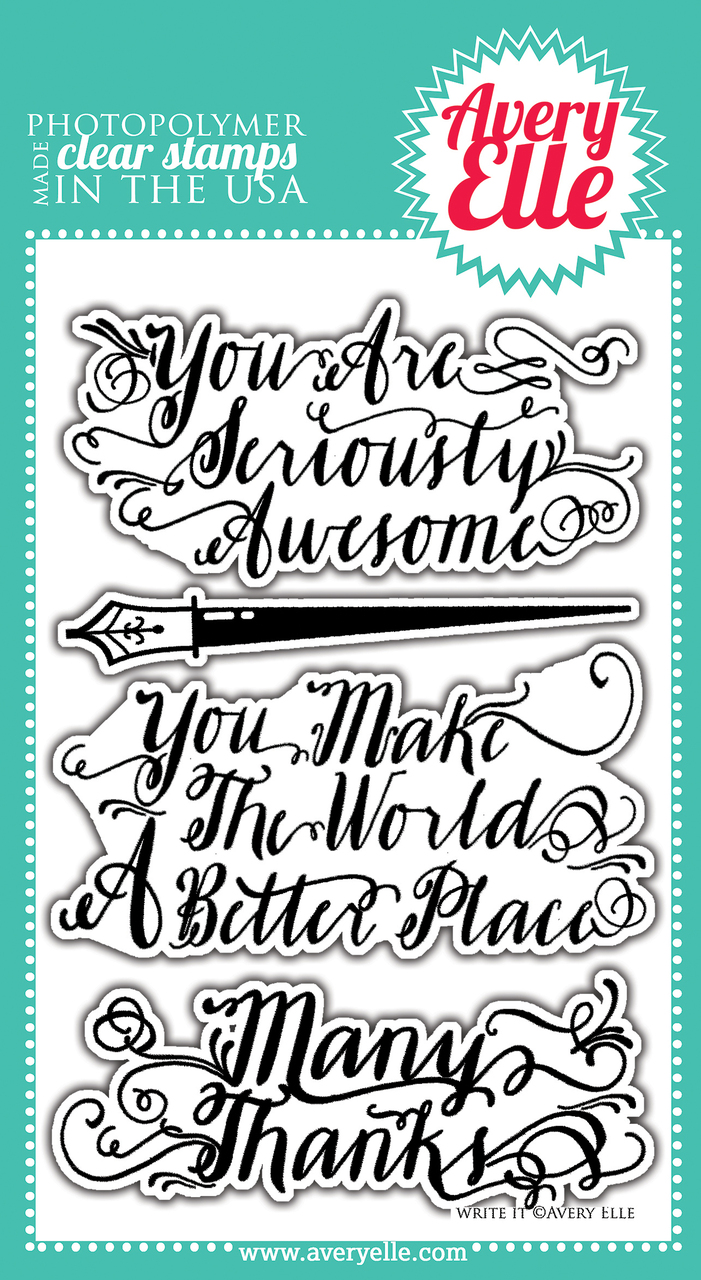
I started out by die cutting a piece black card stock from SSS and the Right at Home stitched rectangle die.  I put my black piece into my MISTI and  prepped my black card stock piece with my anti static powder tool, and then inked up my stamp with VersaMark ink.  I then coated the image with Hero Arts Brass Embossing Powder.  This is one of my favorite metallic powders I own.  I heat set the powder with my heat tool, and then just rubbed my hands to get rid of any residual powder left behind.   I also heat embossed my sentiment at the same time.

I chose two colors from my Gansai Tambi water color palette, and got to work on my Rose Gold inspired flowers.  I knew that the overall look was going to be metallic, but I wanted to have the look of the red/pink in it too to create the look of a rosy gold.  It took a few layers to achieve the look I wanted, but in the end, it turned out the way I hoped.  I also added some green to the leaves as well.

Once the piece was completely dry, I added back in some final accents to the flowers with my black enamel accents from Ranger, and also the white to the buds around the flowers.  I really think this helped the overall look of the flowers.
All there was left to do was add this to a black card base, and the card is complete.  I also have a video tutorial if you'd like to check it out!!  All the supplies used are listed/linked below :)  Have a great rest of your weekend!


Monday, June 5, 2017

Hello friends,
It is Monday once again, which means you can find me over at the Butterfly Reflections, Ink blog, and I am showing you how I put together this card featuring the Avery Elle Floral Bouquet stamp set!

This one is a beauty, and I was happy to be able to create with it today!  I'd love for you all to join me over there, and see all the details.  I usually have a video tutorial with my blog post, but today there isn't one, but I promise one is coming VERY soon to my youtube channel  * wink*

See you over at BRI :)
Kari

Saturday, November 26, 2016

Holiday Card Series 2016 | Card #9 | KWCardDesign


Hi and welcome to another card in my Holiday Card Series - today I am playing with the Avery Elle set called Oh What Fun.  This set came out last year, but I love it so much, and wanted to bring it back out for this series.  I colored this image during The Daily Marker Coloring challenge, so you won't see me color Santa, but I did basic coloring with my Copics.  

I also used some pattern papers from the Oh, Deer 6x6 from Fancy Pants.  This is another one that came out last year, but I didn't get to use it as much as I wanted to.  I did create a snow scene on a piece of white card stock for my Santa, by stamping the snow cluster and heat embossing it with white embossing powder.  My panel was die cut from the Lawn Fawn Stitched Journaling Card die.  I also used the banner die for my sentiment and this is found with the same die set from Lawn Fawn.

Then, I added some Tumbled Glass distress ink, to bring out those snow flakes.  


I die cut my pattern papers from the Stitched rectangle die from Right at Home, and the Hero Arts Infinity rectangles.  


I created a top fold A2 size card out of Sea Glass card stock from SSS, and for a final touch I added one white enamel dot on the sentiment banner, and added some shimmer with my Wink of Stella shimmer pen. 

For all the supplies used - please see the list below the video tutorial!  Thanks for watching!!


Thursday, September 18, 2014

Simple Hello Card with Video Tutorial

Hi everyone! Kari here once again to share with you my latest card tutorial.  I don't know about you, but I have lots and lots of pattern paper via my 6x6 paper pads.  I NEED to use them.  Lately, I really have not been using pattern papers, and not sure why I stopped, but I need to get back into using them up!  So, for today's card, that is what I am doing.  I have a video up on my YouTube Channel.  If you are not subscribed, I would love it if you would.  I will be having my 1000 subscriber giveaway soon once I hit this magic #, so I encourage you to subscribe!  Well, Lets get to the card, and video shall we!?


All the supplies used are linked below or over at my YT channel in the description bar.  Thank you all so much for stopping by!!  See you soon!

Kari


Saturday, May 25, 2013

May AEI♥U Challenge

It is getting late this evening, but I have been having fun most of the day being creative and crafty.  My favorite past time! ( other than watching STL baseball of course).  So, one of the cards I made is for the latest Avery Elle Challenge.

OK - I didn't know WHAT I was going to do when I started making this card.  That is probably why it takes me such a long time to create one card most of the time, because I don't do sketches before hand or anything, I just wing it!  I knew I wanted to use my Avery Elle set All Squared Up, but from there, I had no other direction.

Here is the inspiration photo....


And here is what I came up with.....


I stamped onto a piece of white card stock the circle image from this set in five different Hero Arts Shadow Inks - Mint Julep, Tide Pool, Pool, Cornflower, and Navy.  I overlapped all of the circles, and then I took some Navy washi tape, and a bubble aqua patterned washi and adhered it down the middle of the circles.  Then, I took the Navy stamped circle and cut out the middle with a craft knife, and then punched it out with  1 3/4 in. circle punch and popped it up on foam adhesive turning it the opposite direction and placed it in the middle of the circle row.  I, then stamped the "Thinking of you" sentiment in Navy, and to represent the boat being tied up, I stamped a "friend" sentiment that goes with my jewelry tag punch from SU! and added that to my middle circle for a fun element.  I adhered that panel to a Navy panel that I embossed with an embossing folder called "Fancy Fan" and adhered that to my white card base.

I like how this turned out.  I think all the time it took for me to do this from start to finish was worth it for this fun design.

I hope your weekend is a relaxing one, and you are able to do something that makes you smile.  

See you soon :)

- Kari