Showing posts with label hero arts brass embossing powder. Show all posts

Saturday, November 18, 2017

Holiday Card Series 2017 Card #6 | Ombre' Inking ( and fixing mistakes )

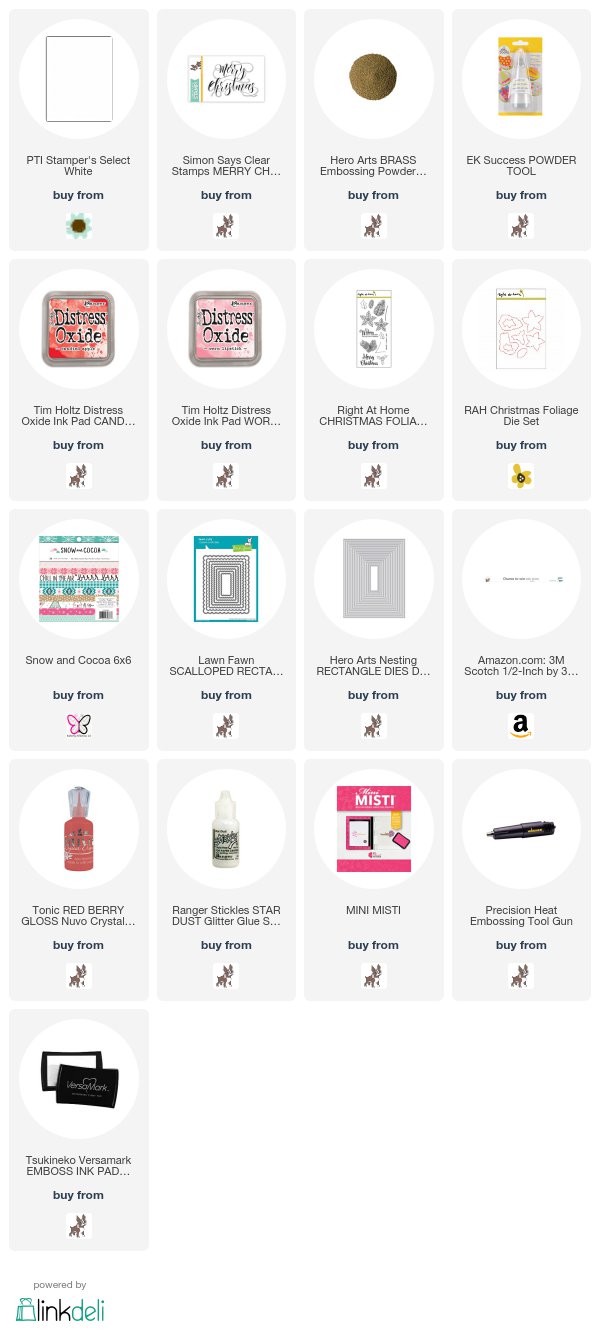
Hi Friends!!  I hope you had a nice week!!  I am sharing with you Card #6 in my Holiday Card Series.  I wanted to use this big scripty Merry Christmas from Simon Says Stamp.  I also wanted to do one of my favorite techniques, embossed resist.

I started my card by prepping my white card stock with my anti static powder tool, and stamped the Merry Christmas with Versa Mark ink, and then coated the sentiment with Hero Arts Brass Embossing Powder.  I used my heat tool to set the powder and until melted.  

I then started inking up my background with Worn Lipstick and Festive Berries Distress Oxide inks.  I knew in the back of my mind that I would lose a lot of the embossed shine on my sentiment because of the inking, but I went ahead and continued with the inking. Once I was happy with my result, I thought I would re-emboss the sentiment.  I tried to speed up the drying process of the inked background, but I didn't prepare it good enough as I thought I had.  I restamped the sentiment as before and applied more embossing powder, and as I thought, some of the powder stuck to my background.  I took a dry brush, and tried brushing away most that I could, and then heat set it.  There was some powder that I couldn't get off, but it was alright. I think it turned out just fine :)


I wanted to add a bit more around my sentiment, so I stamped, colored and die cut the holly cluster from the Christmas Foliage set from Right at Home, and popped it up with foam adhesive.  I matted my inked piece of with piece of patterned paper from the Snow and Cocoa 6x6 pad, and die cut it with a Scallop Rectangle frame from Lawn Fawn.  Once I added my entire panel to my card base, I added some Nuvo Crystal Drops to my berries, and some Star Dust Stickles to the leaves for extra shine.
If you are interested in the video - it is below with the supplies I used!  Thanks for stopping by!!
I'll be back with Card 7 soon!

Kari


Thursday, November 2, 2017

Holiday Card Series 2017 Card 1

Hi friends!  I am starting my Holiday Card Series for 2017 and wanted to share my first card with you.  I am using the Reindeer Roll Call stamp set from Newton's Nook.  I think this set is a great one for doing quick cards for the holidays when you need them.


I started out by die cutting a piece of white card stock with the Mama Elephant Grid Die - this is one of my favorites recently.  Then, I stamped all three deer images in alternating colors of ink onto each square.  It is a very traditional looking card with these colors.

To bump up things, I decided to stamp the main image of the reindeer names in Versa Mark ink and then coated it in my favorite Brass embossing powder from Hero Arts.  I wanted the edges to have that same look of embossing powder, so I took my Versa MarkER and went along the edges then just dunked the vellum piece into the powder, and heat to set.  This will serve two purposes - to give that finished look, but to also have a disguise if you will for my adhesive so it won't be visible once adhered to the card.

To finish up my card, I stamped a sentiment on the inside (unfortunately this is discontinued).


All supplies used are listed/linked below as well as the video tutorial - see you soon for card #2!


Monday, December 12, 2016

Holiday Card Series | Card #13 | Simon Says Stamp

Hello there!  Welcome to Card 13 in my HCS for 2016!  Today, I am using a stamp set that released last year with Simon Says Stamp that I didn't get to play with.  I also used the Crate Paper Bundled Up 6x6 pad also from last year!

Today's card is pretty simple, but I love the color scheme.  I love the embossed images to help add that extra "something" to the card


I used my MISTI tool to stamp out my trees as these are solid images, and I wanted to ensure that I got a good impression of these images.  


For the inside of my card, I decided to emboss just like I did on the outside to complete the card design.  For full details of how I put this card together, I invite you to watch the video tutorial! All the supplies used are listed below!  See you soon!

Kari