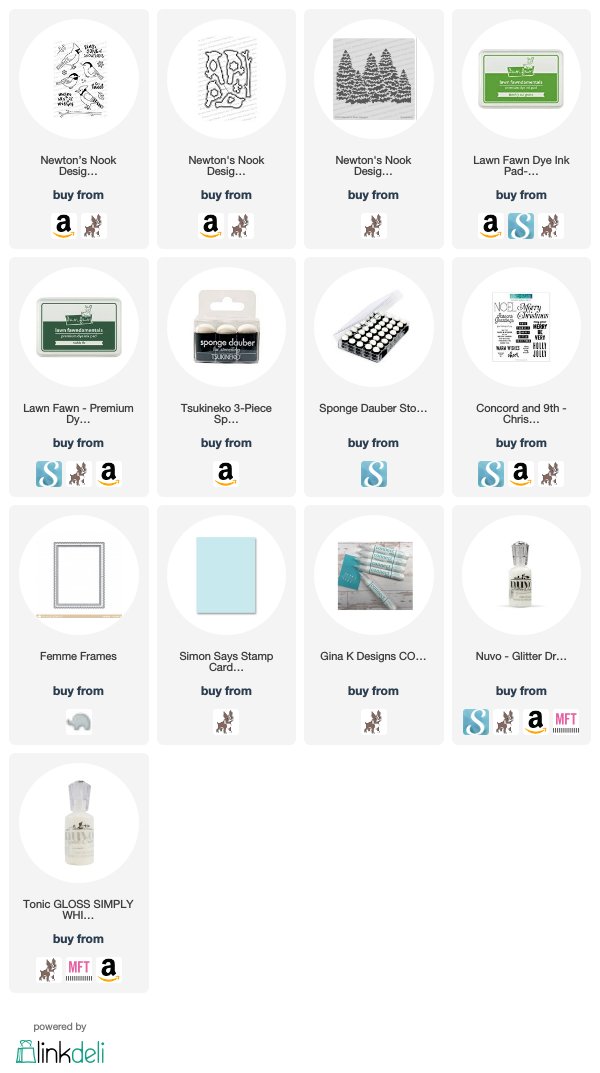
I am using the newest set from Newton's Nook called Winter Birds and I love it so so much! That cardinal has my heart for sure!

This set was a must-have for me, and I couldn't wait to ink it up and get to coloring in that beautiful cardinal!!
I started out by inking up a white die cut oval piece that I had laying on my craft desk from a previous project. I used some tumbled glass distress oxide ink to add some color just around the edges. Next, I took the branch from the set, and stamped that down directly onto my oval piece. I colored it in with my Copic markers. I also stamped the cardinal onto a piece of white scrap card stock and also colored it in with my Copic markers. My favorite red combo is R29, R39 and R59. And, I think it really brings that cardinal to life!! Once I finished coloring in the cardinal, I die cut it using the matching die. I moved on to creating the rest of my card, by taking a piece of Sea Glass card stock from Simon Says Stamp, and die cutting it with the scallop frame from the Femme Frames set from Mama Elephant. I, then used the EverGreens Stencil from Newton's Nook, and used two inks from Lawn Fawn, Freshly Cut Grass, and Noble Fir, and blended the two colors together to create some dimension on the trees. I used a small ink dauber to do this. I think added some Glossy White Nuvo Drops and added some to the bottom of that panel to create the look of snow, and then I added some White Blizzard Nuvo Glitter drops to add a bit on the trees for some shine. Once that was dry, I added my sentiment with some black ink, and then I added my elements onto my sea glass card base which is 4.25 x 5.5 inches. I added some foam to the back of both my cardinal and the entire oval piece for dimension.
I then added my panels with liquid adhesive, and stamped a sentiment on the inside from Concord and 9th from their set Very Merry Sentiments.

I love how this card turned out and I know who will be giving this one too!! I do have a video tutorial on this card and the rest of my cards this week, so I hope you will be able to check them out!!
See you all for the next card!