Hi all! I am popping in here really quickly to share with you that I posted my monthly crafty favorites for November. I have a video showcasing all of the products that I particularly loved this month, and explaining why I enjoyed them so much. I hope this video is helpful!!
See you all right back here tomorrow for a new Lawnscaping Challenge!!
Hello everyone!! I hope everyone in the States had a nice Thanksgiving, and if you are one of the brave ones to head out on Black Friday - kudos to you!! I don't like fighting (literally) the crowds, so I usually stay home and do online shopping :)
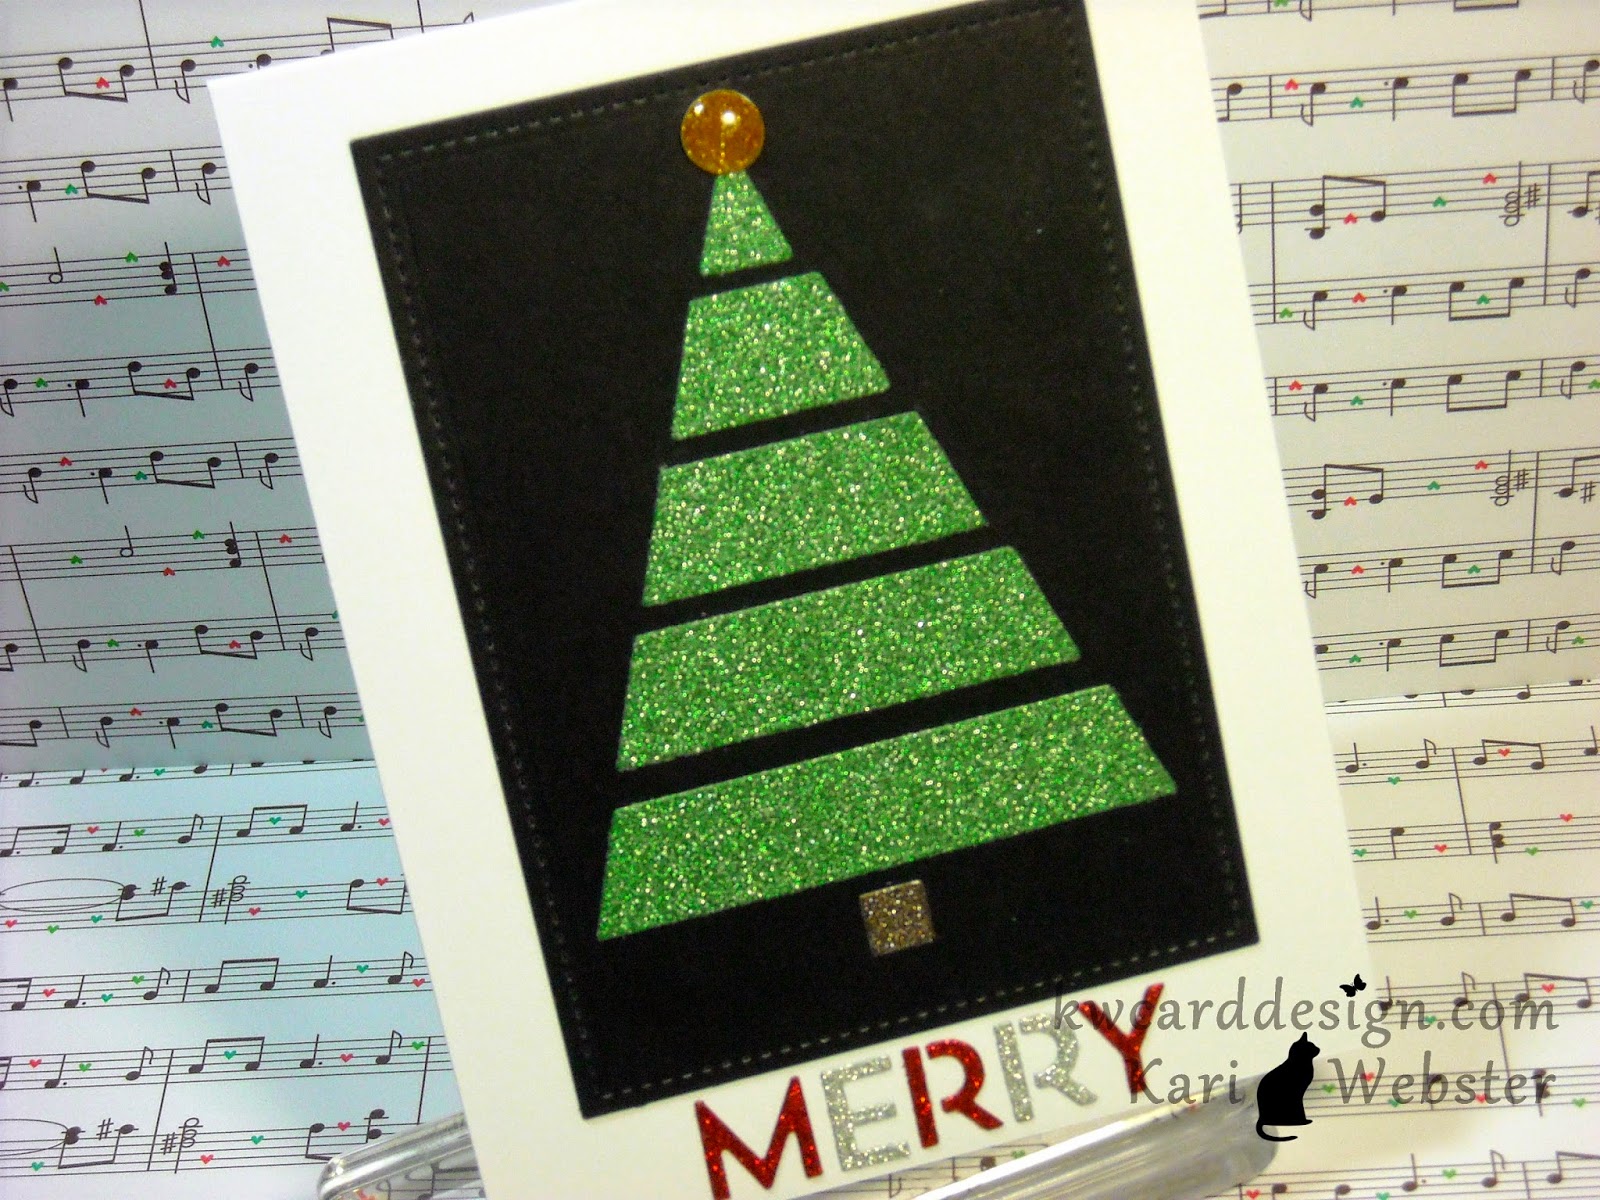
I am back with another card for my Holiday Card Series - this is Card #7.
I used MFT's Christmas Tree Cut Out die set. I think this die set is so cute, and you can get so many looks out of it, it would be a really fun shaker card as well I think! To see how I put this one together, I've got the video tutorial below. And, if you are interested in any one the supplies I used - I linked as much as I could below as well. The Holiday Season is here!!
Hi everyone!! These last few months of the year are flying by, and the holiday season is in full swing!! The Facebook Inspiration Team always want to provide you with extra inspiration for your holiday cards! This blog hop is sponsored by Spectrum Noir, and they will be giving a lucky commentor a set of their awesome markers!! This month we are inspired by Grays and Blues. You should have found your way to my by the talented Isha!
For my card this month, I decided to make a shaker! I usually don't make a whole lot of these - but I need to make more so I can get better at making them. I used Critters in the Snow for my seal. I stamped him down onto some white card stock, and used my cool grays to color him in. I cut several panels for my shaker. To make the frame, I used the two largest Large Stitched Rectangles Stackables dies, and for the inside piece I used the inside portion of the frame I created. I also used the largest frame to die cut a piece of acetate for my window. The snowflake pattern paper comes from the Frosty Friends 6x6 pad from DoodleBug. For my sentiment - I used the 'Warm Wishes' greeting from Love You A Latte from Lawn Fawn. I stamped it down onto my pattern paper using Memento Luxe Pigment Ink in Danube Blue and I embossed it with clear embossing powder. For my shaker elements I used a few colors of sequins from Pretty Pink Posh as well as the snowflake sequins from American Crafts.
Be sure to leave a comment for your chance to win some awesome Spectrum Noir products! Your next stop is Lenny!!
Thanks for stopping by and have fun on the rest of the hop!
Hello everyone! I am sharing card #5 with all of you in my HCS for 2014. I broke out a new stamp set from WPlus9 that I recently purchased a few weeks back, and decided to ink it up. This card is one that can be easily duplicated.
I love how bright it is! I simply die cut two pieces of card stock using the Avery Elle Finished Frames. I used my favorite white PTI white card sock and the other green card stock is from SU! Lucky Limeade. I am not sure if this card stock is still available, but something similar is PTI Green Leaf card stock. I then stamped my string of lights on my white panel using Memento Tuxedo Black ink, and then used Hero Arts Mid Tone Shadow Ink in Red Royal, Lemon Yellow, Green Hills, Orange Soda, and the blue is Audrey Blue ink from Simon Says Stamp. For the ends of the lights I inked it up with Gray Flannel Memento Ink. For my sentiment I decided on the 'Jingle All The Way' and I inked it up with VersaFine Onyx Black ink - great for sentiments. I then put my card all together. I pop up the white panel with foam adhesive, and adhered that to my Lucky Limeade piece and then adhered that to my white card base. I then added some Wink of Stella to my lights for some shimmer. Of course I have a video tutorial showing you how I put it all together.
For all the supplies used - I've linked them below for you.
Thanks for stopping in, and I hope you've enjoyed this series from me so far!!
Happy Monday! You want a new Lawnscaping Challenge! Well, its here!! It is all about the numbers game for this challenge!!
It is about incorporating numbers on your project! For my card, I thought it would be fun to do a different take on a Christmas card. I started by die cutting all of the numbers from the Quinn's 123's dies from white card stock. I, then took my numbers and used R29 Copic Marker to color in the 2 and 5 and the G17 Copic Marker to color the rest of the numbers. I, then die cut a 4 inch white card stock panel and adhered my numbers straight down. Then, I used Violet's ABC's to stamp out 'December' in VersaFine Onyx Black ink ( probably my favorite alpha set from LF) and the "TH" after 25. Then, I stamped the tree from Trim The Tree in Versa Mark onto a piece of vellum card stock and heat embossed it in Gold embossing powder. I didn't want to take away from my numbers back ground, that is why I chose vellum. I fussy cut that out and put little dots of Tombo Mono glue around the embossing on the back so you couldn't be able to see the adhesive. I also wanted a pop of gold on the sides of my panel, so I had some gold WOW paper from American Crafts in my stash and added a thin strip on each side, and then I adhered that to my 4.25 in square white card base. For the finishing touches I added some enamel dots to my tree.
I don't want to forget to mention that the ever so awesome Lawn Fawn is our sponsor for this challenge, so if possible I'd play along for your chance to win a $25 gift certificate!!
Thanks for stopping in!! See you soon my friendly crafters!
Good Sunday evening! I am catching you all up on my Holiday Card Series - I forgot to share with you Card #3 and I just posted Card #4 over at my YouTube Channel. If you haven't subscribed yet, I invite you to do just that and maybe stay awhile :o)
This is Card #3 - I actually featured this one over at the Lawnscaping Challenge Blog - so if you haven't checked that out yet - be sure to click the link and it will take you directly to it. I used a Simon Says Stamp/Lawn Fawn Exclusive for this card. This stamp set was part of the Stamptember Celebration over at Simon Says Stamp. Love these birds!!
And....my latest for you Card #4
I used one of my newest sets that I purchased a few weeks back from Clearly Besotted Stamps called Hangin Around. It is a set I knew I had to get, because it screamed enamel dots to me!! And, as you can see that is exactly how I used it. I have both videos below if you'd like to check them out!! Thanks for stopping in, and I will be back tomorrow to share a new Lawnscaping Challenge with you!! Till then!
Hi everyone!! I am so honored and thrilled to be apart of Lawn Fawn's Fawny Holiday Week! The Lawn Fawn and Lawnscaping DT's have teamed up and there are so many wonderful talented ladies, and I hope you've enjoyed all of the wonderful inspiration so far! OH! And...there are prizes - so be sure to leave comments for your chance to win!
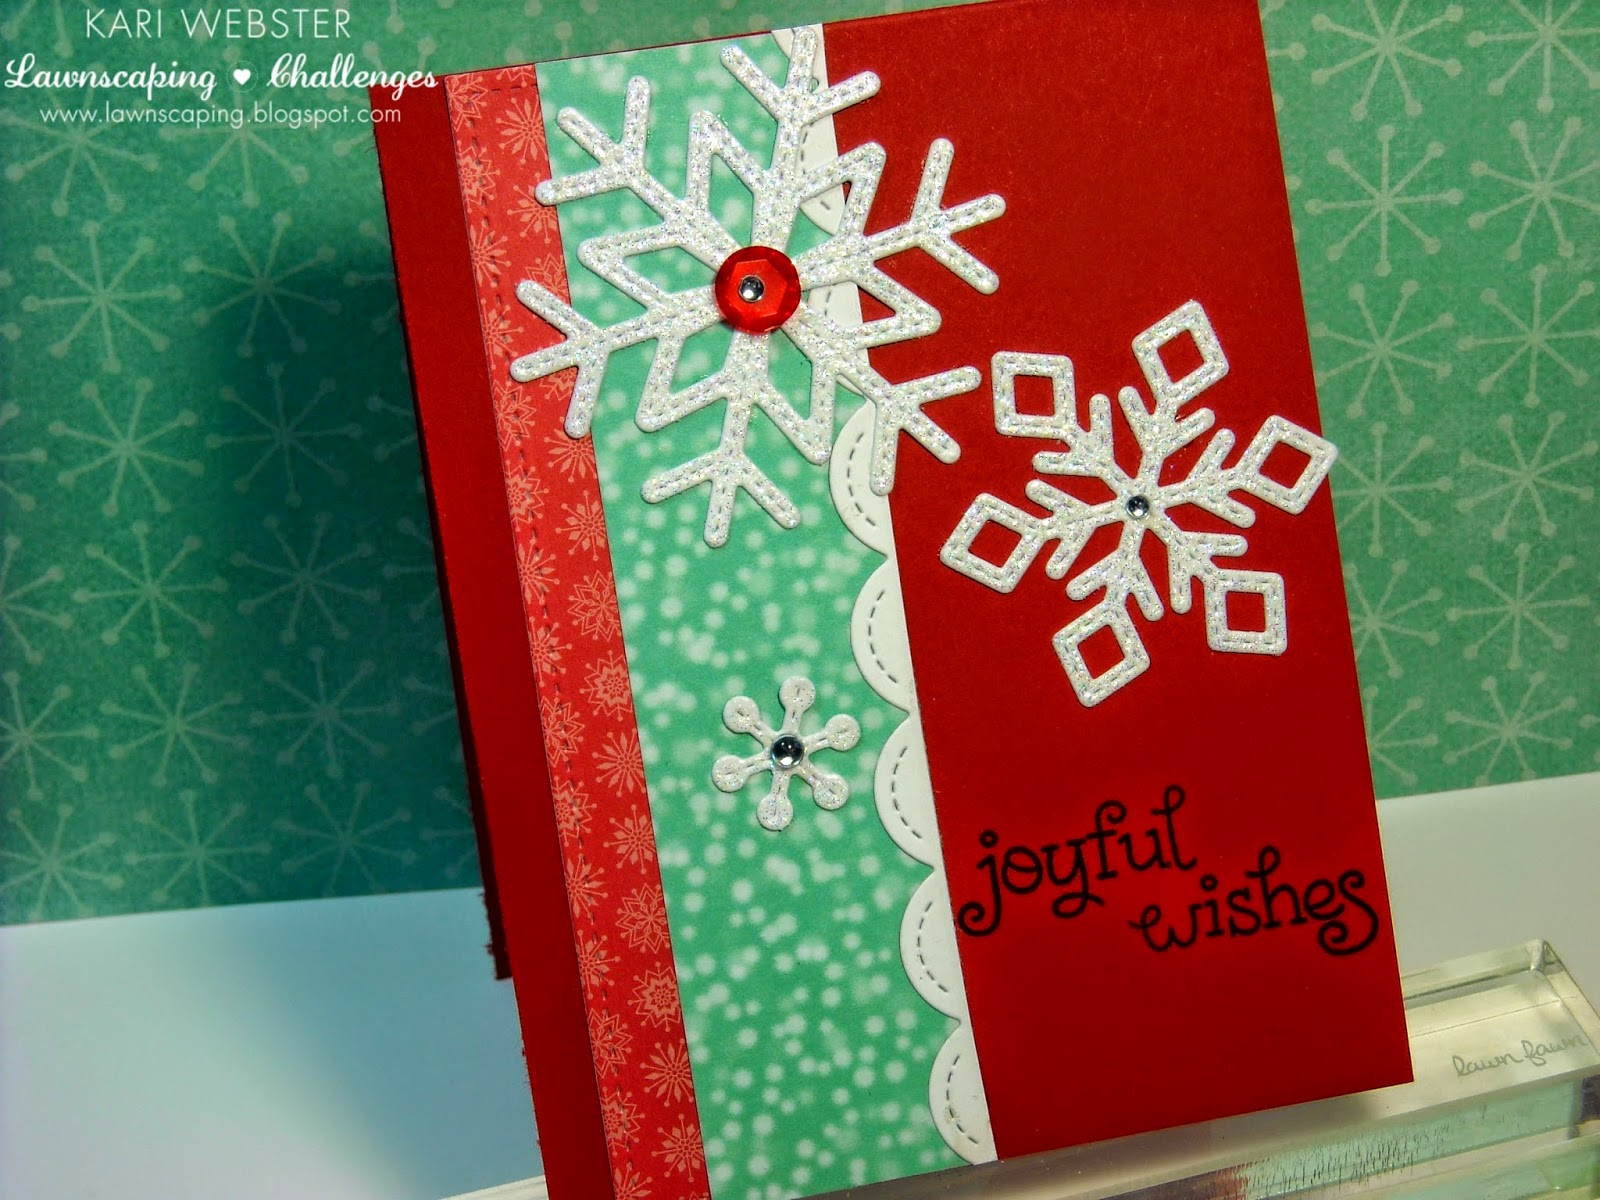
For my card, I wanted to use the Stitched Snowflakes dies. I die cut three of them and I wanted to add some shine and sparkle, so I applied my Versa Mark Ink pad directly onto the snowflakes, and then I added some Ultra Shimmer WOW Embossing Powder, and then I heat set them. They are so pretty in person!! I also used some scraps I had of the Snow Day 6x6 paper pad. I had used the red snowflake pattern on a previous project when I die cut it with the Large Stitched Rectangle Stackables - I used the largest die and had a strip of it left, so I used that as well the teal snow falling pattern, probably one of my favorites from the pack and I adhered both strips directly to my red card base. I wanted a pop of white other than the snow flakes, so I used the largest Stitched Scallop Border die and added that to the teal pattern paper to give it a finished edge. For my sentiment, I used the 'Joyful Wishes' from Joy to the Woods stamp set. I strategically inked it up in Versa Fine Onyx Black ink so it would the sentiment wouldn't be in one line. Then, it was time to adhere my snow flakes, and to finish them off I added some Hero Arts gems and I used a red sequin from my stash to the largest snow flake.
I like how simple this card is, but elegant at the same time!! Thank you again to Lawn Fawn for the pure joy of being apart of this wonderful week!! Happy Fawny Holidays!!
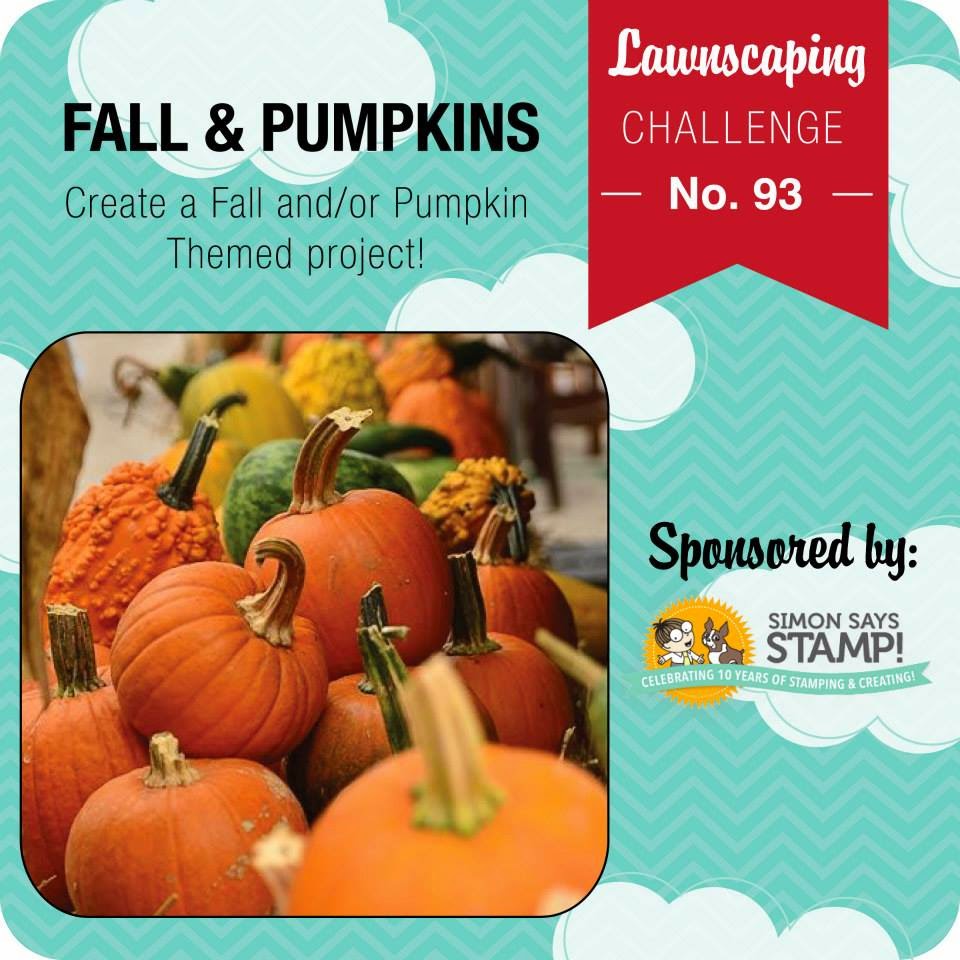
Welcome back! Today my card is pulling double duty! The newest challenge for Lawnscaping is up! It is all about Fall/or Pumpkin themed projects. This is also Card #2 in my Holiday Card Series for 2014. Before I get down to details, I must give a shout out to our wonderful sponsor Simon Says Stamp! For the winner of this challenge - they will get a $25 dollar gift certificate to spend how ever you'd like in their online store!
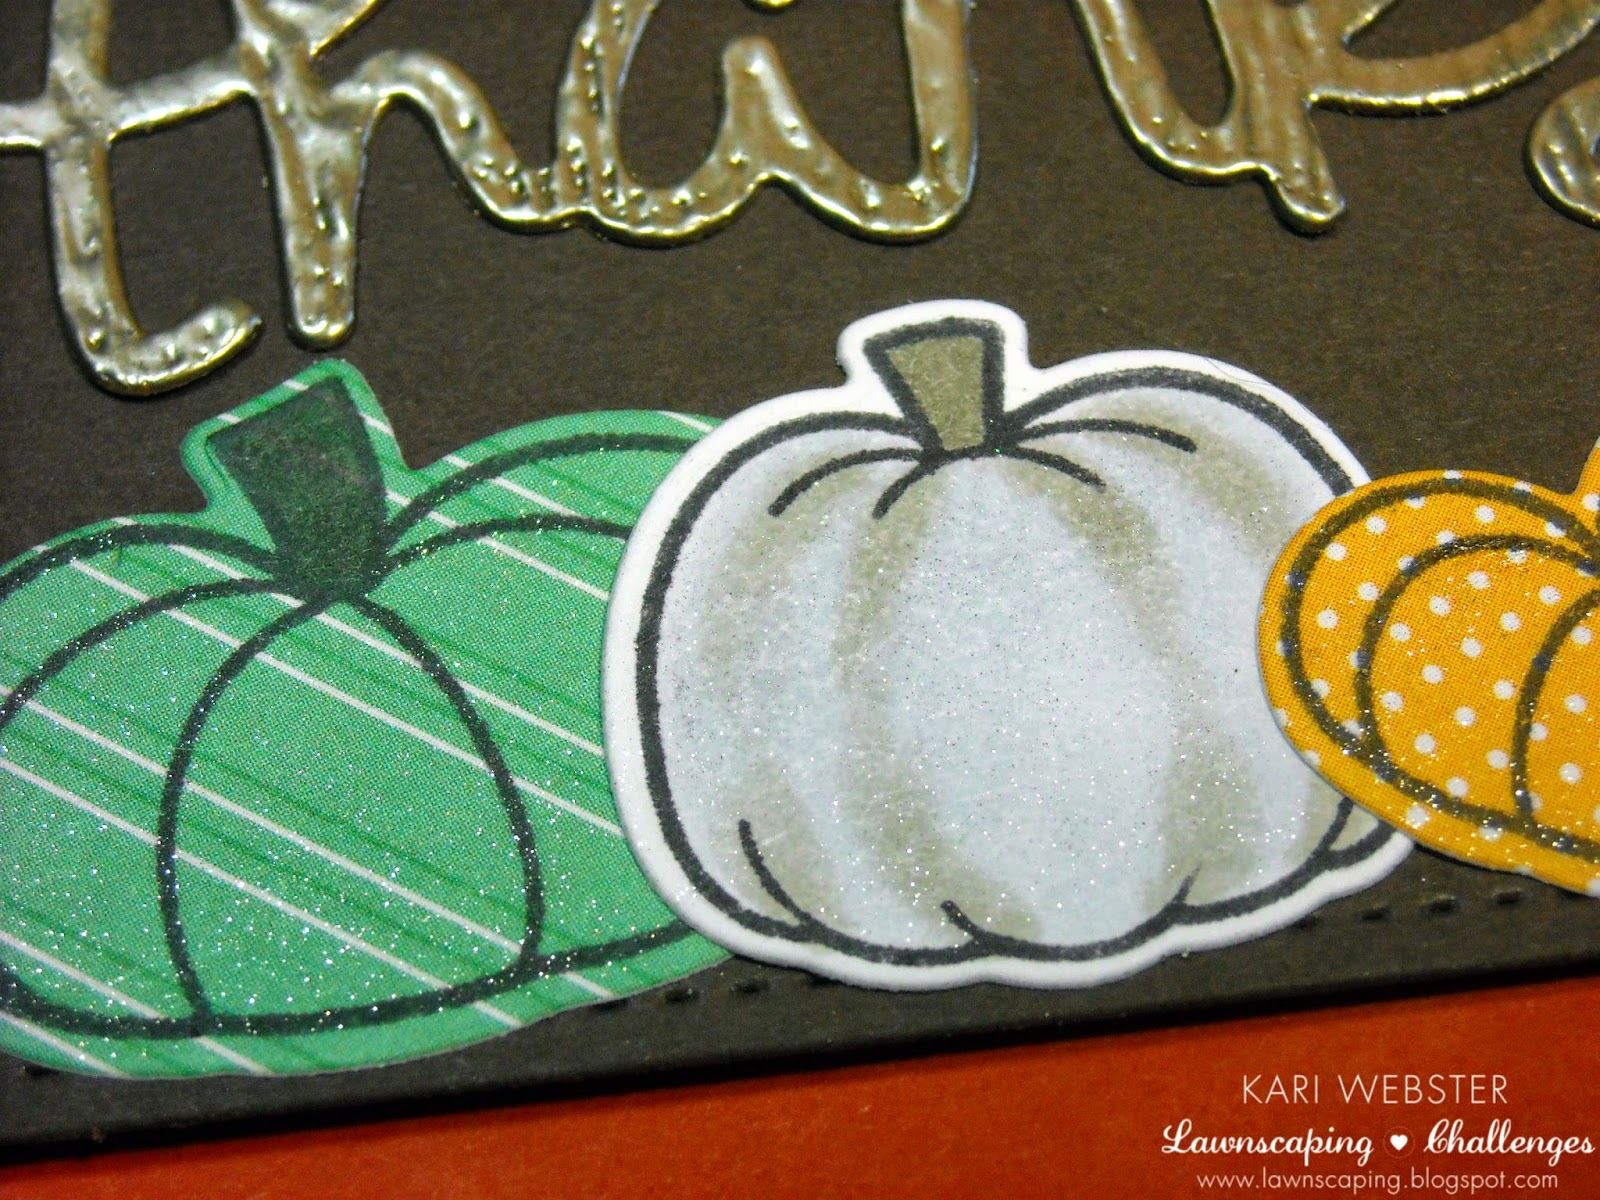
So I used some of my favorites for this card! I used the So Thankful set along with the matching dies as well as the pumpkin from Spooktacular. I stamped the So Thankful pumpkins on pattern papers from from the Sweater Weather 6x6 pad( LOVE THIS SO MUCH) using Memento Tuxedo Black Ink, and I stamped the pumpkin from Spooktacular with the same ink, but removed the ink from the eyes and mouth, and stamped it down on to white card stock. I added some dimension with a W-3 Copic Markers as well as a C1 Copic Marker to give the look of a white pumpkin. Once all of my pumpkins were stamped and die cut out, I die cut my framed pieces from the same 6x6 pad, as well as some colored card stock. I also die cut the largest leaf from the Stitched Leaves die set from Lawn Fawn as well as the Thanks from the Thanks die also from Lawn Fawn, and used some Wood grain Card stock from SSS. I wanted to emboss my Thanks die cut, so I applied some Versa Mark ink and sprinkled on on Pewter Embossing Powder, and heat to set. I assembled all of my pieces to my card, and once I was finished, I added some Lawn Trimmings to my leaf as well as some Wink of Stella to my pumpkins. To see how I put it all together - my video is below! Thanks so much for watching and reading, and I will be back for Card #3 of my Holiday Card Series soon!! Have a great week!
Hello everyone! So - I've done something I haven't done in months! I decided to participate in a challenge!! No DT projects, just play time! The newest Mama Elephant Challenge is up for November, and I was inspired. I love Mama Elephant stamps and dies, and I bought the set Winter Wonderland last year, but by the time I was able to get my hands on it, the holidays were over. This set was super popular, and it was constantly sold out. So, I decided to ink it up, and let the creative juices flow. I actually love the end result if I do say so myself! That is the wonderful thing about creativity - I had NO idea where I was going, and I just looked in my supplies, and once I picked out my dies from Lawn Fawn, then I just sat down, and came up with this card.
I die cut the Stitched Banner dies from Lawn Fawn out of some PTI Stampers Select White card stock. I die cut both dies at the same time on my white card stock, and created a larger border piece and then the inner piece. I then started to ink up the outer frame with Iced Spruce Distress Ink, then I moved on to my inner piece. I punched out a circle with my 1 1/4 circle punch to make a moon mask, and then added the Iced Spruce, Tumbled Glass and Chipped Sapphire Distress Inks.. I love the gradient look that came out of this. Then I stamped in VersaFine Onyx Black Ink the birch trees and little deer. I then stamped the star images in VersaMark Ink and embossed in silver embossing powder as well as my sentiment. I also made a border piece from a scrap piece of card stock to match the same silver. I started to assemble my card by choosing some solid blue paper from the Doodle Bug 6x6 Frosty Friends pad, and adhered my frame to it, and then adhered foam adhesive to my smaller panel for a little dimension. I adhered the whole panel to my Enchanted Evening card base, and then added my silver strip and some Hero Arts gems to finish things off.
It was so fun to just play and explore what I could come up with for this challenge!! See you soon!
Hello my fellow crafters!! Welcome to card #1 in my Holiday Card Series for 2014!! This is my first series I've done, and first Holiday Card Series, so I hope you enjoy the cards I make and present to you, and I also hope to inspire you on what to make for your holiday cards this year!!
For the first ornament, I stamped it out in Fern Ink from Simon Says Stamp. I love this green color, such a pretty Kelly Green. I then die cut that out with the matching die as well as the ornament topper. I took my Galaxy Gold Memento Ink Dew Drop and just swiped the pad across a piece of scrap white card stock, and let dry, and used the topper die to cut out. I then worked on the other ornament. I used a piece of silver shimmer paper from the Shimmer Stack from DCWV, and inked up my ornament in VersaMark Ink, and then applied some SU! Gold Embossing Powder, and heat to set, and also die cut it out using the matching die. I then used a white panel that I had previously die cut from a another project using the stitched frame from Femme Frames from ME. I didn't use it before because it has gotten a smudge on it, so I set it aside. I didn't want to scrap it and waste it, so that is when I decided to use some pattern paper from the Oh, Deer 6x6 pad from Fancy Pants. I love this candy striped pattern, so I die cut it using the same stitched frame, and I adhered that pattern paper using my PLUS adhesive. I needed some "strings" for my ornaments so I decided to use the dotted stamp from Deck the Halls from Lawn Fawn and stamped those using my favorite black ink - VersaFine Onyx Black ink. I stamped my sentiment from the same SOL set also in the same black ink. I added my ornaments to my card panel, and then added some foam squares to the panel to pop it up off of my white card base. Simple, and easy to replicate! I think that's the name of the game when making Holiday Cards!!
The video is below if you'd like how this one came together!! Thanks for stopping by, and I'll be back with Card #2 soon!!
.png)


.png)
.png)